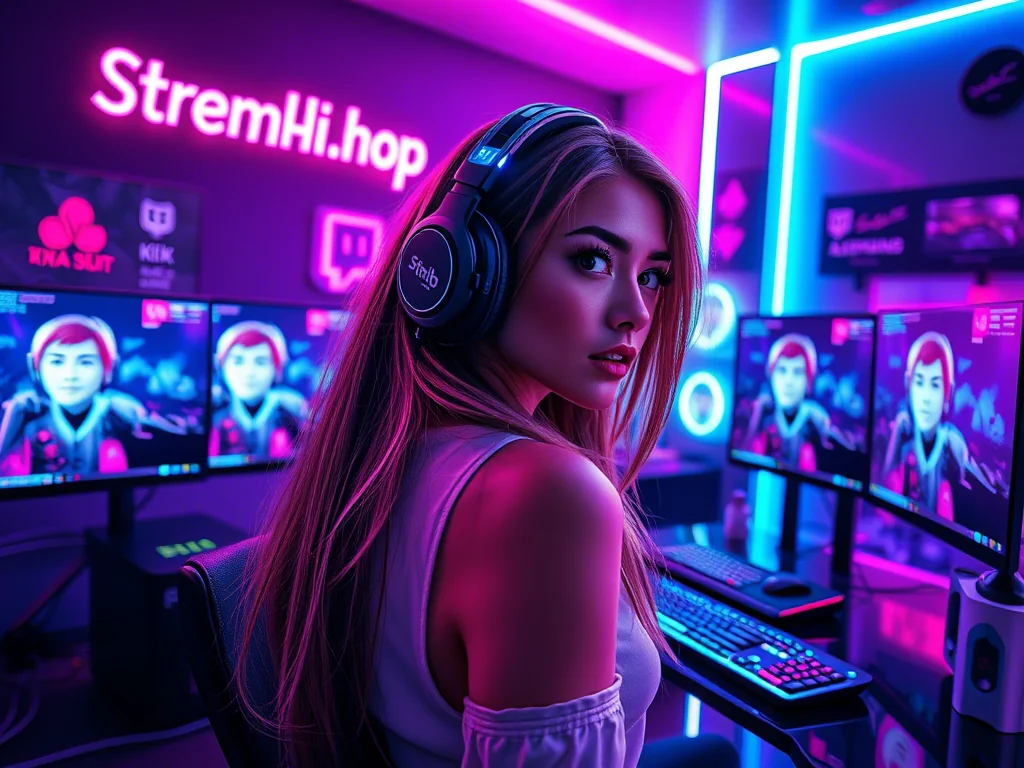
You've got the games, the engaging commentary, and a growing community. Your live content is solid. But take a critical look at your stream layout: does it truly reflect your unique personality and brand? Or does it feel like a slightly tweaked default, leaving an opportunity on the table?
Custom overlays for OBS aren't just aesthetic flourishes; they're powerful branding tools. They transform a generic broadcast into a distinct experience, signaling professionalism, consistency, and attention to detail. This guide will walk you through moving beyond basic templates, focusing on how to design and implement custom elements that truly elevate your presence.
The Undeniable Edge of a Custom Overlay
Think of your stream as a digital storefront. The content is your product, but the overlay is your shop window, signage, and interior design all rolled into one. A well-designed custom overlay:
- Builds Brand Recognition: Consistent colors, fonts, and graphics make your stream instantly recognizable across platforms and content types. Viewers associate a specific visual style with you.
- Enhances Professionalism: A polished look suggests a dedicated creator who takes their craft seriously, fostering trust and respect from your audience.
- Improves Viewer Experience: Clean, uncluttered layouts with clear information (like follower alerts, chat boxes, or game info) make it easier for viewers to engage and stay informed without distraction.
- Communicates Your Niche: Visual themes can immediately signal what kind of content you produce. A retro arcade gamer might use pixel art, while a horror streamer might lean into darker, atmospheric elements.
 }
}
Crafting Your Visual Language: Design Principles for Impact
Before you even open OBS, the real work begins with design. This isn't just about making things look "pretty"; it's about strategic visual communication.
1. Define Your Vibe and Niche
What's your stream's personality? Are you high-energy and comedic, chill and educational, or intensely competitive? Your overlay should mirror this. Brainstorm keywords, moods, and aesthetics. This forms your guiding star.
2. Color Theory and Palette
Choose 2-3 primary colors and 1-2 accent colors. Use a tool to find complementary colors. Ensure readability, especially for text. Avoid overly bright or clashing combinations that can be harsh on the eyes during long viewing sessions.
3. Typography Matters
Select 1-2 fonts: one for primary headings/alerts and another for smaller text (like chat or social handles). Make sure they're highly readable, even at small sizes, and reflect your brand's personality. Avoid overly ornate fonts that sacrifice legibility.
4. Layout and Hierarchy: Less is More
Your overlay should guide the viewer's eye without overwhelming it. Prioritize what's most important. Game footage, webcam, and chat are usually central. Alerts, social media, and supporter lists should be noticeable but not distracting. Embrace negative space – not every corner needs an element.
5. Asset Consistency and Quality
Whether you're making your own graphics or commissioning them, ensure all elements (webcam frames, alerts, stream starting/ending screens, transitions) share a consistent style, color scheme, and level of detail. Use high-resolution images and vector graphics where possible to maintain crispness.
Mini-Scenario: The "Cozy Creator"
Sarah streams cozy indie games, crafting, and just chatting. Her vibe is relaxed, warm, and inviting. For her custom overlay, she opted for a soft pastel color palette (mint green, light peach, cream), a gentle, rounded sans-serif font, and subtle animated elements like falling leaves or twinkling stars. Her webcam frame has a hand-drawn, slightly irregular border, and her "Be Right Back" screen features a minimalistic illustration of a comfy armchair. Everything feels harmonious, reinforcing her "cozy" brand and making viewers feel at ease.
From Concept to Screen: OBS Implementation Walkthrough
Once your design assets are ready, it's time to bring them into OBS. This process involves creating scenes and adding sources.
1. Prepare Your Assets
- Images: PNG files with transparency are your best friend for static overlays (webcam frames, static banners).
- Animations: WEBM files (with alpha channel for transparency) are ideal for animated alerts, stinger transitions, or animated overlay elements as they offer good quality at smaller file sizes compared to GIFs or MOV.
- Audio: Ensure alert sounds are in a common format (MP3, WAV) and are short and impactful.
2. Structure Your OBS Scenes
Think about the different 'looks' you need:
- Starting Soon: Full-screen graphic/animation with music.
- Main Gameplay: Game capture, webcam, chat, alerts, info panels.
- Just Chatting: Larger webcam, chat, fewer game-specific elements.
- Be Right Back: Full-screen graphic/animation.
- Stream Ending: Thank you screen, social media, credits.
3. Add Sources to Your Scenes
For your 'Main Gameplay' scene, for example:
- Game Capture/Display Capture: This is your base layer.
- Webcam (Video Capture Device): Position and size it.
- Image Sources: Add your PNG frames for your webcam, specific overlay panels, or static logos. Drag and drop, or use the 'Image' source. Arrange their order in the Sources list (topmost is in front).
- Media Sources: Use this for WEBM animations (e.g., animated lower-thirds, looping background elements). Set them to loop if necessary.
- Browser Sources: Essential for dynamic elements like stream alerts (from StreamElements, Streamlabs, etc.), chat boxes, follower goals, or custom HTML widgets. Paste the URL provided by your alert service.
- Text (GDI+): For static text like your name or social handles, though images are often preferred for custom fonts.
4. Layering and Positioning
The order of sources in the OBS 'Sources' panel matters. Items higher in the list appear 'on top' of items lower in the list. Use your mouse to drag sources around the preview canvas and adjust their size. Hold Shift while dragging corners to freely scale without maintaining aspect ratio (use with caution), or hold Alt to crop.
Pre-OBS Overlay Design Checklist:
- ✓ Defined brand vibe/personality?
- ✓ Consistent color palette chosen?
- ✓ 1-2 legible, brand-appropriate fonts selected?
- ✓ All static graphics (webcam frame, panels) created as PNG with transparent backgrounds?
- ✓ All animated elements (alerts, transitions) exported as WEBM with transparency?
- ✓ All assets sized correctly for your stream resolution (e.g., 1920x1080)?
- ✓ Clear understanding of which elements go on which scene?
Community Echoes: Navigating Common Overlay Challenges
Many creators, especially those new to custom overlays, voice similar concerns and frustrations:
- "Where do I even start?" The sheer volume of design choices and tools can feel overwhelming. Creators often struggle with translating their abstract vision into concrete visual elements.
- "I'm not a designer." The technical skill required for graphic design is a common barrier. Many feel their artistic ability isn't up to par, leading them to stick with basic templates or commission expensive work.
- "Will it look unprofessional?" There's a fear of creating something that looks amateurish or clunky, which could detract from their stream rather than enhance it.
- "Cost is a factor." Commissioning high-quality custom overlays can be a significant investment, especially for smaller streamers, making them wonder if free alternatives are 'good enough'.
- "Technical setup confusion." Even with well-designed assets, integrating them correctly into OBS, ensuring proper layering, and troubleshooting issues (like transparency not working) can be a headache.
Our advice: start small. Focus on a custom webcam frame and maybe one unique alert. Build from there. Free design tools like Canva or GIMP can help you create simple assets, and there are many affordable designers available on freelance platforms if your budget allows.
Keeping Your Look Fresh: Ongoing Overlay Maintenance
Your overlay isn't a "set it and forget it" component. Regular review and updates ensure it remains relevant, performant, and aligned with your evolving brand.
1. Performance Check
Are your animated elements causing frame drops? Are browser sources consuming too much CPU? Keep an eye on OBS's performance stats. Large, unoptimized image or video files can bog down your system. Consider compressing files or simplifying complex animations if you notice issues.
2. Brand Evolution
As your stream grows and changes, so might your brand. You might shift content focus, develop new inside jokes, or simply mature your aesthetic. Be open to refreshing your overlay to reflect these changes. This could be a seasonal update (holiday themes), a complete rebrand, or subtle tweaks.
3. Technical Updates
OBS, streaming platforms, and alert services constantly update. Periodically check if your current setup is still optimal or if new features could enhance your overlay. Sometimes, a software update can break a custom widget or alert, requiring a quick fix.
4. Viewer Feedback (and your own eye)
Periodically ask yourself: Is this still serving its purpose? Is anything too cluttered? Is all information clear? Sometimes, a fresh pair of eyes (your own after a break, or a trusted friend) can spot areas for improvement you've become blind to.
2026-04-28