You've nailed your audio, your game capture is seamless, but something feels... flat. Your face looks a little washed out, or harsh shadows cut across your features, making you blend into the background. The truth is, great visuals aren't just about a good camera; they're about how you shape the light hitting you.
Understanding the Core Three: Key, Fill, and Backlight
Think of lighting your stream like painting a picture. You don't just dump a bucket of paint on the canvas; you use different brushes and colors to create depth, highlight features, and separate your subject from the background. In streaming, your "brushes" are your key light, fill light, and backlight.
The Key Light: Your Primary Illuminator
This is your main light source, the brightest and most direct. Its job is to illuminate your face and primary features, setting the overall brightness of your shot. Without a good key light, you're either in the dark or relying on ambient light that casts unflattering shadows.
- Placement: Typically positioned slightly to one side of your camera (e.g., 45-60 degrees off-axis) and slightly above eye level. This creates natural-looking shadows that add definition to your face without flattening it.
- Effect: Defines your face, brings out details, and provides the main illumination.
The Fill Light: Softening the Shadows
The key light, by its nature, creates shadows. That's good for definition, but too much shadow can look harsh or hide parts of your face. That's where the fill light comes in. It's a softer, less intense light positioned on the opposite side of your key light.
- Placement: Opposite your key light, usually at a lower intensity or further away.
- Effect: Reduces harsh shadows created by the key light, softens your features, and balances the overall exposure without eliminating all definition. It "fills in" the dark areas.
The Backlight (or Hair Light/Rim Light): Separating You from the Background
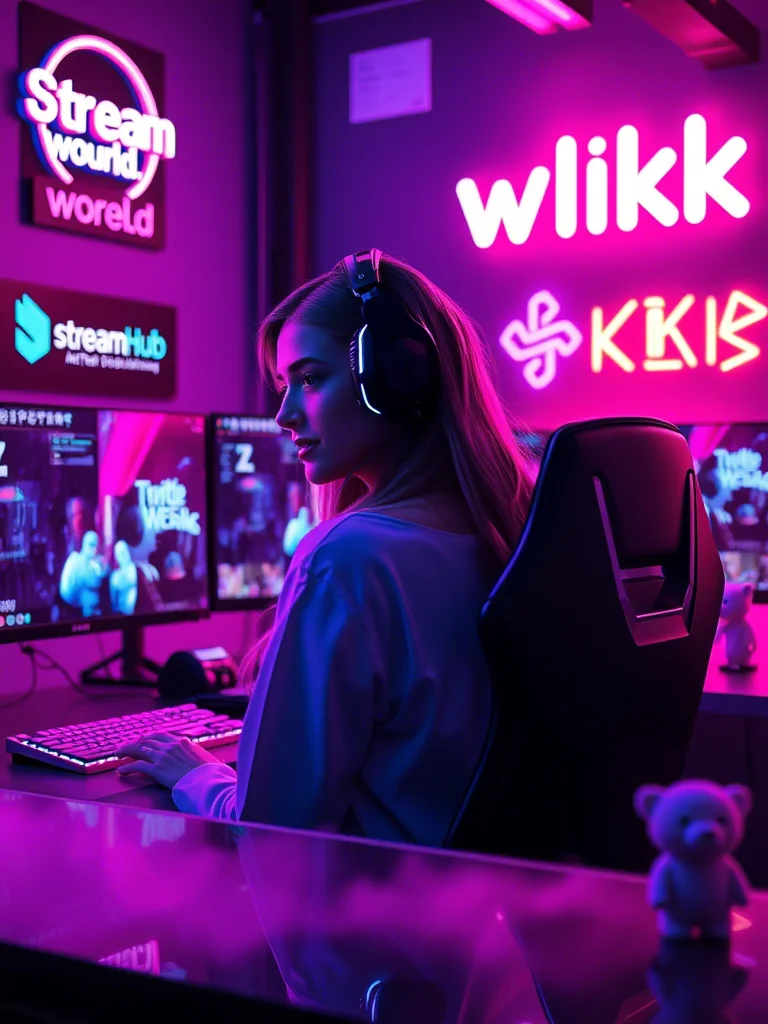
Often overlooked, the backlight is what truly makes you pop. Placed behind you, shining towards your head and shoulders, it creates a subtle outline of light around your form.
- Placement: Behind you, slightly off-center, pointing towards the back of your head and shoulders.
- Effect: Separates you from your background, adds depth to the scene, and gives a professional, polished look. It prevents you from looking like a floating head or blending into your stream's backdrop.
 }
}
Putting it Together: A Practical Scenario
Let's imagine you're a desk streamer, broadcasting from your home office. You've got your monitor, webcam, and a small space to work with.
Your Goal: Look well-lit, defined, and separate from your room without a complicated setup.
-
The Key Light: You have a small LED panel or a softbox. Place it approximately 2-3 feet (60-90 cm) from your face, to your left or right, at about a 45-degree angle. "A good lighting setup is to have your key light 45 degrees from your face (facing towards the monitor) can take it up to 60 degrees if you must." Adjust its height so it's slightly above your eye level, pointing slightly down towards you. This creates a pleasing shadow under your chin and nose, adding contour.
-
The Fill Light: For a simple setup, you might not even need a dedicated fill light. Often, a well-placed monitor or a white wall can act as a natural reflector. If you have a second, less powerful light, place it on the opposite side of your key light, further away, or at a lower brightness setting. The goal isn't to blast light, but to gently lift the shadows. An alternative: use a large white foam board to bounce light from your key light back onto the shadowed side of your face.
-
The Backlight: This can be as simple as a small LED strip or a puck light placed on a shelf behind you, or even a small, dimmable desk lamp aimed at your hair. Position it so the light hits the top and back of your head and shoulders, creating that subtle rim of light. Be careful not to point it directly into your camera lens, as this can cause lens flare.
The Result: Your face is bright and evenly lit (key + subtle fill), with natural depth (key light shadows), and you clearly stand out against your background (backlight). This basic three-point setup dramatically elevates your visual quality.
Beyond the Basics: Community Insights & Common Pitfalls
While the three-point system is a robust foundation, real-world streaming environments bring unique challenges and preferences. Here's what creators often discuss:
-
The Ring Light Debate: Ring lights are popular for their simplicity and even front-on illumination. However, "I personally just dislike ring lights and try to bounce light off of my wall. You literally are shining a light into eyes for an extended period of time." This direct front-facing light can cause discomfort and flatten your features, sometimes leading to a "deer in headlights" look. They're also notorious for creating noticeable reflections in glasses. If using one, consider a larger diameter and position it further away. As one streamer noted, "For a webcam use a ring that has a larger diameter - there will be more light from the sides and not so much directly from the front. Be careful about wearing glasses - a problem for lights in webcams."
-
Bouncing Light: Many experienced streamers opt to bounce their key or fill light off a nearby wall or ceiling. This diffuses the light, creating a much softer, more natural illumination that wraps around your face rather than hitting it directly. It's an excellent technique for achieving a high-quality look with fewer dedicated lights.
-
Ambient Light as a Factor: Don't forget the light already in your room. Windows, overhead room lights, and even your monitor screen all contribute. While you want to control your primary lighting, being aware of and trying to mitigate unwanted ambient light (like a bright window directly behind you) is crucial.
-
Color Temperature: Most modern LED lights offer adjustable color temperature (measured in Kelvin). Matching your lights to your room's ambient light (e.g., warm yellow for a cozy feel, cool blue for a professional look) prevents color clashes and makes your stream look more cohesive. A common range is 3200K (warm) to 5600K (daylight white).
Your Lighting Checklist: Setting Up for Success
Before you go live, run through this quick checklist to optimize your visuals:
- Position Key Light: 45-60 degrees off-center, slightly above eye level.
- Evaluate Shadows: Are there harsh shadows on one side of your face?
- Add/Adjust Fill Light: Soften those shadows with a less intense light or a reflector on the opposite side.
- Check for Depth: Do you blend into your background?
- Place Backlight: Behind you, creating a rim of light around your head/shoulders.
- Mitigate Glare: Check for reflections in glasses or on shiny surfaces (especially from ring lights).
- Test Color Temperature: Does your skin tone look natural? Adjust Kelvin settings if needed.
- Record & Review: Do a short test recording. Watch it back. What looks good? What needs tweaking?
Maintaining Your Glow: What to Re-check Over Time
Lighting isn't a "set it and forget it" task. Your environment changes, your gear shifts, and your preferences evolve. Periodically revisit your setup:
- Environmental Shifts: Did you move your desk? Is there a new window treatment? Even seasonal changes in natural light can impact your setup. Re-evaluate how your fixed lights interact with ambient light.
- Gear Upgrades: Got a new monitor? A different webcam? A more powerful key light? Any change in equipment can alter your lighting balance. Recalibrate your fill and backlights to match.
- Camera Settings: If you adjust your camera's exposure, white balance, or gain, your lighting might need fine-tuning to compensate. It's a delicate balance between your physical lights and your camera's interpretation of them.
- Audience Feedback: Pay attention if viewers comment on your lighting. While subjective, consistent feedback about being too dark, too bright, or too shadowy is a clear sign to review.
- Content Evolution: If you start streaming different types of content (e.g., from gaming to talking head vlogs), your lighting needs might change. A dramatic, high-contrast look suitable for a horror game might not be ideal for a casual chat.
2026-04-26