Many streamers begin their journey with default overlays or readily available templates. While these are perfectly functional for getting started, they often leave creators with a nagging feeling that their unique personality and brand aren't truly shining through. The desire to stand out, to forge a distinctive visual identity, and to offer a more polished, memorable viewer experience often leads to a crucial question: "How do I create an overlay that's uniquely me without needing to be a design expert or spending a fortune?"
This guide isn't about turning you into a professional graphic designer overnight. Instead, it aims to equip you with the practical steps, essential tools, and core design considerations to craft custom stream overlays that genuinely elevate your broadcast. We'll focus on making smart decisions that balance aesthetic appeal with technical performance and, most importantly, reflect your individual brand.
Beyond Aesthetics: Why Custom Overlays Are a Strategic Investment
Thinking of your stream overlay as just "decoration" misses its true power. A well-designed, custom overlay is a strategic asset that contributes significantly to your overall stream quality and viewer perception. Here's why investing time (or money) into custom visuals pays off:
- Brand Identity & Recognition: Your overlay is a visual extension of your brand. Consistent colors, fonts, and graphic elements help viewers instantly recognize your stream across platforms and distinguish you from others. It builds a cohesive visual language.
- Professionalism & Polish: A custom, high-quality overlay signals professionalism. It tells your viewers that you take your content seriously and care about their experience, fostering trust and encouraging longer watch times.
- Enhanced Viewer Experience: Well-organized overlays provide critical information (new followers, chat, webcam, game display) without clutter. Thoughtful design guides the viewer's eye, making the stream easier and more enjoyable to watch.
- Differentiation & Memorability: In a crowded streaming landscape, uniqueness is key. A distinctive overlay helps you stand out, making your stream more memorable and giving viewers a reason to return. It's part of the "vibe" you create.
- Dynamic Storytelling: Overlays aren't just static images. Animated elements, custom transitions (stingers), and dynamic alerts can add personality, energy, and a sense of progression to your broadcast, turning passive viewing into an interactive experience.
Choosing Your Design Toolkit: From Free to Pro
The right tools can significantly impact your workflow and the quality of your custom overlays. Your choice depends heavily on your budget, existing design skills, and the complexity you're aiming for. It's often a journey, starting simple and scaling up as your needs and abilities grow.
{ }
}
Browser-Based Editors & Stream-Specific Builders
These are often the easiest entry points, requiring no software installation and frequently offering templates. They're excellent for beginners or those prioritizing speed and simplicity.
- Examples: Canva, StreamElements (Streamlabs OBS overlays), Streamlabs Prime (custom assets), various online editors.
- Pros: Low barrier to entry, often free for basic features, drag-and-drop interfaces, built-in templates, good integration with streaming software for dynamic elements like alerts and chat boxes.
- Cons: Limited creative control compared to dedicated design software, subscription often required for premium features, assets can feel generic if not heavily customized.
- Best For: Streamers needing quick, functional overlays, those with minimal design experience, or anyone wanting to leverage existing platform integrations for alerts and dynamic widgets.
Desktop Graphic Software (Free & Open Source)
For more control without a monetary investment, desktop software offers robust features, though with a steeper learning curve.
- Examples: GIMP (GNU Image Manipulation Program), Paint.NET, Krita (especially good for drawing/painting).
- Pros: Completely free, powerful features for image editing, creating custom assets from scratch, more control over layers, effects, and typography than browser tools.
- Cons: Significant learning curve, not typically optimized for stream-specific elements (like animated alerts), no built-in templates, often lack animation capabilities.
- Best For: Creators wanting to design static elements (webcam frames, info panels, logos) from scratch, those on a tight budget willing to invest time in learning.
Professional Design Suites (Paid)
These are the industry standard for maximum creative freedom and complex projects, but come with a higher cost and steeper learning commitment.
- Examples: Adobe Photoshop (raster graphics), Adobe Illustrator (vector graphics), Adobe After Effects (animation).
- Pros: Unparalleled creative control, professional-grade tools for any type of graphic or animation, access to extensive resources and tutorials, industry-standard file formats.
- Cons: Expensive subscription models, very steep learning curve for beginners, can be resource-intensive on your computer, requires separate software for different tasks (e.g., Photoshop for static, After Effects for animation).
- Best For: Experienced designers, streamers commissioning professional work, or those committed to developing advanced graphic design and animation skills for high-end, bespoke overlays and animations.
Mini-Case: "Anya's Ascent" – Evolving Overlay Needs
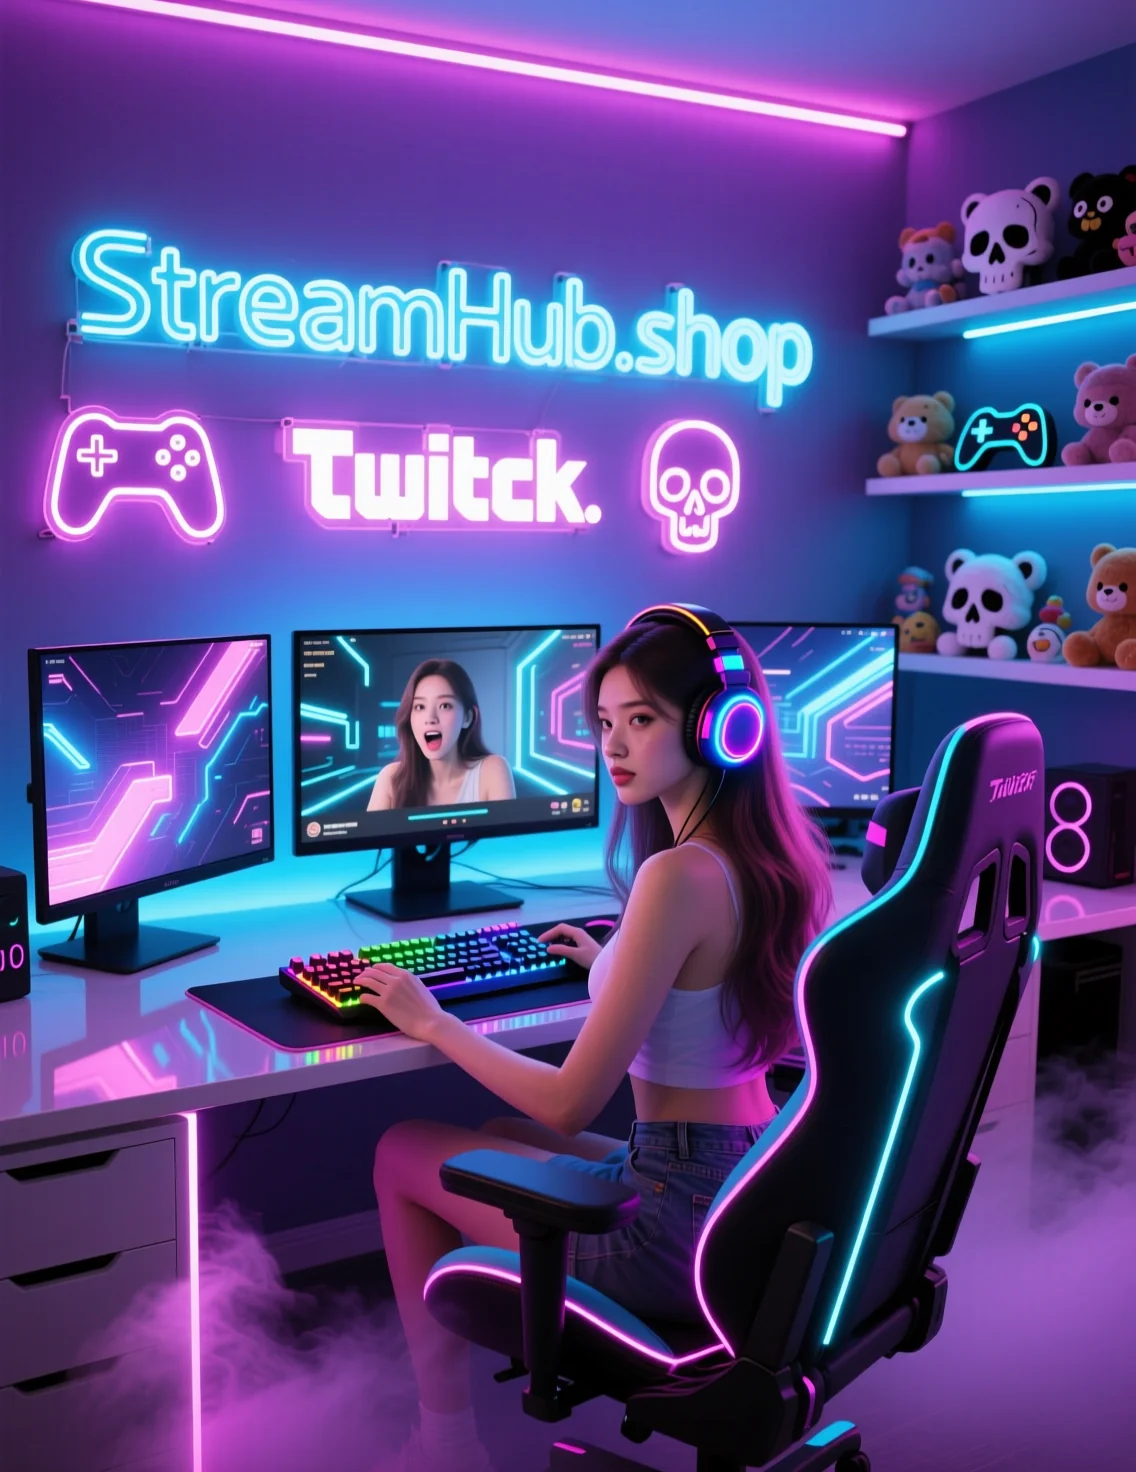
Anya started streaming "cozy games" with a basic webcam frame and chat box from StreamElements' free templates. As her community grew, she wanted something more unique. She downloaded GIMP to design custom static panels (About Me, Schedule) with a consistent pastel color palette and hand-drawn icons. Later, when she introduced "Just Chatting" segments, she invested in a pre-made animated stinger transition from a reputable marketplace like streamhub.shop to add a touch of professional flair without diving into After Effects herself. This phased approach allowed her to upgrade her visuals incrementally, balancing budget and skill acquisition.
Design Principles for Streamers: More Than Just "Pretty"
Great stream overlays aren't just visually appealing; they're functional. Here are core principles to guide your custom design efforts:
- Clarity & Readability First:
- Text: Choose legible fonts. Sans-serif fonts (like Arial, Montserrat, Lato) are often best. Ensure sufficient contrast between text and background.
- Size: Is follower text readable? Is your webcam border thick enough to define the space but not obscure the game?
- Placement: Avoid putting critical information over game HUDs or other essential parts of your content.
- Brand Consistency:
- Color Palette: Select 2-4 primary colors that represent your brand and stick to them across all elements – overlays, alerts, social media banners, emotes.
- Typography: Use 1-2 consistent fonts. One for titles/headings, another for body text.
- Motifs: Do you have a specific icon, shape, or visual theme? Incorporate it subtly but consistently.
- Information Hierarchy:
- What's the most important thing for your viewer to see at any given moment? (Usually the game/webcam).
- Design your overlay so secondary information (recent follower, chat, panel text) is noticeable but doesn't compete with the primary content.
- Use size, color, and animation to draw attention to new information (e.g., a new subscriber alert).
- Performance Optimization:
- File Sizes: Large image files (PNGs) or complex animations can impact your streaming performance. Optimize images for web (compress them without losing quality).
- Animation: Use animations sparingly and efficiently. Loop animations should be short and smooth. Avoid excessive particle effects or overly complex transitions if your PC struggles.
- Resolution: Design your overlays at the resolution you stream at (e.g., 1920x1080) to ensure crispness and proper scaling.
- Adaptability & Responsiveness:
- Consider how your overlay looks across different stream scenes (e.g., Just Chatting, Gameplay, Be Right Back). Do elements need to shift or change?
- Think about aspect ratios. If your stream might be clipped or viewed on mobile, ensure crucial info isn't cut off.
- Accessibility Considerations:
- Contrast: Ensure sufficient color contrast for viewers with color blindness (many online tools can check this).
- Flashing Lights: Be mindful of rapid flashing animations, especially if they are not essential, as they can be disruptive or trigger for some viewers.
Community Pulse: Common Creator Hurdles with Overlays
Across forums and creator discussions, several recurring pain points surface when streamers venture into custom overlay design. Many express a sense of overwhelming complexity, often articulating it as: "Where do I even begin with all these options and tools?" The initial blank canvas can be intimidating, leading to analysis paralysis or simply sticking with defaults.
Another frequent concern revolves around clutter and visual balance. Creators often struggle with the desire to include a lot of information—recent follows, donations, chat, social media handles, game data—without making the stream look messy or distracting. This often manifests as, "My stream looks so busy; I don't know what to remove."
Performance impact is a significant practical hurdle. Especially for streamers with mid-range setups, the fear of "lagging out" or dropping frames due to animated overlays or high-resolution graphics is very real. There's a constant balancing act between visual appeal and a smooth, stable broadcast.
Finally, achieving brand consistency across different stream elements and scenes is a challenge. Creators want their webcam border to match their 'Be Right Back' screen and their alert boxes, but they often lack the design workflow or understanding of color theory and typography to achieve a cohesive look. This leads to questions like, "How do I make sure all my colors and fonts match perfectly everywhere?" These concerns highlight the need for clear, actionable advice on both the artistic and technical aspects of overlay design.
The Evolving Overlay: What to Review and Refine
Your custom overlay isn't a "set it and forget it" component. As your stream, brand, and even the games you play evolve, your overlay should too. Regular review and refinement keep your visuals fresh, relevant, and performing optimally.
Review Checklist:
- Brand Alignment: Does your overlay still accurately reflect your current brand identity, content, and personality? If your stream has shifted from casual to competitive, or from one genre to another, your visuals might need to catch up.
- Performance Audit:
- Are there any new stutters or frame drops since adding recent overlay elements?
- Check your CPU/GPU usage when your overlay is fully active.
- Are all image assets still optimized for web? Re-evaluate file sizes.
- Are animated elements running smoothly or causing unnecessary strain?
- Viewer Feedback & Readability:
- Ask your community directly: Is anything hard to read? Is the stream cluttered? Are alerts too intrusive?
- Watch your own VODs objectively. Do elements obscure gameplay? Is the information hierarchy clear?
- Test on different devices (mobile, larger monitors) if possible.
- Software & Platform Updates:
- Have your streaming software (OBS Studio, Streamlabs Desktop) or overlay platforms (StreamElements, Streamlabs) introduced new features or optimization methods you could leverage?
- Are your design tools still meeting your needs, or is it time to consider an upgrade or a new software?
- Content-Specific Needs:
- Are you playing a new game that requires a unique overlay element (e.g., a specific HUD, a timer)?
- Have you introduced new stream segments (e.g., cooking, art, co-op with friends) that could benefit from a dedicated scene or overlay layout?
- Consider creating variations for special events or charity streams.
- Backup & Version Control:
- Always back up your original design files (e.g., Photoshop .PSD, GIMP .XCF, or exported PNGs).
- If making significant changes, save different versions. This allows you to revert if a new design isn't working or to resurrect old elements.
By treating your custom overlay as a living part of your stream, rather than a static fixture, you ensure it continues to serve its purpose: enhancing your brand, improving the viewer experience, and making your broadcast truly shine.
2026-05-02