You've got your camera, your mic, and your game running, but something still feels... generic. You're using a default overlay, or maybe one you downloaded from a pack that hundreds of other streamers also use. It works, sure, but it doesn't quite scream 'you.' You know a custom look can help you stand out, build your brand, and create a more polished experience for your viewers, but the idea of designing one from scratch feels like climbing Mount Everest without a map.
That's a common hurdle, and it's precisely where we'll focus. This guide isn't about turning you into a professional graphic designer overnight, nor is it about listing every single tool under the sun. Instead, we'll cut through the noise to show you how to start crafting custom stream overlays that genuinely reflect your unique identity, using accessible tools and actionable design principles. The goal is a distinctive, professional look without needing to outsource or spend a fortune.
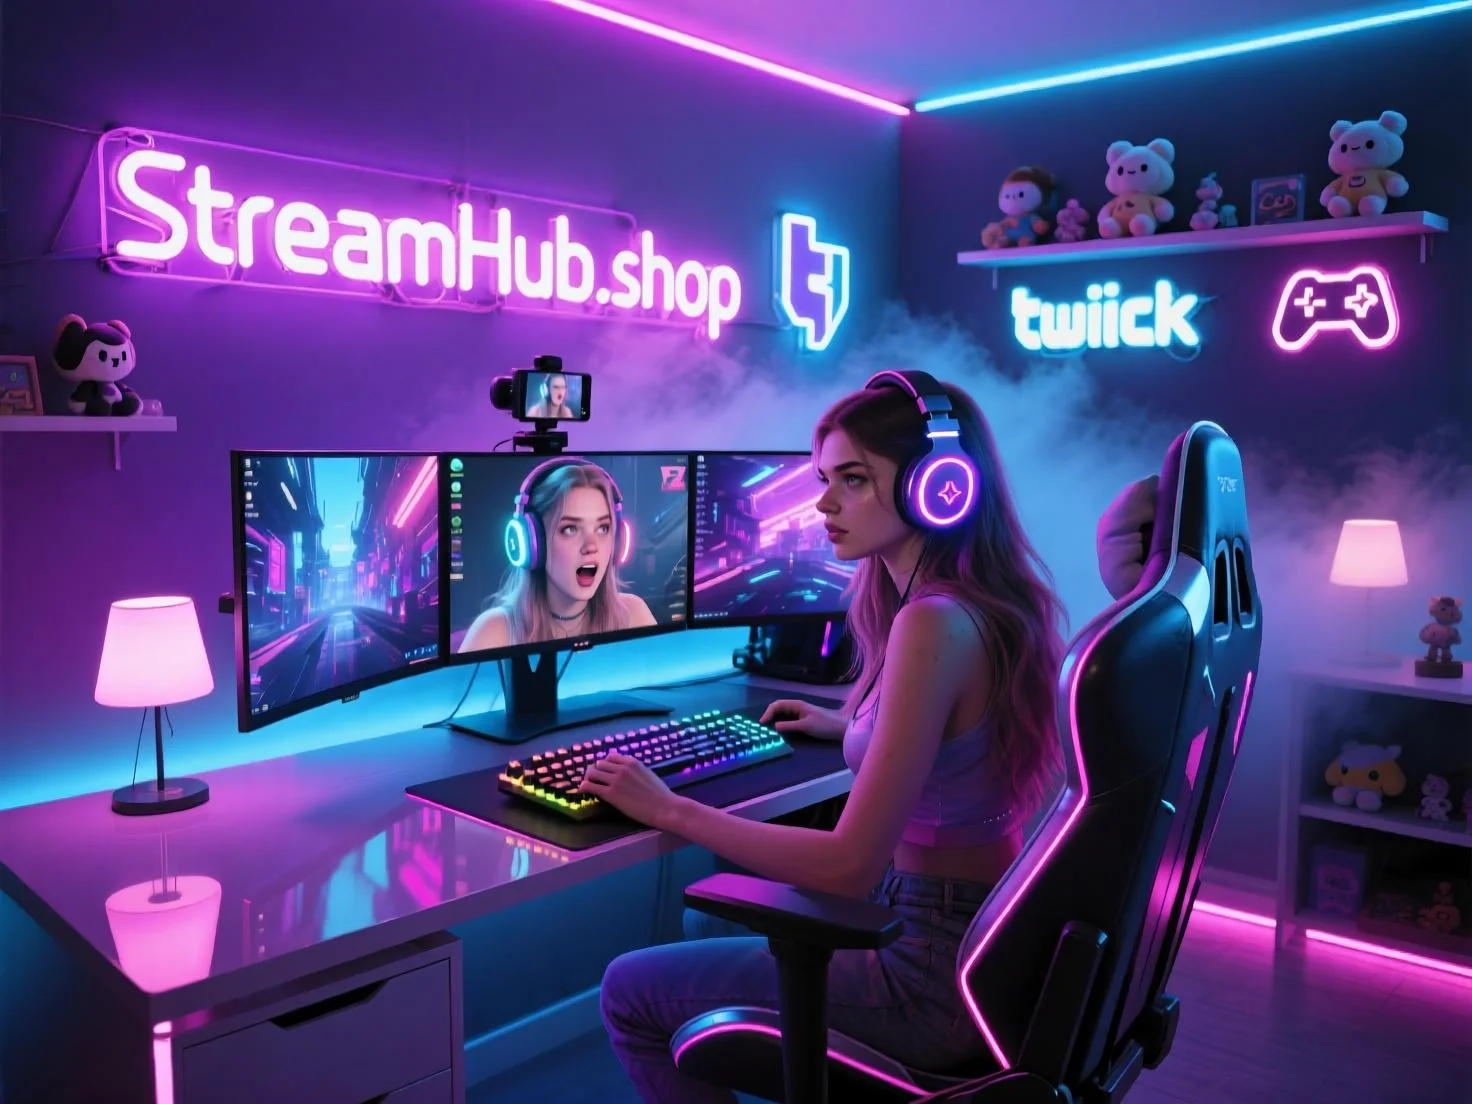
Beyond the Defaults: Why Your Overlay Matters
Think of your stream overlay as the visual wrapper for your content. It’s more than just decorative; it’s a crucial part of your branding and viewer experience. A well-designed overlay:
- Enhances Professionalism: It signals care and attention to detail, making your stream feel more established, even if you're just starting out.
- Reinforces Brand Identity: Consistent colors, fonts, and graphic elements help viewers recognize your content instantly and associate it with your unique persona.
- Improves Viewer Experience: A clean, uncluttered overlay directs viewer attention, provides essential information without distraction, and can even contribute to a specific mood or atmosphere you want to create.
- Boosts Engagement: Custom elements like follower alerts, subscriber goals, or interactive panels can be integrated seamlessly, encouraging viewer participation.
Moving past default themes allows you to tailor every pixel to your aesthetic, whether that's minimalist tech, retro pixel art, or vibrant, energetic anime. It’s an investment in your personal brand that pays dividends in viewer retention and community building.
{ }
}
Your Design Toolkit: Accessible Paths to Customization
The good news? You don't need a hefty budget for Adobe Creative Suite to start designing. Plenty of powerful, often free, tools can get the job done. The key is understanding what each tool excels at and how it fits into your workflow.
For Raster Graphics (Image Editing & Manipulation):
- GIMP (GNU Image Manipulation Program): A free, open-source alternative to Photoshop. It has a steeper learning curve but offers robust features for image editing, creating textures, and even basic graphic design. If you're willing to invest time, it's incredibly powerful.
- Photopea: A free, web-based editor that's remarkably similar to Photoshop in its interface and functionality. Great for quick edits, layering, and working with common file types like PSDs. It runs in your browser, so no installation needed.
- Canva: While often associated with social media graphics, Canva offers a surprisingly capable interface for creating simpler overlays, alerts, and panels. Its drag-and-drop nature and extensive template library make it extremely user-friendly for those new to design. Many elements are free, with premium options available.
For Vector Graphics (Scalable Logos & Text Elements):
- Inkscape: Another free, open-source powerhouse, Inkscape is the go-to for vector graphics. Vectors are ideal for logos, text, and clean shapes because they can be scaled to any size without losing quality. This is crucial for crisp text and graphics on screens of varying resolutions.
- Vectr: A simpler, free web-based vector editor. Easier to pick up than Inkscape, great for basic logo design, icons, and clean graphic elements.
For Animation & Stream Integration:
- OBS Studio / Streamlabs Desktop / StreamElements OBS.Live: While primarily streaming software, these platforms have built-in editors or integrations that allow you to customize alerts, chat boxes, and even some overlay elements directly. This is where your static designs come to life.
- CapCut / DaVinci Resolve (Free Versions): For animating simple stingers, transitions, or animated alerts, free video editors can be surprisingly effective. DaVinci Resolve is professional-grade and incredibly powerful, while CapCut offers a user-friendly interface for quick edits.
Pro Tip: Don't try to learn everything at once. Pick one raster tool (GIMP or Photopea) and one vector tool (Inkscape or Vectr) to start. Canva can be a good entry point if you feel intimidated by more complex software.
Core Principles for a Stream-Ready Overlay
Good design isn't just about aesthetics; it's about functionality. Keep these principles in mind as you build your overlays:
- Prioritize Readability: Your text (stream labels, chat, alerts) needs to be easily legible against your background. Choose clear fonts, ensure sufficient contrast, and avoid overly busy backgrounds behind important information.
- Maintain Visual Hierarchy: Guide your viewers' eyes. What's most important? Your gameplay? Your facecam? Your chat? Design elements should subtly lead the eye to these key areas. Less important elements should be less prominent.
- Embrace Negative Space: Don't cram every corner with graphics. Giving elements room to breathe prevents your overlay from looking cluttered and distracting. Sometimes, less is more.
- Ensure Brand Consistency: Use a consistent color palette (2-4 main colors), 1-2 primary fonts, and a unified graphic style across all your scenes (Starting Soon, Be Right Back, Gameplay, Ending). This builds recognition.
- Non-Distracting Design: An overlay should enhance, not detract from, your content. Avoid overly flashy animations, extremely bright colors, or elements that constantly pull attention away from your gameplay or commentary.
- Optimize for Performance: Large, unoptimized image files or complex animations can impact your stream's performance. Save images in appropriate formats (PNG for transparency, JPG for photos without transparency) and resolutions. Keep animated elements concise.
Getting Started Checklist: Your First Custom Overlay
Here’s a practical sequence to tackle your first custom 'Gameplay' scene:
- Define Your Core Elements: List everything you want on screen (webcam border, chat box, recent follower/sub, stream labels, maybe a logo).
- Choose Your Aesthetic: What's your brand's vibe? (Minimalist, retro, futuristic, cozy, vibrant?) Pick 2-3 primary colors and 1-2 fonts that fit this.
- Sketch It Out: Grab a piece of paper or use a simple drawing tool. Draw rough boxes for your gameplay, webcam, and other elements. Experiment with different layouts.
- Create Core Assets:
- Logo: Use Inkscape/Vectr for a clean, scalable version.
- Webcam Border: Design a simple border in GIMP/Photopea/Canva. Ensure it has a transparent background (save as PNG).
- Static Overlays: Any other static background elements or decorative corners. Again, use transparency.
- Text Overlays (Optional): If you want custom "Recent Follower" banners, design these static backgrounds.
- Import into Streaming Software: Add your newly created PNG assets as image sources in OBS, Streamlabs, or StreamElements.
- Configure Dynamic Elements: Set up your chat box, follower alerts, and other dynamic labels using your streaming software's built-in tools. Match their fonts and colors to your custom assets for consistency.
- Test Thoroughly: Do a test stream or record locally. Check readability, placement, and ensure nothing is blocking crucial gameplay or UI elements. Get feedback from a friend.
2026-04-19
Mini-Scenario: Crafting a "Starting Soon" Scene
Let's walk through building a simple, effective "Starting Soon" scene using mostly free tools.
- The Vision: A clean, inviting scene that displays "Starting Soon," your social media handles, and perhaps a subtle animation or background.
- Gathering Resources:
- Background Image/Video: A calming, game-agnostic background. You can find free-to-use stock photos (e.g., Unsplash, Pexels) or royalty-free animated loops (e.g., Pixabay Video) that fit your vibe.
- Music: Royalty-free background music to set the mood (e.g., Epidemic Sound's free tier, YouTube Audio Library).
- Fonts: Two complementary Google Fonts (one for "Starting Soon," one for smaller text like socials).
- Design in Photopea/Canva:
- Open Photopea or Canva. Create a new project at 1920x1080 resolution.
- Import your chosen background image. Apply a slight blur or darken it slightly so text stands out.
- Add a text layer for "STARTING SOON." Choose your primary font and a color that contrasts well with the background. Position it prominently.
- Add smaller text layers for your social media handles (e.g., "twitch.tv/yourname," "@yourhandle"). Use your secondary font. Consider adding small, vector-based social media icons (you can find free icon packs or create simple ones in Vectr).
- (Optional) Add a subtle, semi-transparent graphic element (e.g., a simple shape, your logo) in a corner to reinforce branding.
- Save this as a high-quality PNG with all text and graphics layered over the background.
- Bringing it to OBS:
- In OBS Studio, create a new scene called "Starting Soon."
- Add an "Image Source" and select your PNG design.
- If you have an animated background, add it as a "Media Source" *below* your PNG image source in the OBS layers, ensuring it loops.
- Add an "Audio Input Capture" or "Media Source" for your background music. Adjust volume.
- (Optional) Add a "Text (GDI+)" source for a countdown timer, if you're using a plugin.
- Test: Preview the scene. Does the text pop? Is the music at a good level? Does it convey the right mood?
Community Pulse: Navigating Common Hurdles
Across creator forums and discussions, a few recurring themes emerge when streamers talk about custom overlays:
- "Where do I even start?" The sheer volume of design advice and tool options can be overwhelming. Many feel paralyzed by choice, fearing they'll invest time in the wrong direction. The key takeaway here is to start small: pick one simple scene and iterate. Don't aim for perfection on day one.
- "I'm not a designer; I have no artistic skill." A common sentiment is a lack of confidence in one's artistic ability. However, effective overlay design often prioritizes clarity and functionality over intricate artistic flair. Simple shapes, good font choices, and consistent branding can go a long way. Tools like Canva are designed for non-designers, offering templates and easy customization.
- "It takes too much time." Balancing content creation, community engagement, and technical setup is already a lot. Adding design work can feel like another full-time job. Streamers often look for quick wins. Focusing on one scene at a time, or using templates as a starting point, can make the process more manageable. Remember, a basic, clean custom overlay is better than a generic, cluttered one.
- "I'm worried about looking unprofessional or amateurish." There's a fear that a DIY overlay might look worse than a free template. The antidote to this is simplicity and consistency. A clean, basic custom overlay with consistent branding will always look more professional than a complex, mismatched one.
The core message from the community is clear: streamers want to elevate their brand visually but need accessible paths and reassurance that they don't need to be design experts. Start simple, focus on clarity, and build iteratively.
Your Overlay's Lifecycle: When to Update and Refine
Your stream overlay isn't a "set it and forget it" component. It's a living part of your brand that should evolve with your content and community. Here’s when to consider a refresh:
- Major Content Shifts: If you switch from primarily streaming one game genre to another (e.g., from horror games to cozy simulation), your overlay's aesthetic might no longer fit.
- Brand Evolution: As you grow and define your persona more clearly, your brand identity might mature. What felt right a year ago might not reflect your current self.
- Seasonal or Event-Specific Content: Small, temporary updates for holidays, charity streams, or special events can add a festive touch without a full overhaul.
- Technical Updates: New features in your streaming software or integrations might open up new possibilities for dynamic elements or cleaner layouts.
- Performance Issues: If you notice your overlay causes frame drops or excessive CPU usage, it's time to optimize image sizes, simplify animations, or reconsider complex widgets.
- Community Feedback: Pay attention if viewers mention difficulty reading text, finding information, or if elements seem distracting.
- Every 6-12 Months: Even without major changes, a periodic review helps keep things fresh. Look at your overlay with fresh eyes: Is it still clean? Is it still effective? Does it still represent you?
A full redesign isn't always necessary. Sometimes, simply updating fonts, tweaking colors, or adding a new subtle animation can breathe new life into your existing setup. Remember, consistency is important, but stagnation isn't. Your overlay should grow with you.