So you've heard the buzz about Kick, or maybe you're looking for a fresh start, a new audience, or just curious about another streaming platform. Great. Stepping onto a new stage can feel like a mix of excitement and a whole lot of questions. This guide isn't about convincing you to switch platforms; it's about giving you a solid, practical roadmap to set up your first Kick stream with confidence, focusing on the core essentials and skipping the noise.
Forget the endless debates and the "what-ifs" for a moment. Your goal right now is to go live, make sure your stream looks and sounds decent, and start building. We'll walk through the hardware and software you'll need, how to configure them specifically for Kick, and a go-live checklist to keep things smooth.
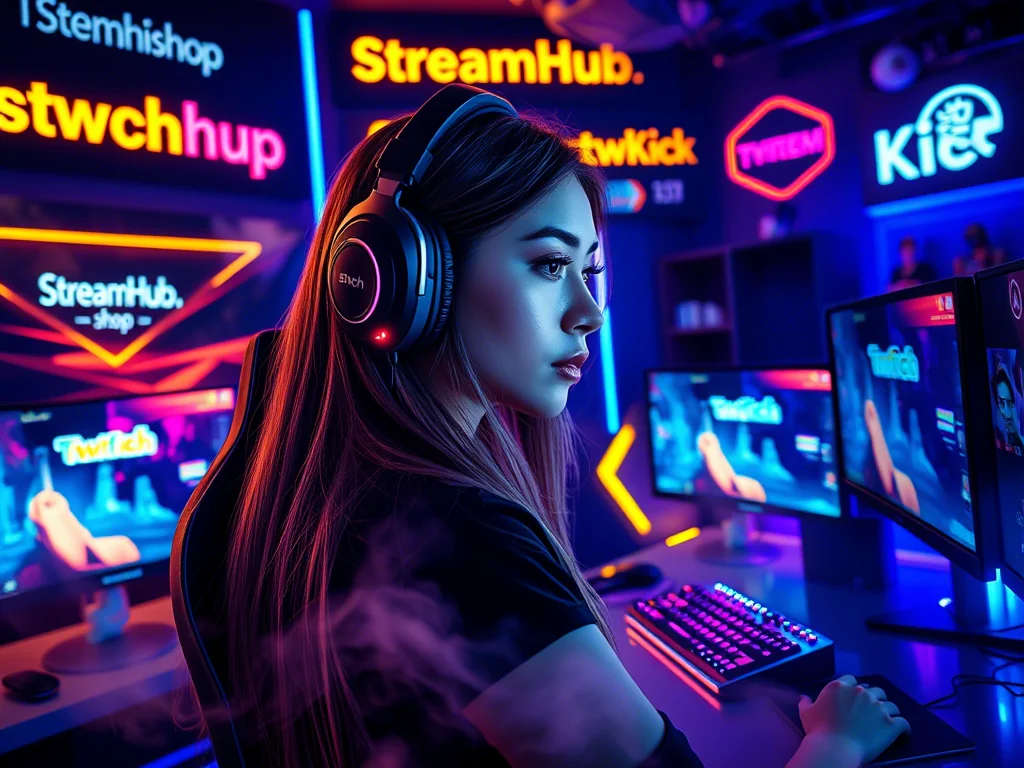
Beyond the Hype: Understanding Kick's Appeal for New Creators
Before diving into the tech, it's worth a quick moment to understand why you might be drawn to Kick, as this can shape your initial approach. Many creators report a perception of easier discoverability on Kick compared to more established platforms, especially for those starting with zero viewers. The platform's 95/5 subscriber split is also a significant draw for many, promising a larger share of revenue from paid subscriptions. While monetization might not be your immediate concern, knowing the potential upside can be motivating.
However, it's also a newer platform, which means the community can still be finding its footing, and certain features might not be as robust or fully developed as elsewhere. Expect a learning curve, and approach your first streams as experiments in content and community building rather than immediate viewership goldmines. Your primary goal should be to get comfortable with the technical setup and the platform's unique vibe.
{ }
}
The Core Setup: Hardware & Software Essentials for Kick
You don't need a professional studio to start streaming on Kick, but there are a few non-negotiables. Let's break down what you actually need to get that first stream off the ground.
1. Your Streaming Rig: PC or Console
- PC: Most streamers use a dedicated PC. For a smooth 720p 30fps stream (a perfectly good starting point), aim for at least an Intel i5 (7th gen or newer) or AMD Ryzen 5 (1st gen or newer), 8GB of RAM, and a dedicated GPU (NVIDIA GTX 10-series or AMD RX 500-series equivalent). Higher resolutions and frame rates demand more power.
- Console: Xbox Series X/S and PlayStation 5 can stream directly to Kick through their built-in sharing features, but customization (overlays, specific alerts) is limited. If you want more control, you'll need a capture card and a PC.
2. Audio: Your Voice, Your Connection
- Microphone: This is arguably more important than your webcam initially. A clear, crisp voice keeps viewers engaged.
- Entry-level: Even a good gaming headset mic can work, but check reviews for voice clarity.
- Step-up: USB microphones like the Blue Yeti or HyperX QuadCast are popular, affordable, and offer significant quality improvement.
- Pro-tip: Position your mic close to your mouth (but out of frame if possible) and use a pop filter to reduce harsh "P" and "B" sounds.
3. Video: Seeing is Believing
- Webcam: A basic 1080p webcam (like a Logitech C920 or equivalent) is sufficient for a clear image. Ensure good lighting; even natural light from a window or an inexpensive ring light can make a huge difference.
- No Webcam? No Problem: While a facecam helps build connection, it's not strictly essential for your very first stream. Many successful streamers started faceless. Prioritize good audio first.
4. Internet Connection: Stability Over Speed
- Upload Speed: This is critical. You need stable upload bandwidth. For 720p 30fps, aim for at least 3-5 Mbps upload. For 1080p 60fps, you'll want 6-10 Mbps. Use a site like Speedtest.net to check your actual upload speed.
- Wired Connection: Always, always use an Ethernet cable if possible. Wi-Fi can be unreliable, leading to dropped frames and a choppy stream.
5. Streaming Software Configuration (OBS Studio Example)
OBS Studio is free, powerful, and widely used. Here's a quick run-through for Kick:
- Download & Install OBS Studio: Get it from the official website.
- Run the Auto-Configuration Wizard: When you first open OBS, it'll usually prompt you. This is a great starting point.
- Connect to Kick:
- Go to kick.com/dashboard/settings/stream.
- Copy your "Stream URL" and "Stream Key."
- In OBS, go to
Settings>Stream. - Select
Service: Custom.... - Paste your "Stream URL" into the
Serverfield and your "Stream Key" into theStream Keyfield.
- Output Settings (
Settings>Output):- Encoder: Use hardware encoder (NVENC for NVIDIA, AMF for AMD, QSV for Intel) if available. It's more efficient. If not, x264 (Software) on a faster CPU.
- Bitrate:
- 3000-4500 Kbps for 720p 30fps.
- 4500-6000 Kbps for 720p 60fps.
- 6000-8000 Kbps for 1080p 60fps (if your internet and PC can handle it).
Start lower and test. Too high, and you'll drop frames.
- Video Settings (
Settings>Video):- Base (Canvas) Resolution: Your monitor's resolution (e.g., 1920x1080).
- Output (Scaled) Resolution: Your stream's resolution (e.g., 1280x720 for 720p, 1920x1080 for 1080p).
- Common FPS Values: 30 or 60.
- Add Sources: In the "Sources" box, click the
+to add your game capture, webcam (Video Capture Device), microphone (Audio Input Capture), etc. Arrange them in your "Scene."
Mini-Scenario: Maria's First Kick Stream
Maria has a gaming PC with an RTX 2060, a Ryzen 5 3600, 16GB RAM, and a stable 80 Mbps download / 15 Mbps upload internet connection. She's using a basic Logitech C920 webcam and her HyperX Cloud II headset mic. She wants to stream "Valorant."
Maria's Setup Steps:
- She downloads OBS Studio and runs the auto-config wizard, which suggests 1080p 60fps at around 6000 Kbps.
- She goes to her Kick dashboard, copies her Stream URL and Key.
- In OBS, she pastes these into
Settings>Stream. - For
Output, she selects NVENC (her RTX 2060's encoder) and sets the bitrate to 6000 Kbps. - For
Video, she keeps 1920x1080 for both Base and Output, and 60fps. - She adds a "Game Capture" source for Valorant, a "Video Capture Device" for her C920, and an "Audio Input Capture" for her HyperX mic.
- Before going live, she does a test recording in OBS (
Start Recordinginstead ofStart Streaming) to check her audio levels, video quality, and frame rate. Everything looks good.
Your First Go-Live: The Essential Checklist
The technical setup is just one piece. Here’s a checklist to ensure a smoother first stream experience, both for you and your potential viewers.
- Kick Account & Security:
- Account Created: Obviously.
- 2FA Enabled: Crucial for security. Don't skip this.
- Kick Dashboard Open: Have your Creator Dashboard open in a browser tab to monitor chat and stream health.
- Pre-Stream Information:
- Stream Title: Clear, catchy, and relevant to your content. Update this on your Kick dashboard before going live.
- Category/Game: Select the correct category or game. This is how viewers find you.
- Tags: Add relevant tags to further improve discoverability (e.g., #FPS, #JustChatting, #NewStreamer).
- Go Live Notification: Kick has a "Go Live" notification option in your settings. Consider enabling it to alert followers.
- Technical Check (OBS/Streaming Software):
- Audio Levels: Speak into your mic. Are your desktop audio (game/music) and mic audio balanced? Your mic should be slightly louder than game audio. Aim for audio meters to consistently hit the yellow zone, not red.
- Video Preview: Does your webcam look good? Is your game capturing correctly?
- Internet Stability: Run a quick speed test, or ideally, set up a local recording with OBS for a few minutes to check for dropped frames before streaming live.
- Stream Key Check: Ensure your Kick stream key is correctly entered in OBS.
- Mute Your Microphone Locally: Before going live, ensure any background audio or conversations are not being broadcast.
- Mental Prep:
- Manage Expectations: Your first stream might have few or no viewers. That's okay. Focus on practicing, talking to yourself, and getting comfortable.
- Engage with Chat (Even If Empty): Practice talking aloud, describing your gameplay, or thoughts. If someone does join, acknowledge them by name and ask open-ended questions.
- Have Fun: Your genuine enthusiasm is your biggest asset.
Community Pulse: Navigating Early Hurdles on Kick
When new streamers talk about their experiences starting on Kick, a few recurring themes and concerns often surface. It’s useful to acknowledge these to set realistic expectations.
- Discoverability vs. Viewer Retention: While many feel it's easier to get initial eyes on Kick, the challenge often shifts to retaining those viewers. The platform's algorithm might surface new streamers, but building a loyal community still requires consistent content and engaging personality.
- Technical Glitches for the Uninitiated: Common issues often revolve around audio configuration (mic too quiet, game audio too loud), dropped frames due to incorrect bitrate settings or unstable internet, and webcam issues (bad lighting, blurry feed). These are often easily fixed with a bit of troubleshooting, but they can be frustrating initially.
- Chat Interaction in a Smaller Pool: New streamers frequently express anxiety about talking to an empty chat or dealing with sparse interactions. The consensus is to practice commentary regardless, treat any viewer as an honored guest, and be prepared for varied chat dynamics.
- Understanding Kick's Evolving Policies: As a newer platform, Kick's community guidelines and feature sets are still developing. Creators need to stay updated, particularly regarding content rules and monetization eligibility, which can shift.
The takeaway here is that you're not alone in these challenges. Most new streamers face similar technical and social hurdles, regardless of the platform. Persistence and a willingness to learn and adapt are key.
Keeping Your Setup Fresh: What to Review & Update
Your streaming setup isn't a "set it and forget it" system. Regular checks and updates ensure optimal performance and keep you ahead of potential issues.
- Monthly: Software & Driver Updates:
- OBS Studio: Check for and install new versions. They often bring performance improvements, bug fixes, and new features.
- Graphics Drivers: Keep your GPU drivers updated. New game releases often come with optimized drivers that can improve streaming performance.
- Webcam/Mic Drivers: Ensure any dedicated hardware drivers are up to date.
- Quarterly: Audio & Video Quality Check:
- Test Recordings: Periodically do a 10-15 minute test recording in OBS. Watch it back. Does your audio sound clear and balanced? Is your video sharp? Are there any dropped frames?
- Lighting Review: Is your lighting still effective? Have you rearranged your space? Adjust accordingly.
- Mic Placement: Has your mic shifted? Is it still optimal?
- Every 6 Months: Internet Health Check & Kick Updates:
- Full Speed Test: Run a comprehensive internet speed test, especially during peak usage hours. If your speeds have degraded, contact your ISP.
- Kick Platform Changes: Review Kick's official blog or social channels for any platform updates, new features, or changes to monetization/community guidelines. Your content strategy might need to adapt.
- Content Review: Take a look at your past streams. What worked? What didn't? Are your stream overlays still current and visually appealing? Do they reflect your evolving brand?
- As Needed: Hardware Upgrades:
- As your ambitions grow (higher quality, more complex games), your hardware might become a bottleneck. Keep an eye on your CPU/GPU usage during streams. If consistently maxed out, it might be time for an upgrade.
By making these checks part of your routine, you'll minimize technical headaches and ensure your audience always gets the best possible experience you can deliver.
2026-04-19