Essential Lighting Setup for Streamers: Achieving Studio Quality Visuals
You've got your mic dialed in, your game is running smoothly, and your overlay looks sharp. But when you check your VOD or a clip, your face looks washed out, shadowy, or just plain unprofessional. Lighting is often the silent killer of otherwise great streams. This guide cuts through the jargon to help you achieve professional-looking visuals without needing a Hollywood budget.
The Three-Point Lighting Foundation
At its core, professional lighting for video relies on a simple yet effective principle: three-point lighting. This isn't about buying three specific lights, but rather understanding the roles of light in shaping your image. The goal is to illuminate your face clearly, add dimension, and avoid harsh shadows.
Here’s the breakdown:
- Key Light: This is your primary light source. It's the brightest and defines the shape of your face. It should be positioned to one side of your camera, typically about 45 degrees to your face, and angled downwards slightly. The aim is to create gentle shadows that give your face structure, not to blast it with frontal light.
- Fill Light: This light softens the shadows created by your key light. It's usually placed on the opposite side of the camera from the key light, at a lower intensity. Its job is to "fill" in those dark areas, reducing contrast and ensuring your face is evenly lit. If you're on a budget or have a well-lit room, you might be able to get away with a very soft fill, or even skip it and rely on ambient light.
- Backlight (or Hair Light/Rim Light): This light comes from behind you, often positioned above and behind your head, pointing towards your face or shoulders. Its purpose is to separate you from the background, creating a subtle glow that defines your silhouette and prevents you from looking like you're "stuck" to your screen. This is a key differentiator for a studio look.
You don't need three expensive fixtures. Often, a single versatile light can act as your key, and then you can use natural light from a window, a desk lamp, or even the light from your monitor (carefully!) as a fill. The backlight is where a dedicated light often makes the biggest difference.
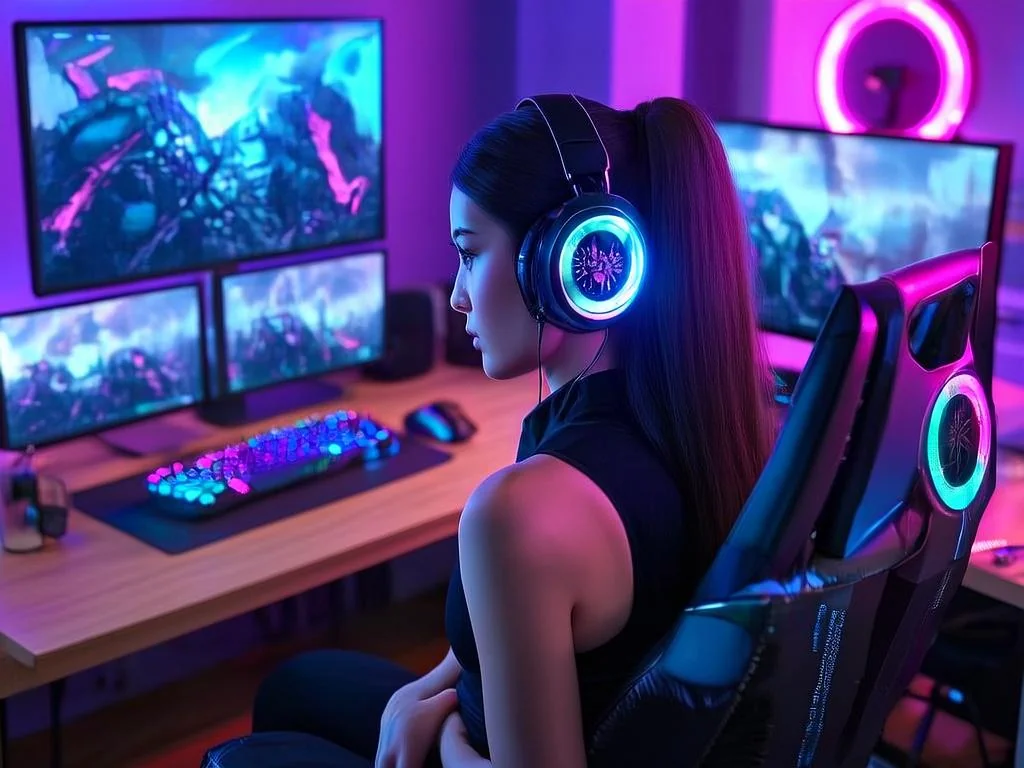
Choosing Your Lights: Beyond the Ring Light
The ubiquitous ring light has its place, especially for close-up webcam work where it can provide a relatively even wash of light. However, for more dynamic and flattering lighting, consider other options. The key is diffusion – softening the light source to prevent harshness.
Softboxes: These are fabric boxes that surround a light source, diffusing the light significantly. They produce a soft, wrap-around effect that's very flattering. They come in various sizes, with larger ones offering softer light. A medium-sized softbox as your key light is a popular choice for streamers.
LED Panels: These flat panels emit light and often have adjustable brightness and color temperature. Many come with diffusion covers, making them versatile. They can be mounted on stands and positioned easily.
Desk Lamps with Diffusers: Don't underestimate a good old desk lamp. If you can attach a diffuser (even something as simple as a piece of white parchment paper taped carefully, *ensuring no heat buildup*) or bounce its light off a neutral-colored wall, it can function as a decent fill or even a key light in a pinch.
Ring Lights: While some find them too direct, larger diameter ring lights can be effective. Be mindful of glare, especially if you wear glasses. The light source can reflect directly off the lenses, creating distracting hotspots. Experiment with positioning the ring light slightly off-center or tilted.
Community Pulse: The Light-Behind-the-Eyes Dilemma
A recurring point of discussion among creators revolves around the comfort and aesthetics of direct light sources. Some streamers express a strong dislike for the intense, direct nature of some lighting setups, particularly ring lights. You'll often hear advice like, "I personally just dislike ring lights and try to bounce light off of my wall. You literally are shining a light into eyes for an extended period of time." This highlights a preference for softer, indirect illumination. Experimenting with bouncing your key or fill light off a white or neutral-colored wall or ceiling can create a much softer, more diffused effect that's easier on the eyes and can still look very professional.
A Practical Setup Scenario
Let's say you're streaming from a home office. You have a webcam, a monitor, and a decent amount of desk space. Here’s how you might implement the three-point system without breaking the bank:
- Key Light: You invest in a single LED softbox (around 18-20 inches). You mount it on a light stand and position it about 45 degrees to the left of your camera, angled slightly down towards your face. You set its brightness so it illuminates your face clearly without blowing out highlights.
- Fill Light: On the opposite side of your camera (45 degrees to the right), you place a small, inexpensive LED panel or even a good quality desk lamp with a warm bulb. You set this to a much lower brightness than the key light, just enough to soften the shadows on the right side of your face. Alternatively, if you have a light-colored wall to your right, you could try bouncing your key light slightly off that wall to act as a fill.
- Backlight: Behind you, perhaps mounted on a shelf or a separate stand, you place a small, focused LED light. You aim it at the back of your head or your shoulders. Keep this light relatively dim – its job is to create separation, not to be a spotlight.
This setup uses two dedicated lights, with a third being very minimal, creating depth and a polished look. The key is experimenting with the intensity and position of each light until you achieve a pleasing balance.
What to Re-Check and Update
Your streaming environment isn't static. Your setup should be reviewed periodically, especially as you change your background, camera, or even your seating position.
- Ambient Light Changes: If you rely on natural light (e.g., from a window), be aware that time of day and weather can drastically alter its intensity. You might need to adjust your artificial lights accordingly.
- Camera Position: Did you move your monitor? Did you upgrade to a new webcam? Re-evaluate your light placement relative to the camera's new perspective.
- Background Elements: Are you using a green screen? A busy bookshelf? Changes in your background might require adjustments to your lighting to ensure you're properly separated or that your background elements aren't casting distracting shadows.
- Wear and Tear: Bulbs can dim over time, and softbox fabrics can fade or degrade. Periodically check that your lights are functioning optimally.
Frequently Asked Questions
- What's the best type of light for streamers with glasses?
- For glasses wearers, the biggest challenge is avoiding glare. Ring lights can be particularly problematic. Experiment with placing your key light slightly off-axis (not directly in front) and higher up, aiming downwards. Softboxes or bounced light are generally better options as they provide a larger, softer source that's less likely to create direct reflections. You might also need to adjust the angle of your head or the light source until the glare is minimized.
- Can I use my monitor light as a fill?
- Yes, but with caution. The light from your monitor is typically cool and can create harsh, unflattering lighting on your face, often casting shadows upwards. If you use it, try to keep its intensity very low and position yourself so it's not the dominant light source. It's generally better to use it as a subtle fill or to skip it in favor of a softer light source if possible.
2026-04-23