You've seen the difference: that crisp, professional look from your favorite streamers, the subtle depth of field that separates them from their background, the vibrant colors. It's often the hallmark of a dedicated camera – a DSLR or a mirrorless body – replacing a standard webcam. If you're currently wrestling with a grainy webcam image or limited control over your on-stream appearance, and you're ready to invest in serious visual quality, this guide is for you. We're cutting through the noise to focus on the practical setup and essential gear you'll need to make that leap successfully, avoiding common pitfalls along the way.
Beyond the Webcam: The Realities of DSLR/Mirrorless for Streaming
Upgrading to a dedicated camera for your stream isn't just about spending more; it's about unlocking a level of image quality and creative control that webcams simply can't offer. You gain larger sensors for better low-light performance, interchangeable lenses for precise focal lengths and aperture control (hello, buttery bokeh!), and manual settings that give you command over every aspect of your image.
However, this power comes with a different set of considerations. It's not a plug-and-play experience. You'll need to understand external power, capture cards, specific camera settings, and how lenses impact your on-screen presence. It's a commitment, but one that significantly elevates your production value.
{ }
}
The Essential Gear Ecosystem: More Than Just a Camera Body
Thinking a camera body is all you need is a common trap. A high-quality streaming setup involves a specific ecosystem of accessories that keep your camera running continuously and integrate it seamlessly with your streaming software. Here's what's non-negotiable:
1. The Capture Card: Your Camera's Translator
A capture card is the bridge between your camera's HDMI output and your computer's USB or PCIe input. Your DSLR or mirrorless camera sends a clean video feed (without menus or overlays) via HDMI, and the capture card converts it into a format your streaming software (like OBS Studio or Streamlabs Desktop) can understand.
- External Capture Cards: Plug into a USB port (USB 3.0 or higher is crucial for bandwidth). They're portable and easy to set up, making them a popular choice for most streamers. Think devices like the Elgato Cam Link series or various UVC-compliant HDMI to USB adapters.
- Internal Capture Cards: Install directly into a PCIe slot on your motherboard. These typically offer lower latency and can handle higher resolutions/frame rates with less CPU overhead, ideal for dedicated streaming PCs.
2. Continuous Power: Say Goodbye to Battery Swaps
Camera batteries are designed for photography sessions, not hours of continuous video streaming. You absolutely need a "dummy battery" or AC adapter for your specific camera model. This accessory replaces your camera's standard battery and plugs directly into a wall outlet, providing uninterrupted power. Without it, you'll be swapping batteries every hour or two, which is disruptive and unprofessional.
3. The Right Lens: Shaping Your On-Screen Persona
This is where the creative control truly shines. The lens dictates your field of view, how much background blur (bokeh) you can achieve, and how well it performs in your lighting conditions.
- Prime Lenses (Fixed Focal Length): Often recommended for streaming. Lenses like a 30mm, 35mm, or 50mm f/1.8 (or f/1.4) are affordable, incredibly sharp, and excel in low light. Their wide aperture (low f-number) creates that desirable shallow depth of field, making your background softly blurry.
- Zoom Lenses: Offer versatility but often come with a smaller maximum aperture (e.g., f/3.5-5.6), meaning less background blur and poorer low-light performance. If you have a kit lens (e.g., 18-55mm), it can work, but a good prime lens is usually a significant upgrade for streaming.
4. Mounting Solution: Stability is Key
A stable mount is crucial to prevent camera shake and allow precise positioning.
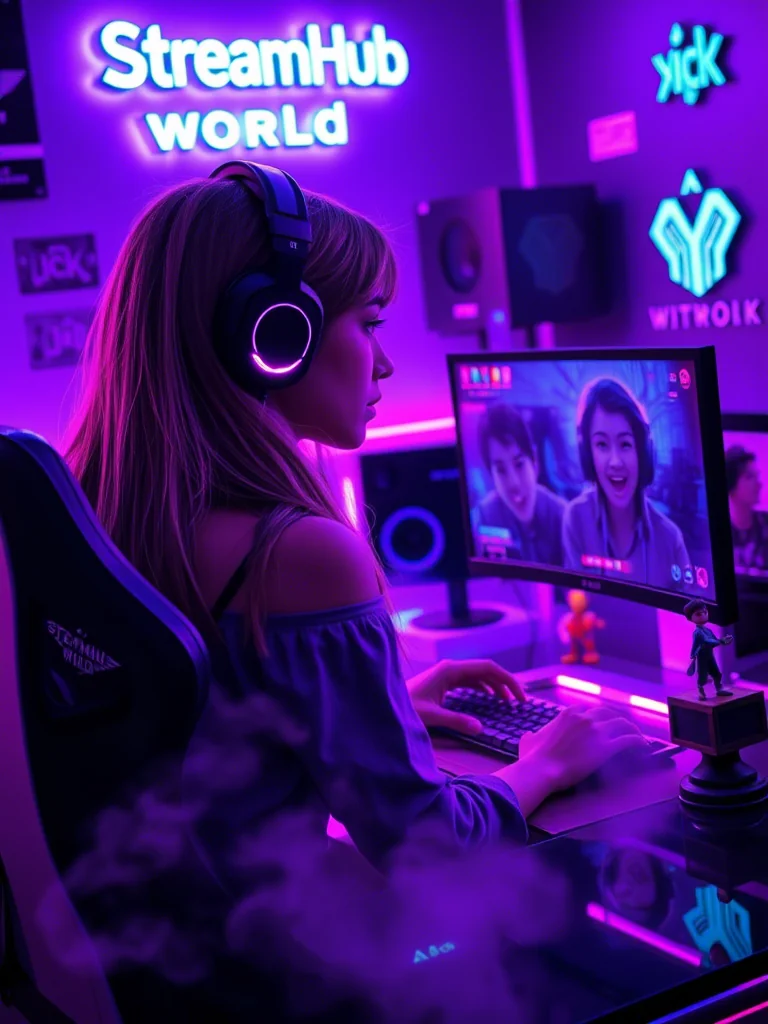
- Desk Clamps/Arms: Excellent for keeping your camera off your desk, freeing up space, and allowing flexible positioning. Look for robust options that can support your camera's weight. You can find quality camera mounts and accessories designed for streamers at streamhub.shop.
- Tripods: A good tabletop or full-size tripod offers stability but takes up desk or floor space. Useful if you need to reposition your camera frequently or use it for other content creation.
5. Reliable Cables: HDMI and USB
Don't skimp on cables. A high-quality HDMI cable (HDMI 1.4 or newer for 1080p, HDMI 2.0 or newer for 4K) is essential for a clean signal from your camera to your capture card. For USB capture cards, use the cable that came with the card or a high-quality, shielded USB 3.0 (or higher) cable to ensure stable data transfer.
Initial Setup Workflow: From Unboxing to Live
Once you have your gear, here's a practical workflow to get your DSLR or mirrorless camera ready for its streaming debut:
Step-by-Step Setup and Configuration
- Power Up & Connect: Insert the dummy battery into your camera and plug it into a wall outlet. Connect your camera's HDMI output to your capture card's input. Connect the capture card to your computer's appropriate USB or PCIe slot.
- Camera Settings (Manual Control is Your Friend):
- Shooting Mode: Set your camera to Manual (M) or Shutter Priority (Tv/S) for full control.
- Shutter Speed: For video, a good rule of thumb is to set it to roughly double your frame rate (e.g., 1/60th for 30fps, 1/120th for 60fps). This creates natural motion blur.
- Aperture (f-stop): Adjust this to control brightness and depth of field. A lower number (e.g., f/1.8) means more light and more background blur. Start here and adjust as needed.
- ISO: Keep this as low as possible (e.g., 100-400) to minimize noise. Only increase if your lighting isn't sufficient after adjusting aperture and shutter speed.
- White Balance: Set it manually (e.g., 5000K-5600K for daylight/softboxes, or use a custom white balance shot with a grey card) to ensure consistent, accurate colors. Avoid auto white balance for streaming.
- Picture Profile/Picture Style: Choose a "flat" or "neutral" profile if available (e.g., Canon's Neutral, Sony's S-Log2/3 or Cine profiles, Nikon's Flat). These retain more detail in highlights and shadows, giving you more flexibility to color grade in OBS filters if desired. Otherwise, a standard profile works fine.
- Autofocus Mode: If you're stationary, switch to Manual Focus (MF) to prevent focus hunting. Focus once on your eyes and leave it. If you move frequently, enable continuous autofocus (AF-C or Servo AF) with face/eye tracking if your camera has it, but be aware it can sometimes "hunt" for focus.
- Clean HDMI Output: Ensure your camera is set to output a clean HDMI signal without on-screen overlays (menus, battery indicators). Check your camera's manual for "HDMI Info Display" or "HDMI Output Settings."
- Software Integration (OBS/Streamlabs):
- Add a "Video Capture Device" source.
- Select your capture card from the dropdown.
- Configure resolution and FPS to match your camera's output (e.g., 1920x1080, 60 FPS).
- Check "Deactivate when not showing" to prevent overheating when not live if your camera supports it.
- Adjust cropping, color corrections, or filters within OBS as needed.
Practical Scenario: The "Small Room, Big Impact" Streamer
Imagine Maya, a new variety streamer working from a compact home office. She wants that creamy background blur and sharp image without breaking the bank or needing a massive setup.
- Camera Choice: Maya opts for an entry-level mirrorless camera (e.g., a used Sony a6000 or Canon M50 Mark II) for its compact size and good video capabilities.
- Lens: Instead of the kit lens, she invests in a 30mm f/1.4 prime lens. This gives her enough width to frame herself comfortably in her small space and a wide aperture for excellent bokeh.
- Power: She immediately orders a dummy battery for her specific camera model.
- Capture Card: A popular USB 3.0 external capture card handles her 1080p60 output.
- Mounting: A sturdy desk-mounted camera arm keeps the camera off her desk, positioned just above her monitor.
- Setup: She sets her camera to manual mode, 1/120s shutter, f/1.8 (for maximum blur), ISO 200, and a custom white balance. She manually focuses on her eyes. In OBS, she adds her capture card source, ensuring it matches 1080p60.
Community Check-In: Addressing Common Hurdles
Through forums and creator discussions, several recurring pain points emerge when streamers transition to dedicated cameras:
- Overheating: Many cameras, especially older models or those not designed for continuous video, can overheat after extended use. This often leads to automatic shutdowns. Solutions include using a dummy battery (which can help dissipate some heat from the battery compartment), enabling "eco mode" or "auto power off" settings (which might conflict with streaming), or sometimes even adding a small USB fan to blow air over the camera body. Some cameras have better thermal management than others; research your specific model's reputation.
- Autofocus Hunting: Cameras constantly trying to re-focus, especially with slight movements or lighting changes, is a frequent complaint. This causes distracting "pulsing" in the video. The common workaround, especially for stationary streamers, is to switch to manual focus.
- "Which Lens Should I Buy?": New users are often overwhelmed by the sheer variety of lenses. The consensus often points to affordable, fast prime lenses (like a 30mm or 50mm f/1.8) as the best starting point for quality and bokeh without excessive cost.
- Color Consistency: Achieving consistent color between streams or matching colors from other sources (like game capture) can be tricky. Manual white balance and using flat picture profiles, along with OBS color correction filters, are key strategies.
Maintaining Your Look: What to Revisit Over Time
Your camera setup isn't a "set it and forget it" system. Regular checks and adjustments ensure your stream quality remains top-notch:
- Lighting Changes: Any alteration to your room's lighting (new window treatments, different time of day, new key light) can impact your exposure and white balance. Re-adjust your camera's manual settings accordingly.
- Firmware Updates: Camera manufacturers frequently release firmware updates that can improve video performance, add features, or fix bugs. Check your camera manufacturer's website periodically for updates.
- Sensor Cleaning: Dust can accumulate on your camera's sensor, appearing as tiny dark spots on your image, especially at smaller apertures. Learn how to safely clean your sensor (or have it professionally cleaned) if you notice this.
- Lens Consideration: As your setup evolves or your content changes, you might find a different focal length or aperture serves you better. Don't be afraid to experiment with other lenses down the line.
- Cable Integrity: Worn or damaged HDMI or USB cables can cause intermittent signal drops or quality degradation. If you experience random flickers or disconnections, check your cables.
2026-04-19