So, you've decided to dive into live streaming, and YouTube is on your radar. Smart move. While other platforms might grab headlines for specific niches, YouTube offers a unique blend of live interaction and long-term content value that can be a game-changer for many creators. But how do you go from "thinking about it" to actually hitting that "Go Live" button without feeling overwhelmed?
This guide isn't about every single feature YouTube offers; it's about making those critical early setup decisions confidently so your first few streams are smooth, engaging, and set you up for sustainable growth. We'll focus on the practical steps and strategic choices that matter most when you're just starting out.
Is YouTube Live Your Platform? Understanding the Fit
Before you even think about gear, consider why YouTube Live might be the right home for your content. It’s not just "another platform"; its strengths cater to specific types of streams and creators.
- VOD Integration & Discoverability: YouTube excels because your live stream immediately becomes a video-on-demand (VOD) asset. This is huge. People can find your content through search long after the live event, driving evergreen views and potential new live viewers for future streams. If your content has a longer shelf-life (tutorials, discussions, deep dives, educational content, craft streams), YouTube is incredibly powerful.
- Audience Familiarity: Billions already use YouTube. Your potential audience is already there, familiar with the interface, and likely to subscribe. This can lower the barrier for new viewers to check out your live content.
- Monetization Pathways: While initial monetization thresholds for live are similar to VODs (1,000 subscribers, 4,000 watch hours or 10 million Shorts views), the diverse options once you qualify (ads, Super Chats, Super Stickers, Channel Memberships) provide multiple revenue streams.
- Long-Form Content Advantage: YouTube's infrastructure naturally supports longer, more relaxed streams. If you envision multi-hour sessions, collaborative projects, or detailed breakdowns, YouTube handles this gracefully.
However, it's not for everyone. If you're chasing hyper-fast chat interactions or a gaming-exclusive audience that primarily lives on Twitch, you might find YouTube's live chat a bit slower or its discoverability for new *live* streams (without an existing VOD library) initially challenging.
A Practical Scenario: Imagine "Maya's Digital Art Studio." Maya streams live drawing sessions, explaining techniques and taking questions. Her content is inherently educational and visually appealing. YouTube is a perfect fit because viewers searching for "digital art tutorial" or "Procreate walkthrough" will find her VODs, then discover her live streams. The chat might not be as frenetic as a high-energy gaming stream, but it allows for thoughtful questions and detailed answers – exactly what her content needs.
{ }
}
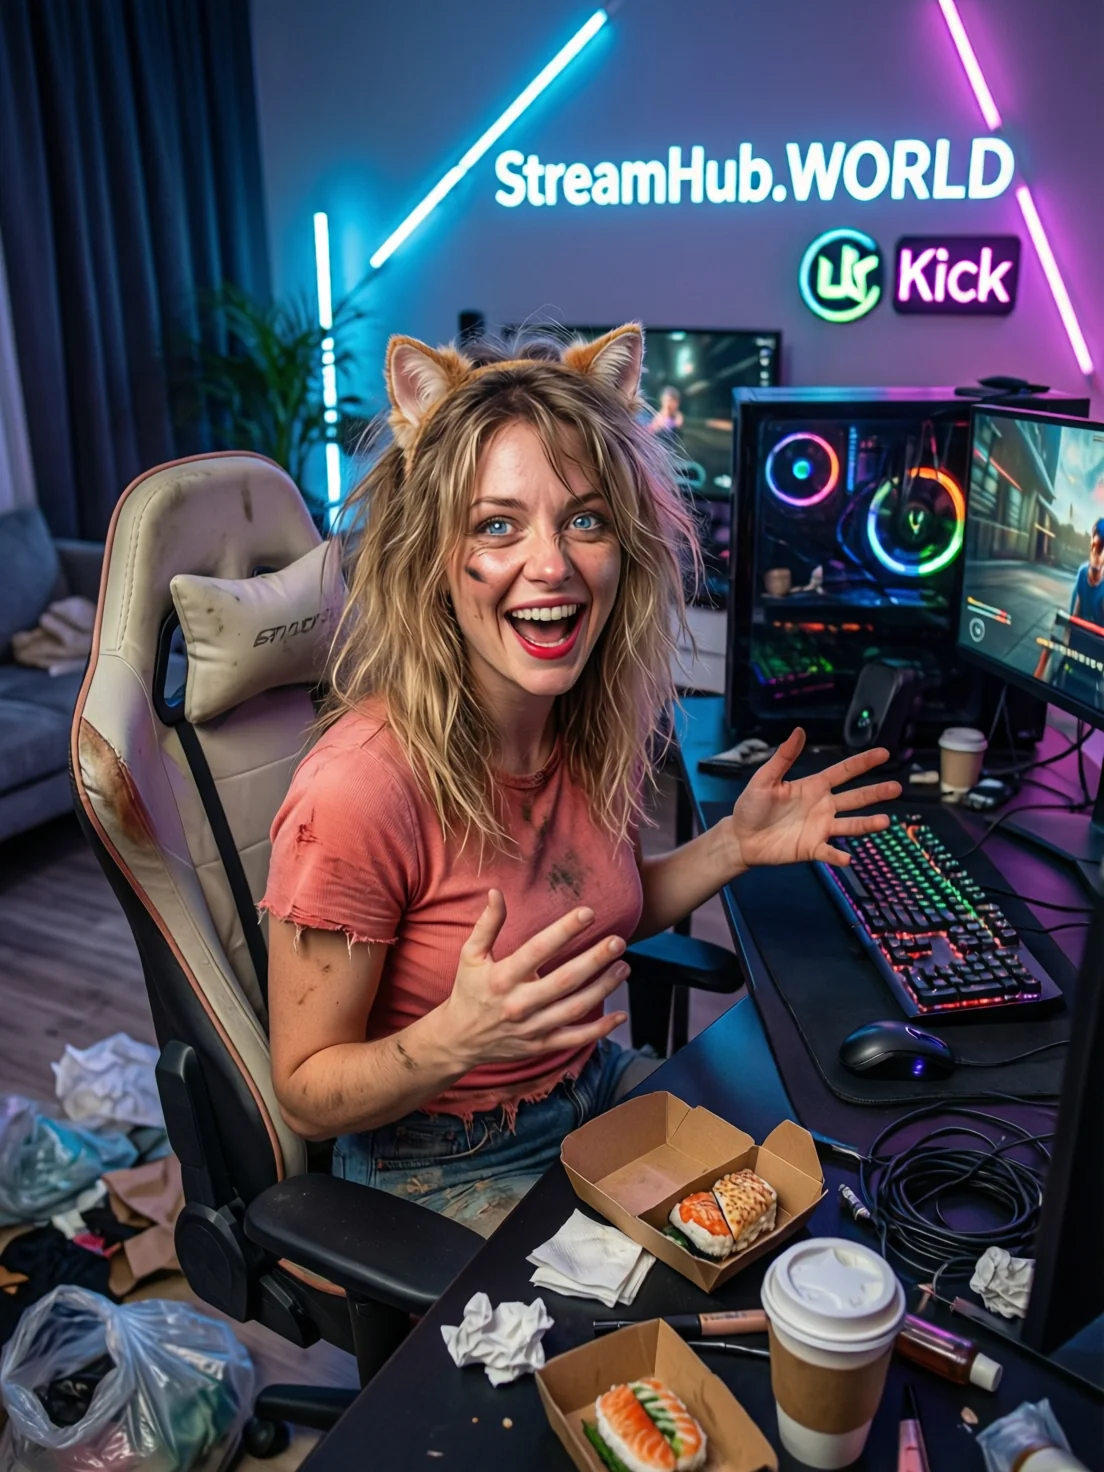
Essential Gear & Software: Building Your Foundation
You don't need a professional studio to start, but a few key pieces will significantly improve your stream's quality and your experience.
- Webcam: A decent 1080p webcam is usually sufficient. Models like the Logitech C920 or Razer Kiyo are solid entry points, offering clear video without breaking the bank. Don't underestimate lighting – even a simple desk lamp aimed at your face can make a huge difference.
- Microphone: This is arguably your most important upgrade. Viewers will tolerate average video more than poor audio. A USB microphone like a Blue Yeti, HyperX QuadCast, or Razer Seiren Mini offers a noticeable improvement over a built-in laptop mic. Position it close to your mouth.
- Computer: You'll need something capable of running your game/application, OBS Studio, and handling the encoding. For 1080p streaming at 30-60fps, an Intel i5 (8th gen or newer) or Ryzen 5 (2000 series or newer) with at least 16GB RAM is a good baseline. A dedicated graphics card (NVIDIA GTX 10-series or AMD RX 500-series equivalent or better) is highly recommended for gaming or complex scenes.
- Streaming Software: OBS Studio is the industry standard and free. It's powerful, versatile, and allows you to build complex scenes with multiple sources (webcam, game, alerts, chat). Start with basic scenes and expand as you get comfortable.
Your First Stream: Pre-Live Checklist & YouTube Studio Setup
Getting ready for your debut stream involves a few critical steps in YouTube Studio and within your streaming software (like OBS).
YouTube Studio Pre-Live Steps:
- Schedule Your Stream: Go to YouTube Studio > Create > Go Live. You can start a stream instantly or, ideally for new streamers, schedule it. Scheduling gives you time to promote and build anticipation.
- Title, Description, & Thumbnail: These are vital for discoverability.
- Title: Clear, concise, and keyword-rich. What is your stream about?
- Description: Provide more detail, relevant links (socials, resources), and a call to action.
- Thumbnail: Design an eye-catching thumbnail. This is your stream's "first impression." High-resolution and text that's readable at small sizes.
- Audience Settings: Crucial for compliance. Is your content "Made for Kids"? Be honest here to avoid issues.
- Tags: Add relevant keywords to help YouTube understand and categorize your content. Think about what people might search for.
- Category: Select the most appropriate category (Gaming, People & Blogs, How-to & Style, etc.).
- Stream Key & Server URL: In YouTube Studio (under "Stream" or "Manage"), you'll find your stream key and server URL. You'll input these into OBS. For simplicity, many prefer to "Connect Account" in OBS rather than manually copy-pasting the stream key.
OBS Studio Setup for YouTube:
- Connect Your YouTube Account: In OBS, go to Settings > Stream. Select "YouTube - RTMPS" as the service. Click "Connect Account" and follow the prompts. This is generally easier and more secure than using a manual stream key.
- Output Settings: Go to Settings > Output.
- Encoder: If you have an NVIDIA GPU, use NVENC (new). If AMD, use AMD VCE/AMF. If only CPU, use x264 (but ensure your CPU is powerful enough).
- Bitrate: For 1080p@60fps, aim for 4500-6000 kbps. For 1080p@30fps, 3000-4500 kbps. For 720p@60fps, 2500-4000 kbps. Adjust based on your internet's upload speed and PC performance.
- Keyframe Interval: Set to 2.
- Video Settings: Go to Settings > Video.
- Base (Canvas) Resolution: Your monitor's resolution (e.g., 1920x1080).
- Output (Scaled) Resolution: Your stream resolution (e.g., 1920x1080 or 1280x720).
- FPS: 30 or 60.
- Audio Settings: Go to Settings > Audio. Set your desktop audio and microphone. Use a compressor and noise gate if needed to clean up your mic audio.
- Scene Creation: Create a "Scene" (e.g., "Main Stream"). Add "Sources" like your game capture, webcam, and microphone. Arrange them how you like. Test everything!
Pre-Stream Checklist (5 minutes before going live):
- ✓ Internet Connection: Stable? Run a speed test (fast.com or speedtest.net).
- ✓ Audio: Mic working? Desktop audio balanced? No feedback?
- ✓ Video: Webcam clear? Game capture showing? Lighting good?
- ✓ YouTube Studio: Stream preview looks good? Title/description correct?
- ✓ OBS: Correct scene active? Stream health good (green square at bottom right, no dropped frames)?
- ✓ Hydration & Comfort: Water bottle, comfortable chair, quick stretch!
Community Pulse: Navigating Common Anxieties
Among new streamers, a few concerns frequently surface regarding YouTube Live. It's helpful to acknowledge these common patterns and understand they're part of the learning curve.
Many creators express initial anxiety about low viewer counts or a quiet chat during their first few streams. There's often a feeling of "am I talking to myself?" or "is anyone even out there?" This is entirely normal. YouTube discoverability for live streams takes time, especially without an existing subscriber base. The advice here is consistent: focus on quality over quantity. Engage with the few viewers you have, or practice talking as if a vibrant chat is happening. Your VODs will attract more eyes over time, which feeds back into your live audience.
Another recurring theme is technical worry: "Will my stream drop?", "Is my audio balanced?", "What if my game crashes?" These technical hurdles can feel daunting. The best remedy is thorough testing. Do unlisted test streams. Record local footage in OBS and review it. Troubleshoot common issues (internet speed, CPU usage) before you go live. Over time, muscle memory and confidence grow.
Lastly, new streamers sometimes feel overwhelmed by the need to "perform" or be constantly entertaining. YouTube's live environment can be more forgiving than others for less frantic, more conversational streams. Embrace your natural style. Authenticity often trumps forced high energy, especially for content that benefits from deeper engagement.
Keeping Your Stream Setup Sharp: Ongoing Review
Your streaming setup isn't a "set it and forget it" situation. Regular review and updates are crucial for maintaining quality and adapting to changes.
- Regular Audio Checks: Periodically listen back to your VODs. Is your microphone still clear? Is the game/desktop audio balanced with your voice? Are there any new background noises? Software updates or new peripherals can sometimes alter audio profiles.
- Monitor Video Quality: Keep an eye on your stream health in OBS and YouTube Studio. Are you dropping frames? Is your bitrate consistent? Over time, game updates or background applications might demand more resources, impacting your video. Check your lighting and camera focus.
- Software Updates: Keep OBS Studio, your GPU drivers, and your operating system updated. These updates often bring performance improvements, bug fixes, and new features that can benefit your stream.
- Review YouTube Analytics: Dive into your YouTube Studio analytics for your live streams. Which streams performed best? What was the average watch time? Where did viewers drop off? This data is invaluable for understanding your audience and refining your content strategy.
- Content & Engagement Strategy: Don't just stick to the technical. How are you interacting with your chat? Are you trying new segments? Your audience evolves, and your content should too. Experiment with different stream lengths, topics, or interactive elements.
2026-03-29