You’ve got a fantastic game in mind, one that demands the latest hardware, but your current setup just isn’t quite there. Or maybe you're on a laptop and want to jump into the most visually intensive titles without investing thousands. Cloud gaming services like GeForce Now or Xbox Cloud Gaming offer a compelling solution: play high-fidelity games from virtually anywhere. But can you share that experience with your audience? Can you broadcast a game that’s already being streamed to you?
The short answer is yes, you absolutely can. However, it's not simply "plug and play." Streaming a cloud game introduces unique challenges and demands a thoughtful approach to your setup. You're effectively streaming a stream, a 'streamception' that requires careful optimization to deliver a smooth experience for both you and your viewers. Let's dig into how to make it work.
The Fundamental Challenge: Streaming a Streamed Game
When you play a game locally, your PC renders the graphics, processes the audio, and then your streaming software (like OBS Studio or Streamlabs Desktop) captures that raw output. When you're using a cloud gaming service, the game is running on a powerful remote server, and that server is sending you a compressed video stream of the game. Your computer is essentially acting as a sophisticated media player.
The core challenge is that you're then taking *that* incoming video stream, and your local streaming software has to re-encode it and send it out as *your* live broadcast. This 'double encoding' or 'streamception' process is resource-intensive, especially on your internet connection and local CPU/GPU, and can introduce additional latency and visual artifacts if not managed carefully.
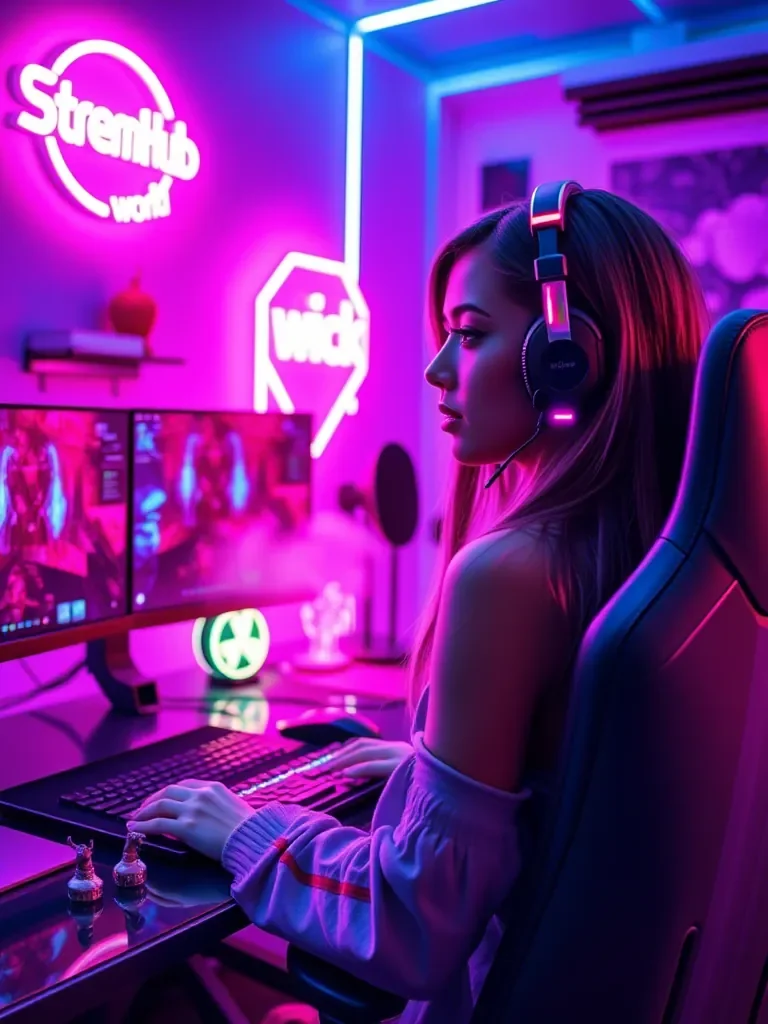
Setting Up Your Capture: Practical Steps for OBS Studio/Streamlabs Desktop
This is where the rubber meets the road. While cloud gaming platforms are optimized to send you a clean, low-latency video, capturing that video for your own stream requires specific methods.
- Choose Your Capture Source Wisely:
- Display Capture: This is often the most reliable method for capturing cloud gaming services. It captures your entire monitor, so ensure the cloud gaming window is full screen and nothing else you don't want visible is showing. It's robust but less efficient than other methods.
- Window Capture: If the cloud gaming client runs in its own dedicated window (e.g., the GeForce Now app), try 'Window Capture' in OBS. Select the specific application window. This is more efficient than Display Capture as it only captures that window, but it can sometimes be finicky or show black screens if the client uses specific rendering APIs.
- Game Capture: While ideal for local games, 'Game Capture' almost never works with cloud gaming services because your local PC isn't actually running the game's executable in a way that Game Capture can hook into. Don't waste time trying this first.
- Audio Setup: Avoiding Echoes and Double Audio:
- Desktop Audio: By default, OBS/Streamlabs will capture your "Desktop Audio." This is usually sufficient for picking up the game's sound from the cloud service.
- Monitor Audio: If you're using headphones or have a complex audio setup, ensure you're not inadvertently monitoring your own stream's audio back through your headphones, creating an echo loop. Use push-to-talk for voice chat if necessary to avoid mic bleed into game audio.
- Separate Audio Tracks (Advanced): For more control in post-production, consider routing your game audio, microphone, and alerts to separate tracks in OBS. This won't directly solve double audio but gives you more flexibility if you need to adjust levels later.
- Encoding Settings: Balancing Quality and Performance:
- Encoder: If you have an NVIDIA GPU (even an older one), NVENC (New) is almost always preferred over x264 (CPU) for streaming cloud games. NVENC uses a dedicated chip for encoding, freeing up your CPU, which will likely be busy decompressing the incoming cloud game stream. For AMD, use AMF/VCE.
- Bitrate: This is critical. You need enough upload bandwidth for your stream, but also enough download bandwidth for the cloud game.
- For 1080p at 60fps, aim for 4500-6000 kbps for your *outgoing* stream.
- For 720p at 60fps, 2500-4000 kbps.
- Resolution & FPS: Consider streaming at 720p 60fps instead of 1080p 60fps. This significantly reduces the demands on your internet upload and your local encoder, leading to a more stable stream for your viewers.
- CPU Preset (x264 only): If you *must* use x264, start with 'Very Fast' or 'Superfast'. Going lower will likely cause encoding lag, as your CPU is already working hard on the incoming video.
Practical Scenario: The Indie Dev Streams an AAA Blockbuster
Maria is an indie game developer who primarily streams her coding sessions and development progress. Her PC is robust enough for her own work, but its GPU (a GTX 1660 Super) struggles with the latest AAA titles like "Palworld" at high settings. She wants to stream a play-through for her community. Instead of upgrading her GPU, she subscribes to GeForce Now's Ultimate tier.
Here's how she sets it up:
- She launches GeForce Now, starts "Palworld" in full screen on her primary monitor.
- In OBS Studio, she adds a 'Display Capture' source, ensuring it targets her primary monitor. She mutes the default 'Desktop Audio' source in OBS to avoid double audio and adds a new 'Audio Output Capture' source, specifically selecting her headphones as the output device to ensure clear game audio.
- For encoding, she uses NVENC (New) and sets her output resolution to 1920x1080 (downscaled from 2560x1440 from GFN) at 60fps with a bitrate of 5500 kbps.
- Before going live, she runs a speed test, confirming she has 500 Mbps download and 50 Mbps upload. This is crucial as GeForce Now uses about 40-50 Mbps for the game, leaving plenty of headroom for her 5.5 Mbps stream.
- During her first stream, she notices occasional micro-stutters and some blockiness when there's intense action on screen. She quickly adjusts her OBS output resolution down to 1280x720 at 60fps and lowers her bitrate to 3500 kbps. This significantly improves stability, and her viewers appreciate the consistent frame rate over slightly higher resolution.
Community Pulse: What Creators Are Saying
Across various creator forums and discussions, a few recurring themes emerge when streamers talk about broadcasting from cloud gaming services. Many appreciate the accessibility, noting that it's allowed them to play and stream games they otherwise couldn't afford to run locally. There's a general understanding that it requires a very strong, stable internet connection, with occasional frustration expressed when internet fluctuations impact both the incoming game stream and the outgoing broadcast simultaneously.
Common pain points often revolve around visual quality. Streamers report seeing more compression artifacts, especially in fast-moving scenes, because the game is effectively being compressed twice: once by the cloud service, and again by their streaming software. Audio setup can also be tricky, with creators sometimes struggling to separate game audio from their own microphone, or dealing with slight audio delays.
Another frequently mentioned concern is input latency. While modern cloud gaming services are impressive, there's always a slight delay between your input and the game's reaction, and then another delay as that reaction is streamed back to you. Adding your own stream on top of that can compound the feeling, making highly competitive or rhythm-based games challenging to play and stream effectively. Many advise sticking to single-player or more casual multiplayer experiences.
Maintaining Your Cloud Streaming Workflow
Your streaming setup isn't a "set it and forget it" system, especially when dealing with the dynamic nature of cloud gaming and internet connections. Regularly reviewing and potentially tweaking your settings is key to a consistent viewer experience.
- Monitor Internet Speed and Stability: Regularly run speed tests. Check for packet loss using tools like PingPlotter. A sudden dip in download speed will impact your game, while an upload dip will hit your stream. If you share your network, be aware of others using bandwidth during your stream times.
- Review Cloud Gaming Service Updates: Cloud platforms frequently update their clients, codecs, and server infrastructure. What worked yesterday might work even better tomorrow, or require a slight adjustment. Keep an eye on their patch notes.
- Test OBS/Streamlabs Desktop Updates: Streaming software also gets regular updates. These can bring performance improvements, new features, or sometimes, new bugs. Always do a test stream (to Twitch Inspector or a local recording) after a major update before going live.
- Check Your Encoding Load: Keep an eye on your OBS/Streamlabs performance stats during a stream (e.g., dropped frames, encoding overload warnings). If you're consistently dropping frames due to encoding, you might need to lower your resolution, frame rate, or bitrate.
- Audience Feedback: Pay attention to chat. Viewers are often the first to notice visual stutters, audio sync issues, or poor quality. Engage with them to understand if your stream quality is holding up.
2026-03-12