Starting a live stream can feel overwhelming, especially when you’re navigating software like OBS Studio for the first time. OBS (Open Broadcaster Software) is a powerful, free tool used by thousands of Twitch and Kick streamers to broadcast high-quality content. A well-configured OBS setup not only ensures smooth streams but can also contribute to long-term channel growth.
This article will guide you through setting up OBS Studio from scratch and touch on smart ways streamers safely boost their visibility using modern growth tools like Twitch viewers boost and Kick boost solutions.
Why OBS Studio Is Essential for Streamers
OBS Studio is the go-to choice because it offers:
-
High customization for overlays and scenes
-
Reliable performance even on mid-range PCs
-
Seamless integration with Twitch, YouTube, and Kick
A properly set up OBS Studio can dramatically improve your stream’s look, stability, and discoverability.
Step 1: Download and Install OBS Studio
-
Go to the official OBS Studio website.
-
Download the version compatible with your operating system (Windows, macOS, Linux).
-
Follow the installation prompts and launch the application.
💡 Tip: Always download OBS from the official website to avoid security risks.
Step 2: Configure Basic OBS Settings
Navigate to Settings > Output and apply these starter recommendations:
-
Streaming Encoder: x264 (or NVENC for NVIDIA GPUs)
-
Bitrate: Start with 4500 Kbps for 720p at 60 FPS
-
Keyframe Interval: 2 seconds
-
CPU Usage Preset: Veryfast (adjust if you notice lag)
In Video Settings:
-
Base (Canvas) Resolution: Match your monitor’s resolution
-
Output (Scaled) Resolution: 1280x720 or 1920x1080 depending on your internet speed
-
FPS: 30 or 60
Step 3: Connect OBS to Twitch or Kick
-
Go to Settings > Stream.
-
Select the platform (Twitch or Custom for Kick).
-
Paste your Stream Key from your Twitch or Kick dashboard.
✅ Checklist:
-
Stable internet connection (preferably wired)
-
Correct stream key
-
Audio sources added and tested
Step 4: Set Up Scenes and Sources
A good stream layout includes:
-
Video Capture Device: Your webcam
-
Audio Input Capture: Microphone
-
Game Capture or Display Capture: The content you’re streaming
-
Overlays: Alerts, chat boxes, branding
🎮 Example:
-
Scene 1: Starting Soon screen
-
Scene 2: Live Gameplay with webcam overlay
-
Scene 3: Intermission with chat and social media handles
Step 5: Optimize for Performance
-
Enable Hardware Encoding if your PC supports it
-
Lower the resolution if you experience frame drops
-
Close unnecessary background apps
🔧 OBS Tip: Monitor your CPU usage and dropped frames in the OBS stats window.
Step 6: Test Your Stream
-
Do a private stream on Twitch or Kick to check audio, video, and stability.
-
Record a sample session locally to fine-tune your settings.
Smart Growth: Boosting Stream Visibility Safely
Setting up OBS is only the first step toward a successful streaming career. Many streamers also focus on visibility boosting to attract more viewers and improve discoverability.
While there are concerns about unsafe boosting practices, modern solutions have evolved to offer safer, community-friendly options.
✅ For example:
-
Gradual viewer ramp-up (avoids sudden spikes)
-
Distributed IP networks to prevent platform detection
-
Smart algorithms to mimic organic growth
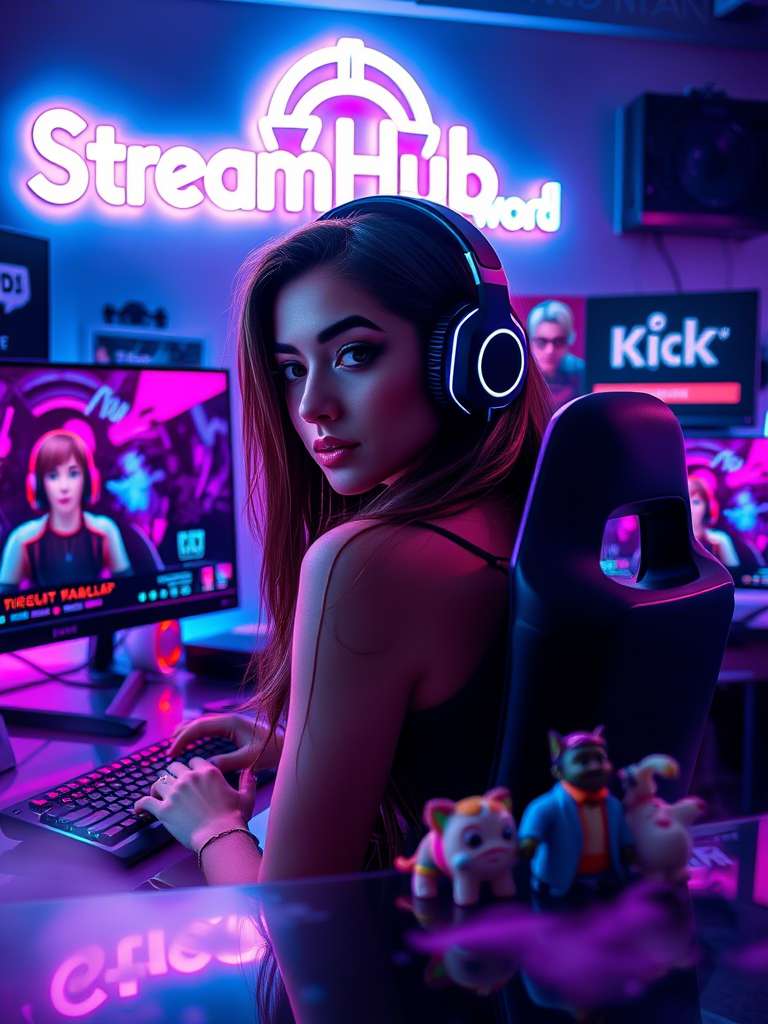
Services like StreamHub.World specialize in smart, secure Twitch viewers boost and Kick growth tools that many streamers use successfully.
Some platforms offer free Twitch viewers programs to help beginners gain initial traction. When done correctly and responsibly, using these tools can safely support your Twitch promotion and help you grow your Twitch stream consistently.
Examples of Safe Boosting Practices
-
Gradual activation (5 viewers > 20 viewers > 50 viewers)
-
Real-time engagement simulations
-
Kick viewer boosts with controlled session timing
StreamHub.World is known for applying these strategies to safely boost Twitch channels without raising red flags.
Summary Checklist: Setting Up OBS Studio and Growing Smartly
✅ Download and install OBS Studio from the official site
✅ Apply recommended output and video settings
✅ Connect OBS to your Twitch or Kick account
✅ Set up scenes, sources, and overlays
✅ Optimize stream performance
✅ Test stream quality before going live
✅ Consider smart, gradual Twitch viewers boost using safe tools like StreamHub.World
✅ Focus on long-term discoverability and consistent content
Final Thoughts
A well-configured OBS Studio is the foundation of your streaming success. Combined with smart visibility strategies—like safe Twitch live boost techniques and Kick boost tools—your channel can grow faster and safer.
Streamers today have access to advanced Twitch viewership tools that make it possible to grow with confidence. With services like StreamHub.World, boosting can be done safely and efficiently, helping you get more viewers on Twitch without compromising your account.