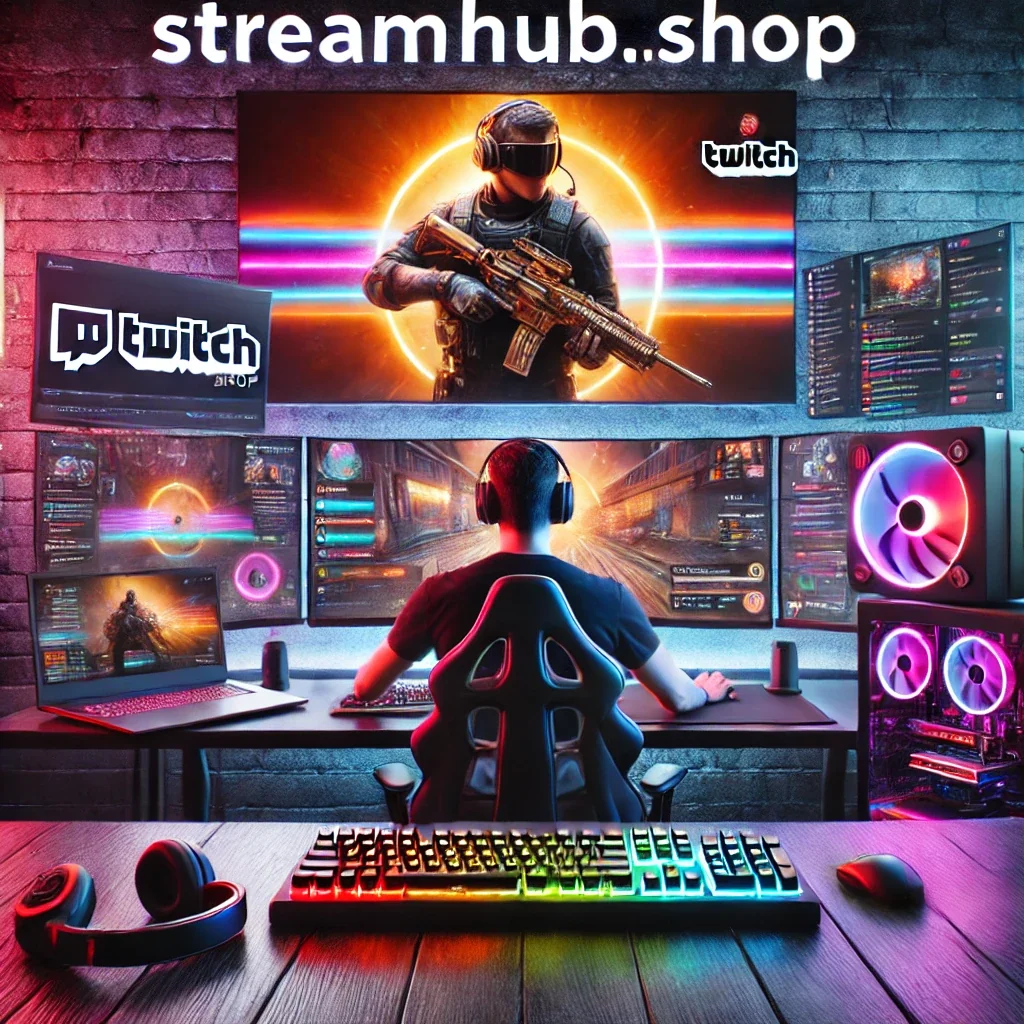
You're a streamer, pouring hours into creating engaging content, refining your gameplay, and building a community. But sometimes, when you look at your stream layout, it just... feels a bit generic. You picked a free overlay pack, or perhaps a budget-friendly one, and while it gets the job done, it doesn't quite scream "YOU." This is where custom stream overlays step in, not just as a visual upgrade, but as a strategic move to solidify your brand and enhance viewer experience.
The decision to go custom isn't about chasing trends or spending money unnecessarily. It's about intentional design. A custom overlay allows you to craft a visual identity that is perfectly aligned with your content, personality, and community. It's a statement that says, "I'm serious about my stream, and I value the experience I offer." It helps you stand out in a crowded space, making your channel instantly recognizable and memorable.
Think of it as the digital storefront for your content. Would you rather walk into a unique boutique that perfectly reflects its brand, or a chain store that looks exactly like every other one? Your custom overlay is that boutique, carefully curated to draw viewers in and keep them engaged.
Core Design Principles for Impactful Stream Overlays
Before you even open a design program, understanding fundamental design principles will guide you toward an overlay that not only looks good but performs well. A pretty overlay that obstructs gameplay or overwhelms the viewer is a failure.
Clarity and Readability: Don't Obscure the Action
The primary purpose of most streams is the content itself – be it gameplay, your face, or a creative project. Your overlay should complement, not compete. This means:
- Minimalism: Avoid unnecessary elements. Every piece of your overlay should have a purpose.
- Legible Fonts: Choose fonts that are easy to read at various resolutions and sizes. Intricate, decorative fonts might look cool but often cause strain.
- Sufficient Contrast: Ensure text stands out against its background. Light text on a light background, or dark text on a dark background, is a common pitfall.
- Strategic Placement: Place webcam frames, alerts, and information panels in areas that don't block crucial parts of your game UI or action.
Consistency and Branding: Your Stream's Visual Voice
Your overlay is a key part of your brand identity. Consistency across all elements builds recognition.
- Color Palette: Select 2-4 primary colors that reflect your brand's mood and use them consistently across all overlay elements, alerts, and even offline screens.
- Font Family: Stick to one or two complementary fonts. Don't use a different font for every piece of text.
- Graphic Style: Whether it's sharp and modern, playful and hand-drawn, or grunge and edgy, ensure all graphic elements (icons, borders, backgrounds) share a cohesive style.
- Reflect Your Content: If you're a calm, chill streamer, a neon, high-energy overlay might feel disjointed. If you play horror games, perhaps a darker, more atmospheric design.
Hierarchy and Balance: Guiding the Viewer's Eye
Not all information is equally important at all times. Your overlay should guide the viewer's eye to what matters most.
- Prioritize: Decide what's most important: the game, your webcam, chat, or alerts. Use size, color, and placement to emphasize these elements.
- Visual Flow: Arrange elements in a way that feels natural and not chaotic. Avoid cramming everything into one corner or spreading it too thinly.
- Whitespace: Allow for empty space around elements. This prevents visual clutter and makes the design feel cleaner and more professional.
Practical Case: The FPS Streamer vs. The Art Streamer
Consider a streamer who primarily plays fast-paced first-person shooters. Their overlay priorities would lean heavily into minimalism and non-obstruction. A small, sleek webcam frame, perhaps very subtle health/ammo readouts (if customized for a specific game), and alerts that pop up briefly and disappear quickly, ideally not over the crosshair or critical HUD elements. Their color palette might be bold but with muted tones to avoid distraction.
Now, compare that to an art streamer, whose primary content is their drawing tablet. Their overlay can afford to be more elaborate. A larger webcam frame showing their hands at work, a prominent "currently drawing" text, perhaps a dedicated space for chat or even a small gallery of past work. Their color scheme might be softer, more inviting, reflecting the creative process. The hierarchy shifts dramatically; the art takes center stage, but the overlay elements can be more integrated and visually rich.
Tools of the Trade: Your Overlay Workshop
Creating custom overlays requires a mix of design software for static elements, and potentially animation tools for dynamic ones. The right tools depend on your budget, skill level, and ambition.
- Graphic Design Software (Static Elements):
- Adobe Photoshop / Illustrator: The industry standard. Powerful, versatile, but comes with a subscription cost and a steeper learning curve. Ideal for complex graphics, vector art, and photo manipulation.
- Affinity Designer / Photo: Excellent, one-time purchase alternatives to Adobe. Very capable and often praised for their user-friendly interfaces, making them great for serious hobbyists or budget-conscious professionals.
- GIMP / Photopea: Free, open-source alternatives. GIMP is a robust Photoshop-like editor, while Photopea is a browser-based tool that can open PSD files. They require patience to learn but are completely free.
- Canva: While not a professional design tool, Canva is fantastic for quick, simple text-based overlays, social media graphics, or basic panels, especially if you're not looking to do intricate custom artwork.
- Animation / Motion Graphics Software (Dynamic Elements):
- Adobe After Effects: The professional choice for animated alerts, stinger transitions, and animated overlays. Very powerful, but steep learning curve and subscription cost.
- DaVinci Resolve (Fusion): A free, incredibly powerful video editing suite that includes a robust node-based compositing tool (Fusion). Excellent for learning motion graphics without an initial investment, though it also has a learning curve.
- Streamlabs OBS / OBS Studio: While not design tools, these are where your overlays come to life. They act as the canvas, allowing you to import your custom graphics as image sources, browser sources (for animated alerts/chat), and media sources.
Remember, you don't need every tool from day one. Start with what you can afford and learn, then expand as your skills and needs grow. Many streamers begin with static PNGs and JPGs, then gradually introduce animated elements.
Community Pulse: Shared Hurdles and Realities
Talking to creators about custom overlays often reveals a common set of challenges. It's easy to feel like you're the only one struggling, but these are widely shared experiences:
- Overwhelm with Design Software: Many streamers express feeling intimidated by Photoshop or After Effects, finding the interfaces complex and the learning curve steep. The sheer number of options can be paralyzing.
- Balancing Uniqueness with Functionality: There's a recurring concern about creating something visually stunning that still integrates seamlessly with gameplay without obstructing key information or distracting viewers. It's a fine line between "cool" and "clutter."
- The Time vs. Money Dilemma: Streamers often debate between investing significant time into learning design tools and creating everything themselves, or paying a professional designer. Both paths have their merits and drawbacks, and the "right" choice often depends on individual resources and priorities.
- Keeping Up with Trends (or Not): Some creators feel pressure to constantly update their look to match current aesthetics, leading to a treadmill of design work. Others prioritize a timeless look, but then worry their design might eventually feel dated.
These aren't failures; they're inherent parts of the creative process. Acknowledging these hurdles can help you set realistic expectations and approach your overlay project with patience and a willingness to learn (or outsource).
Building Your Custom Overlay: A Practical Workflow
Approaching your custom overlay creation with a structured plan can prevent wasted effort and lead to a more cohesive result.
- Define Your Brand's Vibe:
- Keywords: If your stream were 3 adjectives, what would they be? (e.g., "Chill, Cozy, Retro" or "Intense, Competitive, Futuristic").
- Color Palette: Research color psychology and find 2-4 colors that represent your vibe. Use online tools to generate complementary palettes.
- Inspiration: Collect screenshots of other streams, art, or websites whose aesthetics you admire. Understand *why* you like them.
- Sketch and Plan Your Layout:
- Paper & Pencil: Seriously, start here. Draw rough rectangles for your game, webcam, chat, alerts, and any info panels. Experiment with different arrangements.
- Prioritize: Which elements are crucial? Which are secondary? Ensure primary elements have prominent, unobstructed placement.
- Gather or Create Static Assets:
- Webcam Frame: Design a border that matches your brand.
- Info Panels: For "About Me," "Socials," "Rules," etc. Create unique icons or text styles.
- Backgrounds/Overlays: If you need a full-screen overlay for "Starting Soon" or "Be Right Back," design it now.
- Fonts: Download or license fonts that match your aesthetic and are readable.
- Integrate Dynamic Elements (Alerts, Chat Box):
- Alerts: Design custom graphics or animations for new followers, subs, donations, raids. Keep them concise and on-brand.
- Chat Box: Customize its appearance (background, font color, scrollbar) using CSS if applicable (many widgets allow this).
- Goal Bars: Design unique progress bars for subscriber goals, donation goals, etc.
- Test Extensively in Your Streaming Software:
- OBS Studio / Streamlabs Desktop: Import all your elements. Check sizing, layering, and placement.
- Live Test: Do a private stream or record a session. Play your game or perform your content. Actively watch for any elements that obscure gameplay, are hard to read, or feel out of place.
- Performance: Monitor CPU/GPU usage. Complex animations or too many browser sources can impact performance.
- Iterate and Refine:
- Get Feedback: Ask trusted friends or community members for their honest opinions. What works? What doesn't?
- Adjust: Don't be afraid to tweak colors, resize elements, or even redesign parts based on feedback and your own observations.
Keeping Your Look Fresh: What to Review Next
A custom overlay isn't a "set it and forget it" item. Your stream evolves, and so should its visual identity. Periodically reviewing your overlay ensures it remains relevant, performant, and reflective of your current brand.
When to Conduct a Review:
- Every 6-12 Months: A good baseline for a full check-up.
- After a Major Content Shift: If you switch games, genres, or pivot your stream's focus, your overlay might need to follow suit.
- Brand Evolution: As your channel matures, your personal brand might subtly shift. Your overlay should align with this.
- Technical Issues: If you notice performance drops, flickering elements, or browser source issues, it's time to investigate.
- Viewer Feedback: If viewers consistently mention issues with readability or obstruction, take it seriously.
What to Look For During Review:
- Relevance: Does the overlay still represent your stream's current content and personality? Are there outdated logos or information?
- Readability & Clarity: Are all text elements still easy to read? Is anything obscuring crucial gameplay or information?
- Performance: Is the overlay causing any stuttering, frame drops, or excessive resource usage? Sometimes, older or poorly optimized animated elements can be culprits.
- Consistency: Do all elements still look cohesive? Have you added anything new that clashes with the original design?
- Mobile Responsiveness: How does your stream look on smaller screens? Are elements legible and well-placed, or do they feel too cramped?
- Accessibility: Are color contrasts sufficient for viewers with visual impairments?
Making small, iterative changes based on these reviews is often more manageable than a complete overhaul. It ensures your stream always puts its best foot forward.
2026-04-07