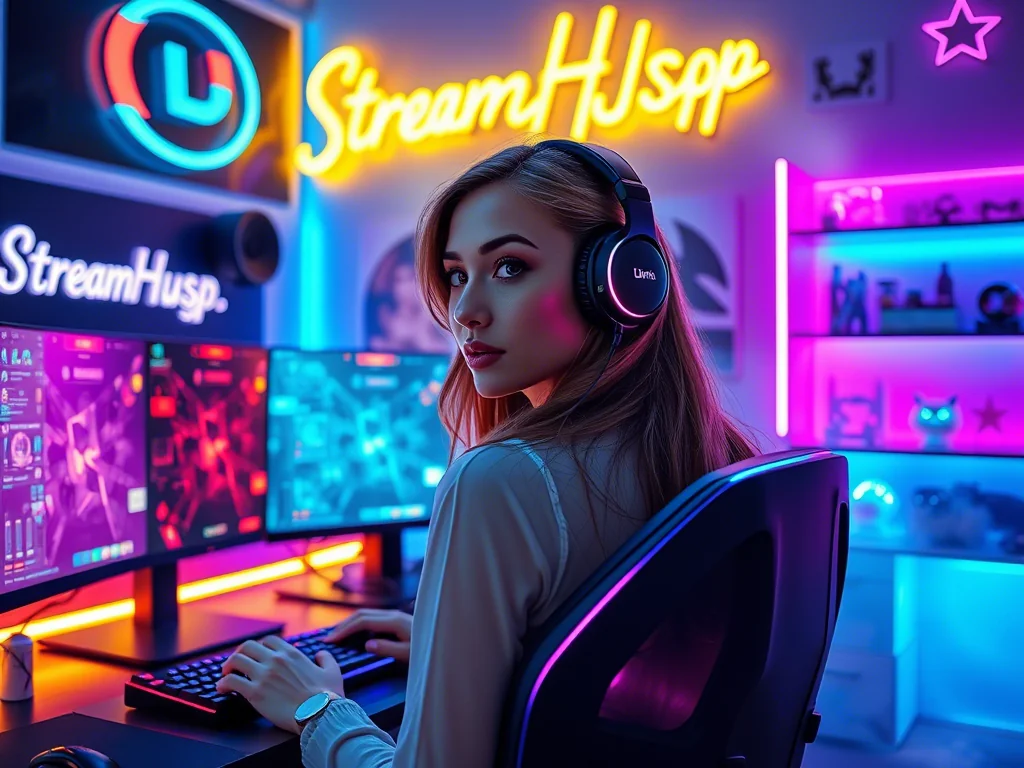
You’ve got your stream layout dialed in, your mic sounds crisp, and your content is hitting its stride. But those static, default alerts? They're doing their job, sure, but they’re not exactly screaming "unique brand identity" or "next-level production value." It’s time to level up from a simple pop-up to an experience – an animated alert that truly celebrates your community and reinforces your personal style.
Creating animated stream alerts isn't just about making things move; it's about crafting micro-moments that enhance viewer engagement and inject personality into every follower, subscriber, or raid. But where do you start when balancing eye-catching visuals, impactful sound, and seamless integration without breaking your workflow or your budget? This guide cuts through the noise to help you make smart, strategic decisions for your animated alerts.
Beyond Static: Why Animated Alerts Matter (and What to Consider First)
Think of an alert as a mini-commercial for your community's milestones. A well-designed animated alert doesn't just inform; it engages, excites, and often prompts a positive reaction from chat. It's a key branding opportunity, a chance to infuse your stream with energy and make every interaction feel special.
Before you dive into software, take a moment to define what you want each alert to achieve. This isn't just about aesthetics; it's about purpose:
- Event Type & Emotion: Is it a hype moment (raid, large donation) that needs a burst of energy, or a heartfelt thank you (first-time follow, gifted sub) that calls for something more gentle?
- Brand Cohesion: Does the animation style, color palette, and sound align with your overall stream aesthetic? Consistency builds recognition.
- Duration & Pacing: How long should the alert play? Too short, and it's missed; too long, and it interrupts gameplay or conversation. Most impactful alerts are between 3-8 seconds.
- Information Clarity: Can viewers quickly grasp what's happening and who triggered it? The animation should complement, not obscure, the core message.
- Call to Action (Implicit/Explicit): Does it subtly encourage others to join in, or is it a simple acknowledgment?
By answering these questions, you create a design brief for yourself, ensuring your animated alerts are purposeful additions rather than just flashy distractions.
Crafting the Visuals: Animation, Transparency, and File Formats
Once you have a clear vision, it’s time to bring it to life visually. This involves choosing the right tools, understanding essential technical specs, and knowing which file formats will serve you best.
For animation, you have a spectrum of options:
- Browser-Based Alert Makers: Platforms like Streamlabs or StreamElements offer built-in alert editors with basic animation options (fades, slides, bounces). They're quick and easy but lack deep customization.
- Pre-made Packs/Templates: Many designers and marketplaces offer pre-animated alert packages. These can be a great starting point for quality visuals without needing animation skills, often allowing text and color customization.
- Dedicated Animation Software: For full creative control, tools like Adobe After Effects, DaVinci Resolve (Fusion tab), or even Blender for 3D elements are powerful. These require a learning curve but offer limitless possibilities for unique effects, motion graphics, and intricate transitions.
Regardless of your tool, here are critical technical considerations:
- Transparency (Alpha Channel): Your alerts need to appear over your game or webcam feed. This requires a file format that supports transparency, allowing parts of the alert to be invisible.
- Resolution: Design your alerts at 1920x1080 (or your stream's output resolution) to ensure crisp visuals without pixelation. Scaling down is generally better than scaling up.
- Frame Rate: Aim for 30fps or 60fps to match your stream's frame rate. This ensures smooth, fluid animation without stuttering.
When it comes to file formats, your primary choices are WEBM and GIF:
- WEBM (.webm): This is generally the preferred format for animated stream alerts.
- Pros: Supports transparency (alpha channel), offers excellent compression for smaller file sizes, and maintains high visual quality. It's essentially a video format (like MP4) but with alpha channel support.
- Cons: Might require specific rendering settings in your animation software to ensure the alpha channel is correctly exported.
- GIF (.gif):
- Pros: Widely supported, easy to create, and generally small file sizes for simple animations.
- Cons: Limited color palette (256 colors), which can result in banding or dithering, especially with gradients. Transparency is basic (on/off, no partial alpha), leading to jagged edges. Not ideal for complex, high-quality animations.
Stick with WEBM whenever possible for professional-looking, seamlessly integrated alerts. Most animation software can export to WEBM with alpha channel. When using services like Streamlabs or StreamElements, you'll upload your WEBM file directly into their alert box widget settings.
{ }
}
The Audio Layer: Don't Just Add Noise
An alert's sound design is just as, if not more, important than its visuals. A well-chosen sound effect (SFX) can amplify the emotion, create anticipation, or provide that satisfying "ding" of a successful interaction. A poorly chosen, too loud, or repetitive sound can quickly grate on viewers and lead to complaints.
Think about these aspects for your alert sounds:
- Emotional Resonance: Does the sound match the visual and the event's emotion? A soft chime for a follow, an epic swell for a raid, or a quirky sound for a specific donation tier.
- Uniqueness: While stock sounds are available, unique SFX (or slightly modified ones) can contribute significantly to your brand's auditory identity.
- Volume Balancing: This is critical. Your alert sound should be noticeable but not deafening. It needs to sit comfortably above your game audio and voice without blowing out viewer's eardrums. Always test with headphones and without.
- Duration: Keep alert sounds short and punchy, typically 1-3 seconds. Longer sounds can become intrusive.
- File Format: WAV is uncompressed and offers the best quality, but MP3 is perfectly acceptable for most alert sounds due to its smaller file size and broad compatibility.
Community Pulse: The Perils of Poor Audio
One of the most frequent points of feedback (and frustration) from viewers and common concerns among streamers themselves revolves around alert audio. We often see creators grappling with:
- "My alerts are too loud/quiet!": Getting the volume balance right is a constant struggle. What sounds good to the streamer in their headphones might be jarring for the audience.
- "That sound is so annoying/repetitive!": Using the same default or overly generic sound for every alert, or a sound that's simply too high-pitched or grating, leads to alert fatigue. Viewers start muting the stream or expressing their annoyance in chat.
- "Why did the alert sound cut out/not play?": Technical glitches with audio files or incorrect alert box settings can cause sounds to fail, leading to an awkward silence or a visually empty alert.
The takeaway here is clear: test, test, test. Get feedback from trusted viewers, record your stream and listen back, and adjust your audio levels in your streaming software's audio mixer until it feels just right. Don't underestimate the power of a well-integrated sound.
Connecting the Pieces: Integration, Testing, and Variants
You've got your dazzling WEBMs and perfectly tuned sound files. Now, how do you get them into your stream? This usually involves your chosen alert service (Streamlabs, StreamElements) and your streaming software (OBS Studio, Streamlabs Desktop).
Alert Service Setup (Streamlabs/StreamElements Example):
- Add an Alert Box Widget: In your alert service's dashboard, create or select an existing "Alert Box" widget.
- Configure Each Alert Type: Go into the settings for each alert type (e.g., Follower, Subscriber, Raid, Donation).
- Upload Your Assets: For each alert type, you'll find options to upload your custom WEBM file for the animation and your audio file for the sound.
- Set Duration & Volume: Crucially, set the alert duration (how long the animation plays) and the sound volume. This is often where initial balancing happens.
- Text Layout & Custom Fields: Customize the text that appears (e.g., "{name} just followed!"). Some services allow custom fields for more dynamic text.
- Variations (Optional but Recommended): For subscriber alerts, consider creating variations for different tiers (Tier 1, 2, 3) or prime subs. This allows for a unique animation/sound for higher-tier support, making those moments feel even more special.
Streaming Software Integration (OBS Studio Example):
- Add Browser Source: In OBS Studio (or your preferred software), add a new "Browser Source."
- Paste Widget URL: Go back to your alert service, copy the unique URL for your Alert Box widget, and paste it into the URL field of your Browser Source in OBS.
- Set Dimensions: Adjust the width and height of the Browser Source to match your canvas (e.g., 1920x1080).
- Position & Layer: Position the Browser Source where you want your alerts to appear on your stream. Ensure it's on a layer above your gameplay but below any overlays that should always be on top (like a facecam frame).
- Test, Test, Test: Use the "Test Widgets" functionality in your alert service's dashboard. Trigger each alert type and watch it live in OBS. Check visuals, audio levels, and timing.
Practical Scenario: PixelPro's Tier 3 Sub Upgrade
Creator: PixelPro, a streamer known for fast-paced retro games and a chill, nostalgic vibe.
Problem: PixelPro's basic subscriber alert is okay, but a recent viewer just upgraded to a Tier 3 sub, and the alert felt underwhelming for such significant support.
Solution:
- Design Brief: PixelPro wants a Tier 3 sub alert that feels "epic retro boss fight," signifying a major achievement. It needs to be distinct from Tier 1/2.
- Visuals: They commissioned a designer (or used an advanced template) for a custom WEBM. It features an 8-bit-style explosion animation with shimmering gold pixels and a "MAX LEVEL!" text reveal, lasting 6 seconds.
- Audio: Instead of a generic chime, they found a short, impactful 8-bit synth fanfare with a slight reverb that builds to a triumphant crescendo. This sound is carefully leveled to be louder than their Tier 1/2 alerts but still sits below peak audio levels.
- Integration: In their StreamElements dashboard, they navigated to "Subscriber Alerts," then used the "Variations" feature. They created a new variation specifically for "Tier 3" subscribers, uploaded the custom WEBM and audio, set a slightly longer duration (6s) to match the animation, and adjusted the volume for this specific alert.
- Testing: PixelPro used the StreamElements "Emulate" feature to test the Tier 3 sub. They watched it in OBS, listened on their stream setup, and even recorded a clip to review. They tweaked the Browser Source position slightly and fine-tuned the audio gain in StreamElements until it felt perfect.
The result? When the next Tier 3 sub came in, the chat exploded with hype, and the viewer felt genuinely celebrated. The unique alert made the moment memorable.
Maintaining Impact: Reviewing and Refreshing Your Alert Suite
Creating your animated alerts isn't a "set it and forget it" task. To keep them fresh, impactful, and relevant, regular review and occasional updates are essential. Viewer tastes change, your brand evolves, and even the best alerts can suffer from "alert fatigue" if they become too common or outdated.
When to Review and Update:
- Major Stream Rework: If you're rebranding, updating your overall stream aesthetic, or getting new overlays, your alerts should follow suit for consistency.
- Viewer Feedback: If chat mentions alerts are too loud, too quiet, too long, or becoming annoying, it's a clear sign to revisit them.
- Seasonal Events/Holidays: Consider temporary, themed alerts for special occasions. This adds novelty without permanently changing your core suite.
- New Milestones/Goals: As your community grows, you might introduce new alert types for specific achievements (e.g., 100 gifted subs in a single stream, a new bit goal reached).
- After Major Software Updates: Occasionally, streaming software or alert service updates can affect how alerts render or play. A quick check after an update is always wise.
Ongoing Alert Suite Checklist:
- Visual Cohesion: Do all your alerts still look like they belong to the same brand?
- Audio Balance: Have you done a fresh audio check across all alerts, especially if you've changed your mic setup or game audio levels?
- Timeliness: Are animations and sounds still impactful, or are they starting to feel dated or overused?
- Clarity: Is the information (name, event type) still easy to read and understand during the animation?
- Performance: Are your WEBM files still loading quickly? Are there any unexpected stutters or delays?
- Variant Effectiveness: Are your different sub tiers or donation amounts still feeling appropriately distinct and rewarding?
Don't be afraid to retire an alert that's no longer serving its purpose or to experiment with new ideas. Your alerts are a living part of your stream's personality.
2026-04-05