So, you've heard the buzz about Kick and you're ready to jump in. Maybe you've seen clips, heard about creator payouts, or just want to diversify your streaming presence. Whatever the reason, getting your channel set up and going live for the first time can feel like navigating a maze. This guide cuts through the noise to get you from zero to live with confidence.
Your First Kick Stream: Essential Setup Steps
Unlike some platforms that have evolved over years, Kick offers a more streamlined, direct approach. The core setup is surprisingly straightforward, but getting it right prevents common headaches down the line, especially with discoverability and basic channel branding.
Account Basics and Verification
First things first: create your account. Use a clear, memorable username that aligns with your brand. Once logged in, navigate to your profile settings. You'll want to fill out as much of your profile as possible. This includes a concise bio that tells potential viewers who you are and what you stream. Upload a profile picture and a banner image that are high-resolution and visually appealing. These are your first impressions.
Regarding verification, Kick's process is generally less demanding than some competitors for basic streaming. However, understanding their terms of service regarding content is crucial to avoid any immediate flags. For financial payouts, you'll eventually need to complete a more thorough identity verification, but this isn't a prerequisite for going live.
Streaming Software Configuration
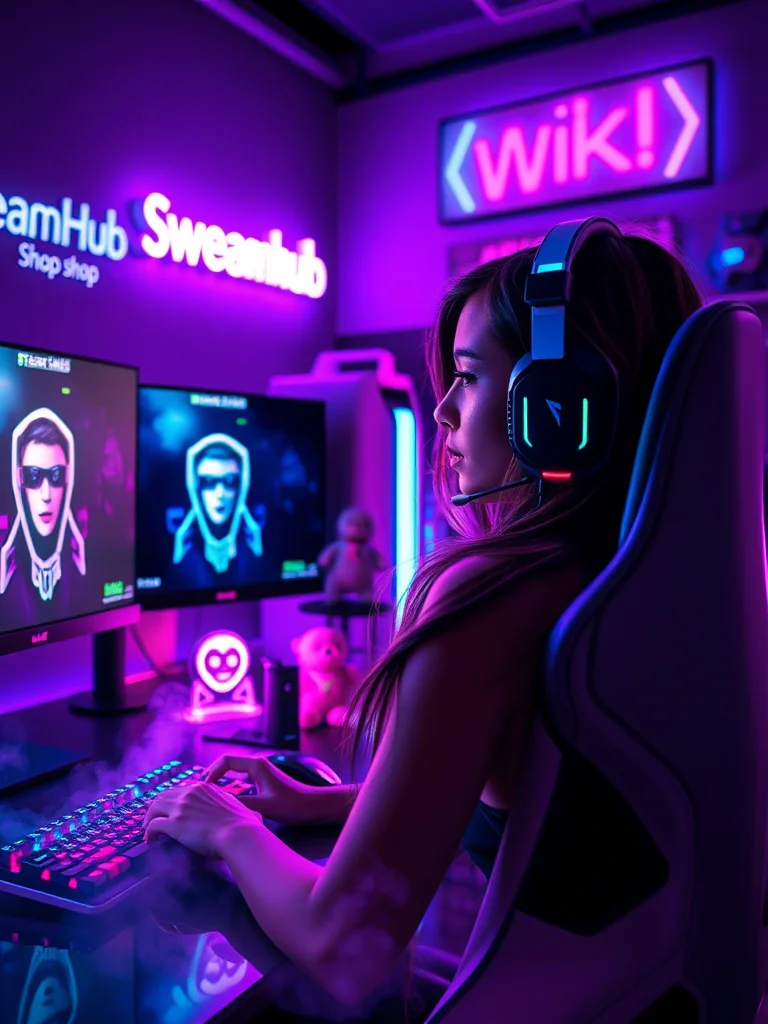
This is where the technical magic happens. Kick supports standard RTMP (Real-Time Messaging Protocol) streaming. You'll need to grab your Stream Key and Server URL from your Kick dashboard. Navigate to your Creator Dashboard -> Settings -> Stream. You'll find your unique Stream Key and a primary Server URL there. Treat your Stream Key like a password. Never share it publicly.
For most creators, this means configuring your streaming software (like OBS Studio, Streamlabs Desktop, or XSplit). In your software's settings, find the 'Stream' section. Select 'Custom' or 'RTMP' as the service. Paste the Kick Server URL into the 'Server' field and your Stream Key into the 'Stream Key' field. You'll also want to optimize your bitrate and resolution based on your internet upload speed and the type of content you're streaming. A good starting point for 1080p 60fps is around 6000 kbps, but adjust as needed.
Channel Branding Elements
Beyond your profile picture and banner, consider what viewers see when your stream is offline or when they first land on your page. Kick allows you to set an "Offline Banner" and a "Video Banner." These are great places to display your streaming schedule, social media handles, or a call to action.
Think about your channel's aesthetic. Consistent colors, fonts, and imagery across your profile, banners, and potentially even stream overlays (if you use them) create a professional and memorable experience. For your very first stream, getting the basic profile and banner right is key. Advanced overlays can come later.
What This Looks Like in Practice: Sarah's First Kick Stream
Sarah, a variety streamer who usually streams on Twitch, decided to experiment with Kick. Her goal was to test the waters without disrupting her existing community. She followed these steps:
- Account & Profile: Created a Kick account with her existing streamer name, `SarahPlaysGames`. She uploaded her Twitch profile picture and a simple banner she already had. She wrote a brief bio: "Hi! I play a bit of everything here, from indie gems to AAA titles. Come hang out!"
- Software Setup: Went to her Kick Creator Dashboard, found her Stream Key and Server URL. Opened OBS Studio, went to Settings -> Stream, selected 'Custom', pasted the Kick URL and Key. She chose a 720p 30fps setting initially, as her internet upload can be inconsistent, aiming for stability over maximum quality for this first test.
- Branding: For now, she left the offline and video banners as default. Her main focus was ensuring the stream connected and ran smoothly. She planned to create dedicated Kick graphics later if she decided to commit more seriously.
Sarah then tested her stream in OBS using the "Start Streaming" button. She opened her Kick channel page in another browser tab to confirm it was live and looked acceptable. She felt ready to announce her first Kick stream to a small segment of her existing audience who were curious about the platform.
Community Pulse: Discoverability and Early Streamer Woes
A recurring theme among creators new to Kick revolves around discoverability. Many express concern that their streams aren't easily found by new viewers without significant promotion on other platforms. There's a general sentiment that while the platform is growing, the built-in discovery tools might not be as robust as those on more established sites. This leads to a focus on external promotion for initial audience building. Another point of discussion is the initial setup of stream alerts and chatbot integrations, which can sometimes require more manual configuration compared to platforms with more mature third-party support.
Your First Stream Checklist
Before you hit that "Go Live" button, run through this quick checklist:
- Account Created & Profile Complete: Username, Bio, Profile Pic, Banner uploaded?
- Stream Key & Server URL Input: Correctly entered into your streaming software?
- Streaming Software Settings Checked: Bitrate, resolution, audio sources configured?
- Test Stream Run: Used OBS's "Start Streaming" and checked your channel page?
- Basic Branding in Place: At least a profile pic and banner are visible?
- Terms of Service Understood: Aware of Kick's content guidelines?
What to Review and Update Next
Your first stream is a milestone, but it's just the beginning. After you've gone live a few times, revisit these elements:
- Analytics: Check your Kick Creator Dashboard for viewer numbers, peak viewers, and watch time. What worked? What didn't?
- Stream Quality: Monitor your stream's performance. Are there dropped frames? Is the quality consistent? Adjust your bitrate and resolution as needed.
- Channel Page Polish: Now's the time to create dedicated "Offline Banner" and "Video Banner" images. Set up any panels below your stream window if you plan to share links or information.
- Social Media Integration: Ensure your social media links are updated and promote your Kick channel on your other platforms.
- Alerts & Integrations: If you plan to use follower/sub alerts or chat bots, research compatible options and integrate them once your basic stream is stable.
Getting live is the hardest part. With these steps, you're well on your way to building your presence on Kick.
2026-04-08