So, you're considering Kick for your next streaming adventure, or maybe it's the platform that's caught your eye for your very first broadcast. You've heard the buzz, seen the headlines, and now you're wondering: how do I actually get started? It's a common decision point for creators today, navigating the landscape of platforms each with its own quirks and community. Moving or starting fresh on Kick means getting your technical setup right from the jump, ensuring your first impression is smooth and professional.
This guide isn't about guaranteeing you overnight fame or detailing every single growth hack. Instead, it's a practical roadmap to help you conquer the initial setup phase. Our focus is squarely on getting your first Kick stream live, stable, and looking good, so you can spend less time troubleshooting and more time connecting with your audience.
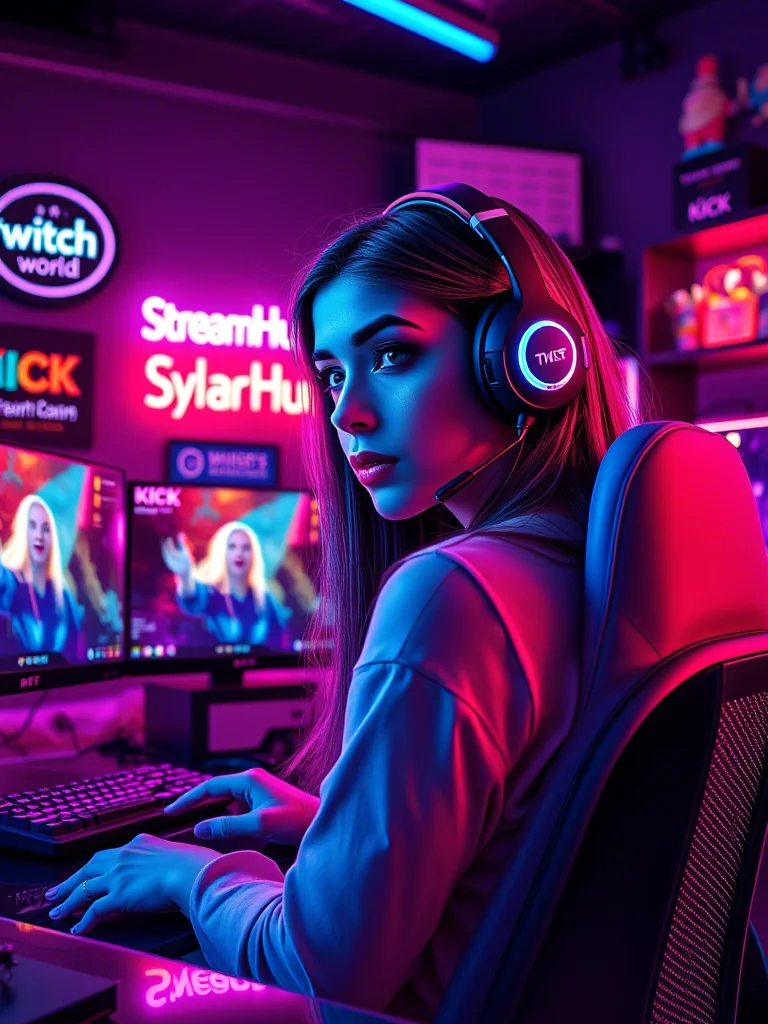
Understanding Kick: What Sets It Apart for New Streamers
Before diving into the technicalities, it's worth a quick look at why creators are flocking to Kick. While any platform shift requires adapting, Kick's appeal often boils down to a few key areas that directly impact a new streamer's mindset:
- Creator-Friendly Revenue Split: One of Kick's most talked-about features is its 95/5 revenue split, favoring creators. For anyone starting out, knowing that a larger percentage of your potential earnings from subscriptions or donations stays with you can be a significant motivator. It changes the long-term potential outlook for many.
- Evolving Community & Discoverability: Kick is still a relatively new platform compared to its competitors. This can be a double-edged sword: while there might be fewer established communities, there's also a perception of greater potential for discoverability for new creators, as the platform's top tier isn't as saturated. It's a chance to grow with a platform.
- Content Flexibility (with caveats): Kick is generally perceived to have more relaxed content guidelines than some other platforms. However, it's crucial for new streamers to understand that "relaxed" doesn't mean "anything goes." Always review their current Terms of Service and Community Guidelines. Ignorance isn't an excuse, and maintaining a positive, safe environment is paramount for building any community.
For your first stream, these factors mean you're joining a platform with specific incentives, but also one where you'll need to actively work on building your audience, just like anywhere else. The technical setup, however, is largely universal.
{ }
}
Your First Stream Setup: Software & Settings Fundamentals
Getting your first stream on Kick means connecting your camera, microphone, and game/screen to Kick's servers. For most new streamers, Open Broadcaster Software (OBS Studio) is the go-to, free, and robust solution. Here’s how to configure it for Kick.
1. Installing and Setting Up OBS Studio
- Download OBS Studio: If you don't have it, get it from obsproject.com.
- Run Auto-Configuration Wizard: The first time you open OBS, it will prompt you. This is a good starting point. Select "Optimize for streaming, recording is secondary." Input your base canvas resolution (usually your monitor's resolution, e.g., 1920x1080) and target FPS (60 or 30).
2. Connecting OBS to Kick
This is where you tell OBS where to send your stream.
- Get Your Kick Stream Key:
- Log in to your Kick account.
- Click on your profile picture in the top right, then go to "Creator Dashboard."
- Navigate to "Settings" then "Stream Key."
- Copy the "Stream URL" and your "Stream Key." Keep your Stream Key absolutely private! Anyone with it can stream to your channel.
- Configure OBS Stream Settings:
- In OBS Studio, go to "File" > "Settings" > "Stream."
- For "Service," select "Kick.com."
- Paste your "Stream Key" into the designated field. The "Server" should automatically populate with the Kick URL, but if not, paste your "Stream URL" there.
- Click "Apply."
3. Essential Video and Audio Settings
These settings determine the quality and smoothness of your stream. Balancing these with your internet upload speed and computer's processing power is key.
- Output (Video): Go to "Settings" > "Output."
- Output Mode: Set to "Advanced" for more control.
- Encoder:
- If you have an NVIDIA graphics card, choose
NVENC (new). - If you have an AMD graphics card, choose
AMD H.264 (or HEVC). - If you have neither or an older card,
x264(software encoder) uses your CPU and requires a more powerful processor.
- If you have an NVIDIA graphics card, choose
- Rate Control:
CBR (Constant Bitrate)is standard for streaming. - Bitrate: This is critical. It's how much data per second your stream sends. Higher bitrate = better quality, but requires faster internet.
- For 1080p @ 60fps: Start with 4500-6000 kbps.
- For 720p @ 60fps: Start with 3000-4500 kbps.
- For 720p @ 30fps: Start with 2500-3500 kbps.
Practical Scenario: Imagine Sarah, a new streamer with a decent gaming PC and a reliable 30 Mbps upload speed. She wants to stream a fast-paced action game in 1080p at 60fps. The auto-config wizard suggests 6000 kbps. She could try this, but if she experiences dropped frames or lag during a test stream, her first move would be to lower the bitrate to 4500-5000 kbps or drop the resolution to 720p to maintain stability. A stable stream at slightly lower quality is always better than a high-quality but stuttering one.
- Keyframe Interval: Set to 2 seconds.
- Preset/Quality: For NVENC/AMD, start with "Quality" or "Max Quality." For x264, try "Veryfast" or "Faster."
- Video (Base & Output Resolution): Go to "Settings" > "Video."
- Base (Canvas) Resolution: Your monitor's resolution (e.g., 1920x1080).
- Output (Scaled) Resolution: Your stream's resolution (e.g., 1920x1080 for full HD, or 1280x720 for HD).
- Downscale Filter: Lanczos (Sharpened scaling, 36 samples) is generally good.
- FPS: 60 or 30. Match this to your chosen bitrate.
- Audio: Go to "Settings" > "Audio."
- Set your Desktop Audio and Mic/Auxiliary Audio devices. Ensure they are the correct ones.
- Monitor your audio levels in the OBS mixer. Aim for your mic to peak in the yellow, not consistently in the red.
4. Adding Sources to Your Scene
In OBS, "Scenes" are your different layouts (e.g., "Starting Soon," "Gameplay," "Be Right Back"). "Sources" are the elements within those scenes.
- Right-click in the "Sources" box and select "Add" or click the "+" button.
- Game Capture: Best for capturing games. Select "Capture specific window" and choose your game.
- Window Capture: Good for applications, browser windows.
- Display Capture: Captures your entire monitor. Use with caution for privacy, but useful for full-screen content.
- Video Capture Device: For your webcam. Select your webcam from the list.
- Audio Input Capture: For your microphone (if not already set in global audio settings).
- Image: For logos, overlays, stream alerts. You can find pre-made overlay packages and alert widgets at streamhub.shop to quickly professionalize your look.
Beyond the Tech: Channel Info, Alerts, and Test Runs
Getting your stream technically live is one thing, but making it presentable and engaging for your first viewers requires a few more steps.
1. Set Up Your Kick Channel Info
- Profile Picture & Banner: Upload professional-looking images. This is your brand's first visual impression.
- About Section: Write a concise, engaging description of who you are, what you stream, and what viewers can expect. Include your social media links.
- Categories/Tags: When you go live, select the most relevant category (e.g., "Gaming," "Just Chatting") and add appropriate tags (e.g., "FPS," "indie game," "community"). This helps with discoverability.
2. Basic Stream Alerts
Alerts (for follows, subscriptions, donations) provide visual and audio feedback, making your stream more interactive. Services like Streamlabs or StreamElements offer free alert widgets that you can integrate into OBS as a "Browser Source."
- Create an account on your chosen alert service.
- Design your basic "Follow" and "Subscriber" alerts.
- Copy the "Widget URL" provided by the service.
- In OBS, add a new "Browser Source" to your scene. Paste the Widget URL. Adjust its size and position.
- Use the test buttons on the alert service's dashboard to ensure alerts show up correctly in OBS.
3. The Crucial Test Stream
Never go live for the first time without a test run. This prevents embarrassing technical hiccups and helps you get comfortable.
- Do a Private Stream: You can set your stream as "Private" or "Unlisted" on Kick (check current settings, this feature can change). Or, stream to a different, test account.
- Simulate a Real Stream: Play your game, talk into your mic, trigger alerts.
- Monitor Performance: Watch OBS's "Stats" panel (View > Stats) for dropped frames, CPU usage, and rendering lag. Open your stream on another device to check audio/video sync and quality.
- Check Audio Levels: Ensure your game, mic, and alert audio are balanced. Viewers should hear you clearly over the game.
The Community Pulse: Common Early Hurdles
When new streamers share their experiences on forums or in chat, a few patterns frequently emerge, regardless of the platform. For those starting on Kick, these often revolve around managing expectations and overcoming initial friction:
- Discoverability Concerns: Many express anxiety about being seen. "How do I get my first viewers?" is a recurring question. The reality is that building an audience takes time, consistency, and active promotion outside of Kick. Don't expect viewers to simply appear on your first stream.
- Technical Glitches & Learning Curve: Even with guides, the first few streams almost always involve some unexpected audio issue, a scene not showing correctly, or a software crash. The sentiment is often about patience and persistence in learning the tools.
- Balancing Work & Streaming: For many, streaming starts as a hobby alongside other commitments. Finding a consistent schedule and energy to dedicate to streaming is a common struggle.
- Managing Expectations: There's a shared understanding that growth isn't linear or instant. New streamers often advise each other to focus on enjoying the process and improving content, rather than fixating solely on viewer count.
The takeaway here is that you're not alone in facing these challenges. Embrace the learning process, be patient, and focus on creating content you enjoy.
Your Pre-Flight Checklist for Kick
Before you hit that "Start Streaming" button, run through this quick list:
- Kick Account Ready: Profile picture, banner, and "About" section are complete.
- Stream Key & URL: Correctly entered into OBS.
- OBS Sources: All cameras, microphones, game/display captures are added and visible in your scene.
- Audio Levels: Mic, desktop audio, and alerts are balanced and not peaking in the red.
- Video Settings: Bitrate, resolution, and FPS match your internet and PC capabilities.
- Alerts & Overlays: Browser sources for alerts are added and tested.
- Categories & Tags: You know which category and tags you'll use when going live.
- Internet Connection: Stable and sufficient upload speed for your chosen bitrate.
- Test Stream: You've done at least one private test stream and confirmed everything works.
Keeping Your Kick Stream Shipshape: What to Review Next
2026-03-24
Your first stream is just the beginning. The world of streaming is dynamic, and your setup should evolve with it. Here’s what to routinely review and update:
- OBS & Driver Updates: Software updates often bring performance improvements or bug fixes. Keep OBS Studio, your graphics drivers, and audio drivers up to date. Check for new versions every few months.
- Internet Speed Check: Periodically run an internet speed test, especially if you experience buffering or dropped frames. Your ISP's performance can fluctuate.
- Audio Quality Audit: Listen back to your VODs (Video On Demand). Is your microphone clear? Is there background noise? Is the game audio too loud or too quiet? Audio is critical for viewer retention.
- Video Bitrate & Resolution: As your internet or PC hardware improves, you might be able to increase your bitrate or resolution for better quality. Conversely, if you notice performance issues, consider reducing them.
- Kick's Platform Changes: Kick, like any evolving platform, will introduce new features, change policies, or update its API. Keep an eye on their official announcements for any changes that might affect your streaming setup or strategy.
- Engagement Tools: Explore more advanced chatbot commands, loyalty programs, or interactive elements as your community grows.
- Scene Design: As you get more comfortable, you might want to refine your overlays, create new scenes for different activities, or update your branding.