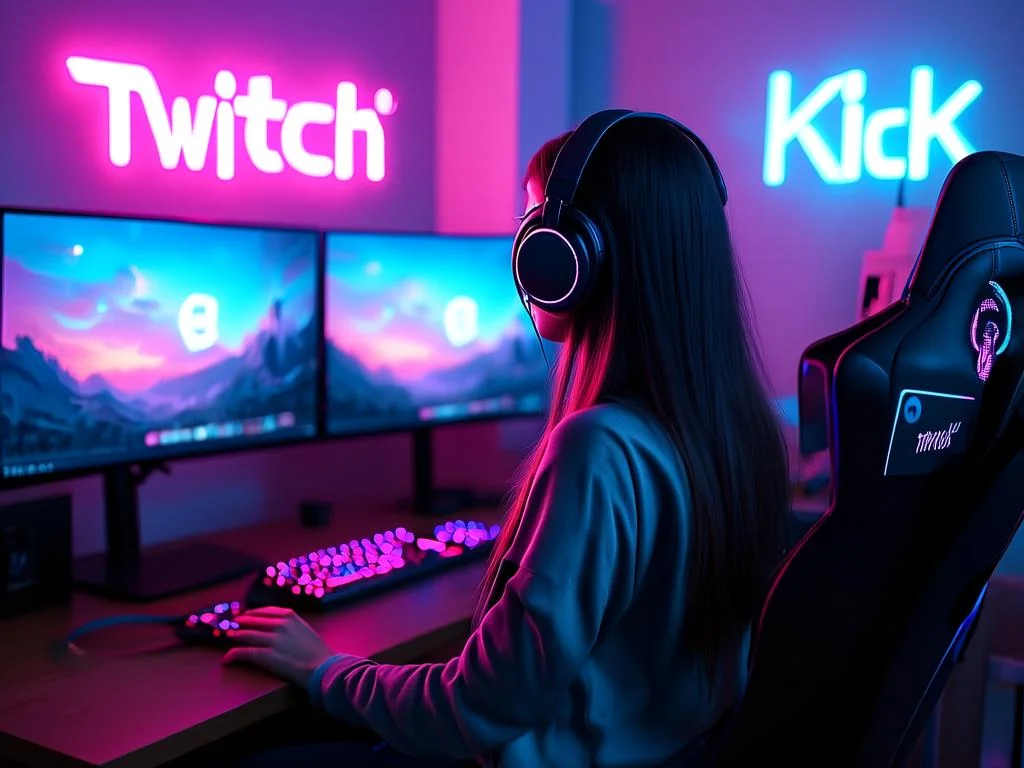
You're a streamer, and you know first impressions matter. That pixelated, grainy mess you're sending out? It's costing you viewers. But do you really need to drop serious cash on a fancy DSLR to look professional? The truth is, "crisp" video quality for streaming isn't just about the camera's price tag. It's about making smart choices across your entire setup, from the glass in front of you to the light illuminating your face. This guide isn't here to list the 'top 5 webcams' that will be outdated by next month. Instead, we'll equip you with the knowledge to pick the right camera for your budget and show you how to maximize its potential.
Beyond Megapixels: What Truly Defines Crisp Webcam Quality?
Many new streamers fixate on resolution numbers like 1080p or 4K, believing higher numbers automatically mean better quality. While resolution is a piece of the puzzle, it's far from the whole picture. True video crispness, especially for live streaming, hinges on several critical factors working in harmony:
- Lens Quality: A cheap plastic lens will yield soft, blurry images regardless of the sensor behind it. Look for glass elements and a wider aperture (lower f-number) if possible, which allows more light in and can create a more pleasing background blur.
- Sensor Size and Low-Light Performance: Bigger sensors capture more light, resulting in less digital noise (graininess), especially in less-than-perfect lighting. Good low-light performance means your image stays cleaner and more detailed without relying solely on bright, harsh lights.
- Autofocus Speed and Accuracy: A camera that constantly hunts for focus or struggles to keep you sharp is distracting. Reliable, fast autofocus is crucial for maintaining a professional look, especially if you move around.
- Frame Rate (FPS): While 30 frames per second (fps) is generally acceptable, 60fps delivers a smoother, more fluid motion, which can make your stream feel more professional and engaging, particularly for fast-paced content.
- Compression Artifacts: Even high-resolution webcams can look bad if their internal video compression is aggressive, leading to blocky artifacts, especially in areas of subtle color gradients or complex textures. This is harder to spot on a spec sheet but becomes obvious in reviews.
The synergy of these elements dictates the final perceived quality. A 720p stream with excellent lighting and a good lens can look significantly better than a poorly lit 1080p stream from a cheap webcam with a flimsy lens and aggressive compression.
{ }
}
Smart Choices Across Budget Tiers
Let's break down what to prioritize when shopping for a camera, keeping value and performance in mind, rather than chasing the most expensive option.
Entry-Level Streamer (Under $100)
At this tier, your goal is functional, clear video. You won't get cinematic quality, but you can avoid the "potato cam" look. Prioritize:
- True 1080p at 30fps: Ensure it's not an interpolated 720p. Look for webcams from established brands known for their drivers and software support.
- Fixed-Focus or Reliable Autofocus: A good fixed-focus lens can be better than a constantly hunting, poor autofocus system. If it has autofocus, check reviews for its performance.
- Integrated Microphone (as a backup): While you should aim for a dedicated microphone, a usable built-in mic can be a lifesaver in a pinch.
- Manual Controls (if available): Even basic exposure compensation or white balance controls can dramatically improve image quality.
What to temper expectations on: Low-light performance, wide field of view, and advanced features. You'll rely heavily on external lighting here.
Mid-Range Performer ($100 - $250)
This is the sweet spot for many dedicated streamers, offering a significant jump in quality and features without breaking the bank. Here, you can start looking for:
- 1080p at 60fps or high-quality 1440p: The higher frame rate is a game-changer for smoothness. Some 1440p webcams offer excellent detail without the demanding file sizes of 4K.
- Better Lens Elements: Often multi-element glass lenses that provide sharper images and less distortion.
- Superior Autofocus: Faster, more accurate autofocus systems (e.g., face tracking) become more common.
- Better Low-Light Performance: Larger sensors or better image processing help reduce noise in dim environments.
- Wider Field of View (FoV) Options: Useful if you stream with multiple people or want to show more of your background.
- Manual Control Software: More robust software for fine-tuning exposure, ISO, shutter speed, and white balance.
What to temper expectations on: Full DSLR/mirrorless-level bokeh or extreme low-light performance without additional lighting. You're still primarily getting a webcam, albeit a very good one.
Premium Webcam / Entry-Level Mirrorless ($250+)
This tier blurs the line between dedicated webcams and entry-level dedicated cameras (mirrorless or older DSLRs) used as webcams. For premium webcams, you're looking at:
- 4K Resolution with High Frame Rates: If 4K is truly necessary for your content (and your internet upload can handle it).
- Advanced Sensors: Often larger or more specialized sensors for exceptional low-light performance and dynamic range.
- Superior Lenses: High-quality glass, sometimes interchangeable, offering true optical zoom or wide apertures for natural background blur.
- AI-Powered Features: Advanced auto-framing, subject tracking, or virtual background features that work reliably.
For entry-level mirrorless cameras, you're investing in:
- Large Sensors: APS-C or Micro Four Thirds sensors offer vastly superior low-light performance and image quality compared to any webcam sensor.
- Interchangeable Lenses: This is the game-changer. You can select lenses for specific looks – wide-angle, prime lenses for shallow depth of field (bokeh), or zoom lenses.
- HDMI Output for Capture Cards: Requires a separate capture card, adding to the cost but offering uncompressed, high-quality video input.
What to temper expectations on: Premium webcams can still struggle with depth of field compared to mirrorless cameras. Mirrorless cameras come with a steeper learning curve, require more accessories (lenses, capture card, dummy battery), and take up more physical space.
Mini-Case: Sarah's Upgrade Journey
Sarah started streaming with her laptop's built-in webcam. The image was grainy, especially at night, and her face was often poorly lit. She had a budget of $150. Instead of just buying the most expensive webcam she could find, she decided to prioritize. She bought a mid-range 1080p/60fps webcam (around $90) known for its decent low-light performance and manual controls. With the remaining $60, she invested in a simple ring light with adjustable brightness and color temperature. The result? A night-and-day difference. Her face was evenly lit, the image was sharper, and the higher frame rate made her movements look much smoother. She understood that a good camera alone isn't enough; the surrounding setup is crucial.
The Unsung Heroes: Lighting and Software
Even the most expensive camera will produce a poor image in bad lighting. This cannot be stressed enough. Lighting is the single biggest factor in perceived video quality, often more so than the camera itself.
- Key Light: This is your primary light source, usually positioned slightly off-center and above your eye level. A softbox, ring light, or even a diffused LED panel works wonders.
- Fill Light: Used to soften shadows created by the key light. It can be less intense and positioned on the opposite side.
- Back Light (Hair Light): Optional, but helps separate you from your background, adding depth and a professional touch.
- Ambient Light Control: Minimize distracting light sources from windows or overhead room lights that can create harsh shadows or color casts.
Beyond hardware, your camera's software and your streaming software settings are vital:
- Camera Control Software: Many webcams come with their own applications to adjust brightness, contrast, white balance, exposure, and focus. Spend time learning these.
- OBS Studio/Streamlabs Settings: Ensure your camera input is set to the correct resolution and frame rate. Experiment with video filters like color correction or sharpening (sparingly!) within your streaming software. Make sure your streaming bitrate is sufficient for your chosen resolution and frame rate; a high-quality camera sends a lot of data, and your stream needs to be able to broadcast it without excessive compression.
Community Pulse: Common Creator Frustrations and Realities
We frequently hear from creators grappling with their video quality. A recurring theme is the belief that simply buying a "better" webcam will solve all their problems. Many streamers invest in a 1080p or even 4K webcam only to find their image still looks grainy or dull. This often leads to frustration and the question, "Why doesn't my expensive webcam look like my favorite streamer's?"
The answer almost always circles back to lighting. Creators are often surprised how much a simple, inexpensive light source can elevate their existing webcam's performance. Another common concern is the jump to mirrorless cameras. While the image quality can be stunning, many creators underestimate the additional complexity and cost involved, from needing a capture card to ensuring continuous power and finding the right lens. There's a strong sentiment that while a mirrorless setup is the "endgame" for video quality, a well-optimized, mid-range webcam with excellent lighting provides 90% of the perceived quality for 20% of the hassle and cost.
Your Webcam Upgrade Decision Framework
Use these questions to guide your next webcam or camera purchase:
- What's my actual budget, *including* potential lighting? Be realistic. If it's tight, prioritize lighting first.
- What content am I creating? Is static talking-head footage enough, or do I need fluid motion for gaming/IRL streams? (30fps vs. 60fps)
- What are my current lighting conditions? Do I stream in a well-lit room, or am I often in a darker environment? (Impacts sensor size/low-light needs)
- How much technical complexity am I comfortable with? Do I want plug-and-play, or am I willing to learn about capture cards, lenses, and manual camera settings?
- Do I need a wide field of view? Am I alone, or do I have guests/show my full desk setup?
- Will my internet upload speed handle higher resolutions/frame rates? A 4K camera is pointless if your upload can only support 720p.
- Have I exhausted the potential of my current camera with better lighting and software settings? Don't upgrade until you've maximized what you already have.
What to Review Next: Keeping Your Video Crisp Over Time
Your webcam setup isn't a "set it and forget it" component. Regular review and minor adjustments will ensure your quality remains top-notch:
- Lighting Consistency: Check your lights daily. Has a bulb dimmed? Is a light source blocked? Are shadows appearing where they shouldn't? Consider using smart plugs for consistent light setup.
- White Balance: Room lighting can change with the time of day or seasonal light. If your camera allows, manually adjust white balance to ensure skin tones look natural, not too orange or blue.
- Focus Check: If your camera has autofocus, occasionally test it by moving closer and further away. If it's manual focus, re-check your focus point, especially if you've moved your setup.
- Software Updates: Keep your webcam's drivers and any accompanying control software updated. Manufacturers often release updates that improve performance, add features, or fix bugs.
- Clean Your Lens: A dusty or smudged lens can make even the best camera look blurry. Use a microfiber cloth specifically designed for optics.
- Bitrate Review: As your internet speed or streaming platform settings change, review your stream's bitrate to ensure it still supports your desired video quality without introducing artifacts. For optimal streaming performance with any camera, make sure your software and network are up to scratch. You can find useful accessories and tools to help optimize your setup at streamhub.shop.
2026-04-03