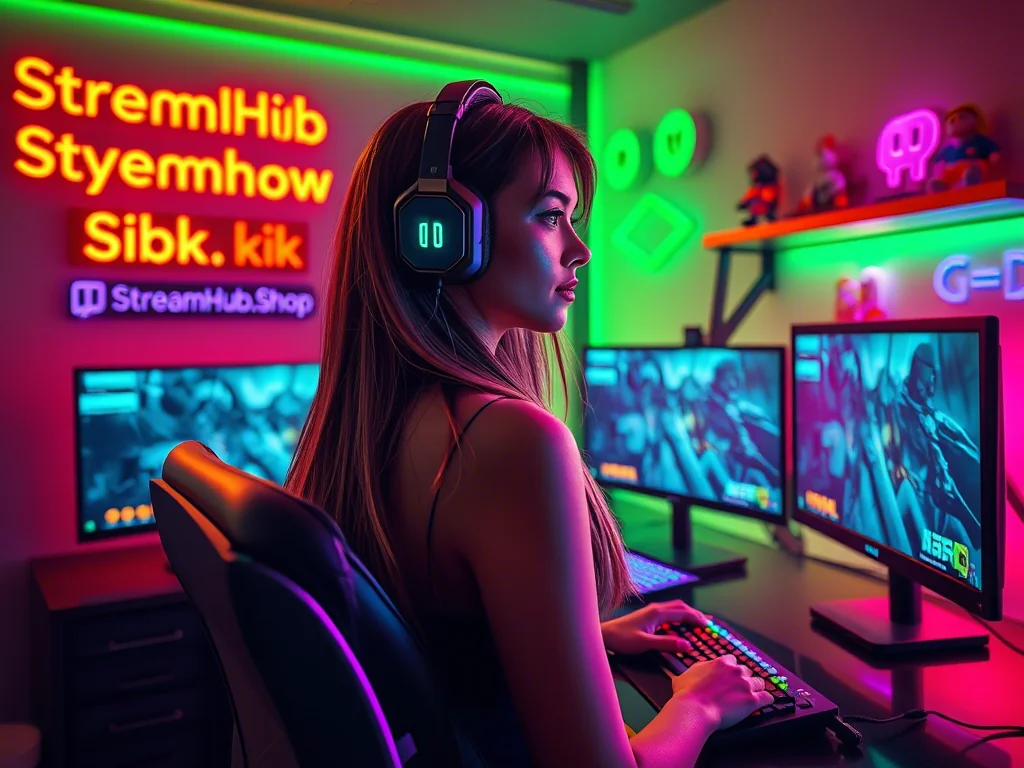
You've seen them: streamers who effortlessly drop themselves into a virtual world, a slick game overlay, or a dynamic digital background. It looks clean, professional, and completely integrated. And then there are the others — the ones with the shimmering green halo, the blurry edges, or the accidental disappearing act of their hair or chair. The difference? Not usually the budget of the green screen itself, but the *execution*.
A green screen (or blue screen, if that fits your color palette better) isn't a magic sheet; it's a tool that amplifies the quality of your lighting and camera work. Done right, it opens up endless creative possibilities for your stream's aesthetic. Done poorly, it becomes a distracting mess that actively detracts from your content. The goal here isn't just to make the green disappear, but to make your keyed background look *believable*.
The Underrated Hero: Even Lighting
This is where most green screen setups fail, and it's almost never about the "quality" of the green fabric. Achieving a seamless chroma key relies almost entirely on how evenly your green screen is lit. Any shadows, hot spots, or inconsistent brightness across the screen will make it impossible for your software to accurately isolate you from the background.
Lighting the Screen, Separately
Think of your green screen as a canvas that needs its own dedicated, flat illumination. You want soft, diffused light, spread as evenly as possible from edge to edge. This often means using at least two, preferably three, light sources aimed directly at the screen, not at you.
- Softboxes or LED Panels: These are ideal. Position them equidistant from the screen and angle them to wash the surface without creating glare. If you're using two, place one slightly to the left and one slightly to the right, angled in.
- Diffusion: If your lights are harsh, use diffusion panels or softbox attachments. The goal is to eliminate any noticeable light gradients on the green surface.
- Brightness Balance: Aim for a consistent brightness across the entire screen. Use your webcam or camera feed in OBS/Streamlabs to visually check for hot spots or dim areas. Adjust light intensity and position until it looks uniform.
This dedicated screen lighting is distinct from your key light, fill light, and backlights that illuminate *you*. Trying to light both yourself and the screen with the same setup almost always compromises the key.
{ }
}
Screen Choice and Strategic Placement
While lighting is paramount, your choice and placement of the green screen itself also play a crucial role in preventing common chroma key headaches.
What Kind of Screen?
- Collapsible Pop-Up Screens: Great for portability and small spaces. They usually come wrinkle-free. Ensure it's large enough to cover your full range of motion.
- Fabric Backdrops: More flexible in size, but prone to wrinkles. Ironing or steaming is non-negotiable. Choose matte, non-reflective fabric.
- Painted Walls: The most permanent solution and excellent for even lighting if done right. Requires a specific chroma key green paint.
- Inflatable Screens: A niche option, but can offer large, wrinkle-free surfaces for larger setups.
Optimal Positioning
This isn't just about fitting it in your room; it's about minimizing "spill" and maximizing separation:
- Distance from You: Stand or sit far enough away from the green screen. A good rule of thumb is at least 3-4 feet (around 1 meter). This distance helps prevent green light from bouncing off the screen and spilling onto your hair, clothes, or edges, which creates that dreaded "green halo" effect.
- Distance from Wall: If using a fabric screen, ensure there's space behind it for light to pass, or to avoid casting shadows from the screen itself onto a back wall, which can then reflect unevenly.
- Size Matters: Your screen needs to cover your entire background, including any arm movements, leaning back, or shifting. A screen that's too small will reveal your actual room in the corners, breaking the illusion.
Practical Scenario: "PixelPulse" Fixes His Key
PixelPulse, a streamer known for his retro arcade game reviews, wanted to overlay himself onto dynamic pixel art backgrounds. He'd bought a decent fabric green screen and some ring lights, but his results were frustrating. His hair often had a faint green outline, and when he'd lean back, parts of his chair would sometimes disappear or flicker. Viewers pointed out "wobbly edges."
The Diagnosis:
- Lighting: He was using his ring lights primarily for himself, casting his own shadow onto the green screen directly behind him. The screen itself was unevenly lit, with a bright spot where the ring light was angled towards it, and dimmer areas to the sides.
- Proximity: He was sitting too close to the screen, leading to green light bouncing onto his hair and the edges of his headset.
- Screen Wrinkles: The fabric screen wasn't ironed, and visible creases were creating subtle shadows that the chroma key couldn't ignore.
The Fix:
- He acquired two inexpensive, basic LED panel lights and positioned them on stands to the left and right of his green screen, angled inward to create a flat, even wash of light across the entire surface.
- He moved his chair back, increasing the distance between himself and the green screen to about 4 feet.
- He took the time to iron his fabric screen thoroughly before each stream.
- In OBS, he re-adjusted his Chroma Key filter, focusing on using the 'Spill Reduction' slider to subtly remove any remaining green tint around his edges, and 'Smoothness' to refine the outline without making it blurry.
The result was a vastly improved, clean key. His pixel art backgrounds looked integrated, and his viewers noticed the jump in production quality immediately.
Community Pulse: Shared Struggles with the Green Screen
Across streaming communities, when green screen topics come up, certain patterns of frustration emerge consistently. Many creators express difficulty eliminating the "green halo" or "fringe" effect, especially around hair or complex outlines. Another common complaint revolves around parts of their body or clothing unexpectedly disappearing because they match the key color too closely, or because of poor lighting causing shadows that trick the software. Wrinkles in fabric screens are a recurring headache, showing up as distracting artifacts in the keyed background. There's a shared desire for a "set it and forget it" solution, often leading to disappointment when the reality requires careful attention to detail in lighting and setup.
The Chroma Key Filter: Software Side of the Illusion
Once your physical setup is dialed in, the software aspect of chroma keying becomes much simpler and more effective. In OBS Studio or Streamlabs Desktop, you'll apply a "Chroma Key" filter to your webcam or camera source.
Key Settings to Tweak:
- Key Color Type: Select "Green."
- Similarity: This controls how much of the selected key color the software will remove. Start relatively low and slowly increase it until the green background disappears. Too high, and you'll start cutting into yourself.
- Smoothness: Refines the edges of your key. A little bit can help soften any hard lines, but too much will make your edges look blurry or 'melted.'
- Key Color Spill Reduction: This is a powerful tool to combat that green halo. It tries to desaturate and shift any green tones detected near the edges of your subject, effectively neutralizing the spill. Use it carefully, as too much can make you look desaturated.
- Opacity and Contrast: Less common, but can sometimes help blend in specific scenarios, though usually the first three are primary.
The key here is subtle adjustments. Small changes can make a big difference. Continuously monitor your keyed output, ideally with your chosen virtual background in place, to see the real-time effect of your adjustments.
Pre-Stream Green Screen Checklist
Before you hit that "Go Live" button, run through this quick review:
- Screen Condition: Is your green screen wrinkle-free? Is it clean? (Dust and smudges can also key poorly.)
- Screen Lighting: Are your dedicated green screen lights on? Is the screen evenly illuminated with no shadows or hot spots? Use your camera feed to confirm.
- Your Lighting: Are your key, fill, and backlights properly set up for you, independent of the green screen?
- Proximity: Are you far enough away from the screen (3-4 feet recommended minimum)?
- Chroma Key Settings: Load your scene and check your Chroma Key filter. Are the edges clean? No green spill? Are parts of you disappearing? Adjust Similarity, Smoothness, and Spill Reduction as needed.
- Motion Test: Move around as you would during your stream. Lean back, wave your arms, tilt your head. Does the key hold up?
What to Review and Update Over Time
A green screen setup isn't strictly "set it and forget it." Regular checks ensure consistent quality:
- Ambient Light Changes: If you stream at different times of day, external light from windows can impact your green screen's lighting. Adjust your dedicated green screen lights to compensate.
- New Outfits: If you wear a new shirt or accessory, double-check that its color isn't too close to your chroma key color, or that it's not highly reflective.
- Camera/Webcam Updates: A new camera or updated drivers might subtly change color rendition, requiring minor chroma key filter adjustments.
- Software Updates: OBS or Streamlabs updates can sometimes introduce subtle changes to filter behavior. Keep an eye out after major updates.
- Dust and Wear: Over time, dust can accumulate on your screen or lights, impacting performance. Clean them periodically.
- Background Aesthetics: Your virtual backgrounds and overlays evolve. Ensure your key still looks good with your latest visual theme. Consider grabbing new overlays from streamhub.shop if you want a fresh look.
2026-03-26