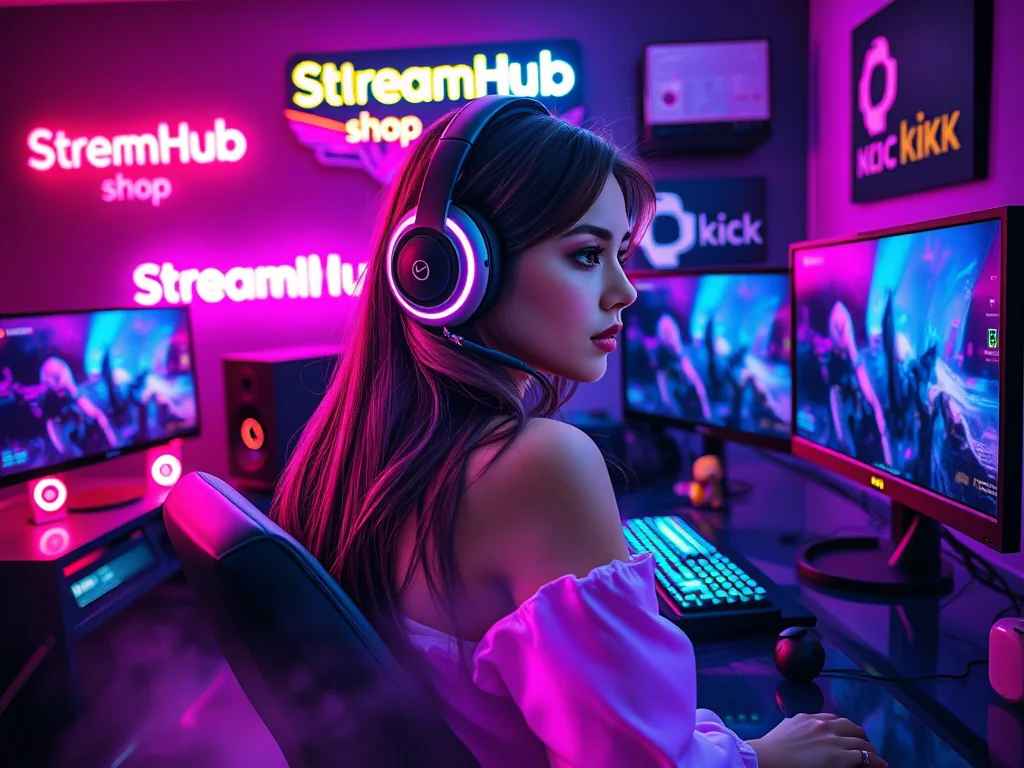
So, you've hit a ceiling with your webcam. The image is flat, the depth-of-field non-existent, and you can't quite get that professional polish you see on bigger channels. You're ready to step up, but the world of DSLRs and mirrorless cameras for streaming feels like a maze of technical jargon, expensive gear, and endless forums. How do you cut through the noise and actually achieve that crisp, cinematic look for your live content without overspending or getting bogged down in complexity?
This guide isn't about listing the latest camera models. It's about understanding the fundamental shift in quality a dedicated camera offers and the practical steps to integrate one into your streaming setup. We'll focus on the core elements that truly elevate your video, and what to realistically expect when making the jump.
The Unseen Upgrade: Why DSLR and Mirrorless Matter
The difference between a high-end webcam and even a mid-range DSLR or mirrorless camera isn't just resolution; it's about image quality at a foundational level. The primary drivers are sensor size and lens flexibility. Larger sensors, common in these cameras, can gather significantly more light than the tiny sensors in webcams, leading to:
- Superior Low-Light Performance: Less noise, better detail retention, and a cleaner image even in less-than-ideal lighting.
- Genuine Depth of Field (Bokeh): That pleasing blurred background that makes you pop off the screen? That's largely thanks to larger sensors and faster lenses. It instantly adds a professional, high-production-value feel.
- Color Accuracy and Dynamic Range: More faithful color reproduction and the ability to capture more detail in both highlights and shadows, giving you a richer, more vibrant image.
- Lens Versatility: The ability to swap lenses opens up creative possibilities, from wide-angle shots to tight, intimate portraits. You're not stuck with a single, fixed perspective.
This isn't just about looking "better"; it's about having creative control over your visual presentation, which is a key part of your brand and audience engagement.
Building the Bridge: Essential Gear Beyond the Camera
Acquiring a great camera is only the first step. To use it for streaming, you need a few critical accessories that bridge the gap between a standalone camera and a continuous, high-quality live video feed. Skipping these components is a common pitfall that leads to frustration and a suboptimal experience.
Your Essential Streaming Camera Setup Checklist:
- HDMI Output (Clean Signal): Confirm your camera has a "clean" HDMI output, meaning it sends video without on-screen overlays (like battery indicators or focus boxes). Most modern mirrorless and DSLRs designed for video do, but always double-check.
- Capture Card: This is non-negotiable. A capture card (internal PCIe or external USB) converts the camera's HDMI signal into a format your computer can understand and use in OBS, Streamlabs Desktop, or other streaming software. Invest in a reputable brand for reliability and low latency.
- Continuous Power: Cameras aren't designed to run for hours on a single battery. You'll need a "dummy battery" or AC power adapter specific to your camera model. This allows you to plug the camera directly into a wall outlet, ensuring uninterrupted power for long streams.
- Appropriate Lens: While your camera likely comes with a kit lens, consider a "fast" prime lens (e.g., 50mm f/1.8 or 35mm f/1.8) for that desirable shallow depth of field, especially if your streaming space is small. Zoom lenses offer flexibility but can be slower (higher f-stop), requiring more light.
- Sturdy Mounting: A reliable tripod or desk mount (like a clamp-style arm) is crucial. Ensure it can securely hold the weight of your camera and lens, positioned precisely where you need it.
- USB Control (Optional but Recommended): Some cameras allow you to control settings (like ISO, aperture, shutter speed) directly from your computer via a USB connection and specific software, which can be incredibly convenient.
Crafting Your Live Look: Settings and Creative Control
Having the gear is one thing; knowing how to use it to achieve a professional look is another. The real magic happens in your camera settings.
Prioritize Manual Control:
- Manual Exposure (M Mode): Take control. Set your ISO as low as possible (e.g., 100-400) to minimize noise. Adjust your aperture (f-stop) to achieve your desired depth of field (lower f-numbers like f/1.8 or f/2.8 will blur the background more). Finally, set your shutter speed to double your frame rate (e.g., 1/60th for 30fps, 1/120th for 60fps) for natural-looking motion blur. Adjust lighting as needed to get a correct exposure.
- White Balance: Set this manually (e.g., 5500K for daylight-balanced lights, or custom white balance). Auto white balance can shift during a stream, causing distracting color changes.
- Picture Profile/Picture Style: This is critical for the "look." Most cameras have various picture profiles (e.g., Neutral, Standard, Flat, S-Log). Start with a "Neutral" or "Flat" profile. These reduce contrast and saturation directly in the camera, giving you more flexibility to grade your colors and add your desired look within OBS or post-production software without losing detail. Avoid overly contrasty or saturated profiles, as they can clip highlights and shadows.
- Focus: Use continuous autofocus (AF-C or Servo AF) with face detection or eye-tracking if your camera has it. This ensures you stay sharp even if you move slightly. If your lighting is consistent and you don't move much, manual focus can be set once and locked.
Practical Scenario: The Interview Streamer
Imagine you run a weekly interview show. You've upgraded from a webcam to a mirrorless camera with a 50mm f/1.8 prime lens. Here's how you might dial it in:
- Lighting First: You use two softbox lights, one key light slightly off-center and one fill light to reduce harsh shadows.
- Camera Positioning: The camera is about 4-5 feet away, slightly above eye level, mounted on a small tripod.
- Settings:
- Mode: Manual (M)
- ISO: 200 (low noise, thanks to good lighting)
- Aperture: f/2.0 (just enough to blur the background, but keep your face entirely in focus)
- Shutter Speed: 1/60th (for a 30fps stream)
- White Balance: Custom set to your softbox lights (e.g., 5600K)
- Picture Profile: "Neutral" or "Flat," slightly boosting exposure in OBS to brighten the image without crushing highlights.
- Focus: Continuous Autofocus (AF-C) with face detection, ensuring you're always sharp as you lean in or back.
- OBS Integration: In OBS, you add the capture card as a Video Capture Device. You might apply a slight color correction filter to add a touch more contrast and saturation, or even a subtle LUT (Look Up Table) for a consistent brand aesthetic.
This setup gives you a clean, professional image with pleasing background blur, making you the clear focal point and elevating the perceived quality of your interviews.
Community Check-In: Common Headaches & How to Ease Them
Stepping up to a dedicated camera isn't always smooth sailing. Creators frequently encounter a few recurring challenges:
- Overheating: "My camera keeps shutting off mid-stream!" This is a prevalent issue, especially with smaller mirrorless cameras. They're not always designed for continuous, hours-long video recording.
- Solutions: Ensure good ventilation around the camera. Some users point a small, quiet USB fan directly at the camera body. Reduce resolution (e.g., 1080p instead of 4K) and frame rate, which generates less heat. Check for any firmware updates that might improve thermal management. Keep screen brightness low or turn off the screen entirely if possible.
- Latency: "There's a delay between my camera and my microphone!" This often comes down to the capture card.
- Solutions: Invest in a quality capture card from a reputable brand (e.g., Elgato, AVerMedia). Ensure your computer has sufficient USB bandwidth (especially for USB 3.0/3.1 cards). In OBS, you can add an audio delay filter to your microphone source to re-sync it with your video.
- Budget Strain: "It's so expensive to get a good camera AND all the accessories!"
- Solutions: Consider buying used cameras or older models. A previous generation mirrorless camera often offers fantastic quality for a fraction of the price. Prioritize the capture card and continuous power; those are non-negotiable. Start with a budget-friendly prime lens like a 50mm f/1.8 before investing in pricier glass. Remember, incremental upgrades are fine.
- "Why doesn't it look like a movie?" The expectation that simply plugging in a DSLR instantly creates Hollywood magic.
- Solutions: It's about lighting, composition, and correct camera settings. Focus on learning manual exposure, white balance, and understanding picture profiles. Good lighting will always trump a slightly better camera. Experiment with lens choices to get that desired depth of field.
Keeping It Polished: What to Re-Evaluate Over Time
Your streaming setup isn't a "set it and forget it" system, especially with a dedicated camera. Periodically review these elements to ensure optimal performance and picture quality:
- Firmware Updates: Camera manufacturers frequently release firmware updates that improve performance, fix bugs, or even add new features. Check your camera manufacturer's support page every few months.
- Lens Cleaning: Dust on your lens can degrade image quality. Gently clean the front element with a microfiber cloth and lens cleaning solution, or use an air blower to remove particles.
- Cable Integrity: Inspect your HDMI and USB cables for any damage or fraying. A faulty cable can cause signal drops or quality issues.
- Lighting Consistency: Lights degrade over time. Check your bulbs or panels periodically to ensure they're still providing consistent color temperature and brightness. Adjust your camera's white balance if you notice shifts.
- Focus Accuracy: Even with continuous autofocus, ensure your camera is consistently hitting focus on your face. Changes in your seating position or camera angle might require re-evaluation.
- Thermal Management: If you start experiencing overheating issues, re-assess your camera's ventilation and consider adding a small fan.
- Capture Card Drivers: Keep your capture card drivers updated. Manufacturers often release updates to improve compatibility or performance.
By moving beyond your webcam and embracing the power of a DSLR or mirrorless camera, you're not just improving resolution; you're gaining a powerful creative tool. It demands a bit more setup and understanding, but the payoff in professional visual quality is undeniable, helping you stand out in a crowded streaming landscape.
2026-03-22