You've moved past the basic webcam and a single desk lamp. Now you're staring at your stream setup, wondering why your carefully chosen background still looks flat, or why your green screen, despite all your efforts, gives off an annoying halo. The jump from "visible" to "professionally lit" is less about buying more gear and more about understanding how light interacts with your space, your subject, and your chosen effects.
This guide isn't about simply adding lights; it's about orchestrating them. We'll dive into how a well-placed key light becomes the anchor, how to make your green screen truly disappear, and how subtle atmospheric effects can elevate your entire broadcast, moving you beyond just being seen to being truly captivating.
The Foundation: Beyond Basic Key Lights
Your key light is the primary light source illuminating you, the subject. Its quality and placement dictate how viewers perceive your face, your energy, and the overall professionalism of your stream. For advanced setups, this means moving beyond direct, frontal illumination.
Placement is Paramount: Forget shining a light straight into your face. This flattens features and can cause harsh reflections, especially if you wear glasses. The goal is to create natural shadows that add depth. Position your key light to the side, typically between 45 to 60 degrees relative to your face, pointing towards your monitor. This angle provides sculpting light, making your features pop and adding dimension. Experiment with height too: slightly above eye level can cast flattering shadows under your chin and nose.
Quality Over Quantity: A powerful light isn't automatically a good light. Look for lights with high Color Rendering Index (CRI) – 90+ is ideal – to ensure accurate color representation. Diffusion is also critical. A bare LED panel will create harsh light and sharp shadows. Use a softbox, a diffusion panel, or even bounce the light off a neutral-colored wall to create a softer, more pleasing glow. This softer light is far more forgiving and professional.
Avoiding the Ring Light Trap: While popular for their simplicity, ring lights can be problematic, especially for those with glasses. Their direct, frontal illumination creates distinct reflections in lenses and can be fatiguing for your eyes over long streams. If you must use one, consider a larger diameter ring light to distribute the light more broadly from the sides, reducing the direct intensity.
Green Screens: Precision & Purpose
A green screen (or blue screen) is only as good as its lighting. Poorly lit chroma key setups are immediately obvious, with tell-tale halos, artifacts, or flickering edges that shatter immersion. The secret to a perfect key isn't just a good screen; it's about isolating you from it with light.
- Even Illumination of the Screen: This is non-negotiable. The green screen itself must be lit uniformly, without hotspots or shadows. Use dedicated, diffuse lights (often two, placed to the sides) pointing directly at the screen. Make sure they are powerful enough to eliminate wrinkles and folds from casting shadows.
- Subject-to-Screen Distance: Give yourself room. The further you are from the green screen, the less green light will "spill" onto you. This spill is what causes those greenish tints on your hair, clothes, or skin, making it harder for your software to differentiate you from the background. Aim for at least 3-5 feet of separation if your space allows.
- Backlighting for Separation: This is a pro-level move. Place a subtle light behind you, pointing towards your shoulders and head. This "rim light" (often slightly colored, or a cool white) creates a thin outline, separating you cleanly from the green screen and preventing edges from blending.
- Software Calibration: Even with perfect physical lighting, your chroma key software needs tuning. Adjust spill suppression, similarity, and smoothness settings meticulously. Most software includes a "color picker" to select the precise shade of green. Recalibrate if your lighting or environment changes.
Atmospheric & Accent Lighting: Setting the Mood
Once your key light is solid and your green screen is pristine, you can start layering in atmospheric and accent lights. These aren't about illuminating you; they're about creating an environment, adding depth, and reinforcing your stream's brand or mood.
- Fill Light: Often a less powerful, diffused light placed on the opposite side of your key light. Its purpose is to gently soften the shadows created by the key light, reducing contrast without flattening your features entirely. Think of it as balancing your key.
- Rim Light (Revisited): Beyond green screen separation, a rim light can add a dramatic, professional glow to your silhouette, especially if your background is dark or purposefully blurred.
- Accent Lights & RGB Effects: This is where creativity flourishes. LED strips, smart bulbs, or small spotlights can add splashes of color to your background, shelves, or wall. Sync them to game events, music, or just set a static mood.
- Consider color theory: Warm colors (red, orange, yellow) can feel energetic or cozy. Cool colors (blue, purple) might evoke calm, tech, or mystery.
- Subtlety is key: Overdoing RGB can make your stream look messy or distracting. Aim for complementing your primary lighting and overall aesthetic.
- Practical examples: A subtle blue glow behind your monitor for a tech stream, warm orange accents for a cozy "just chatting" setup, or pulsating red for intense gaming moments.
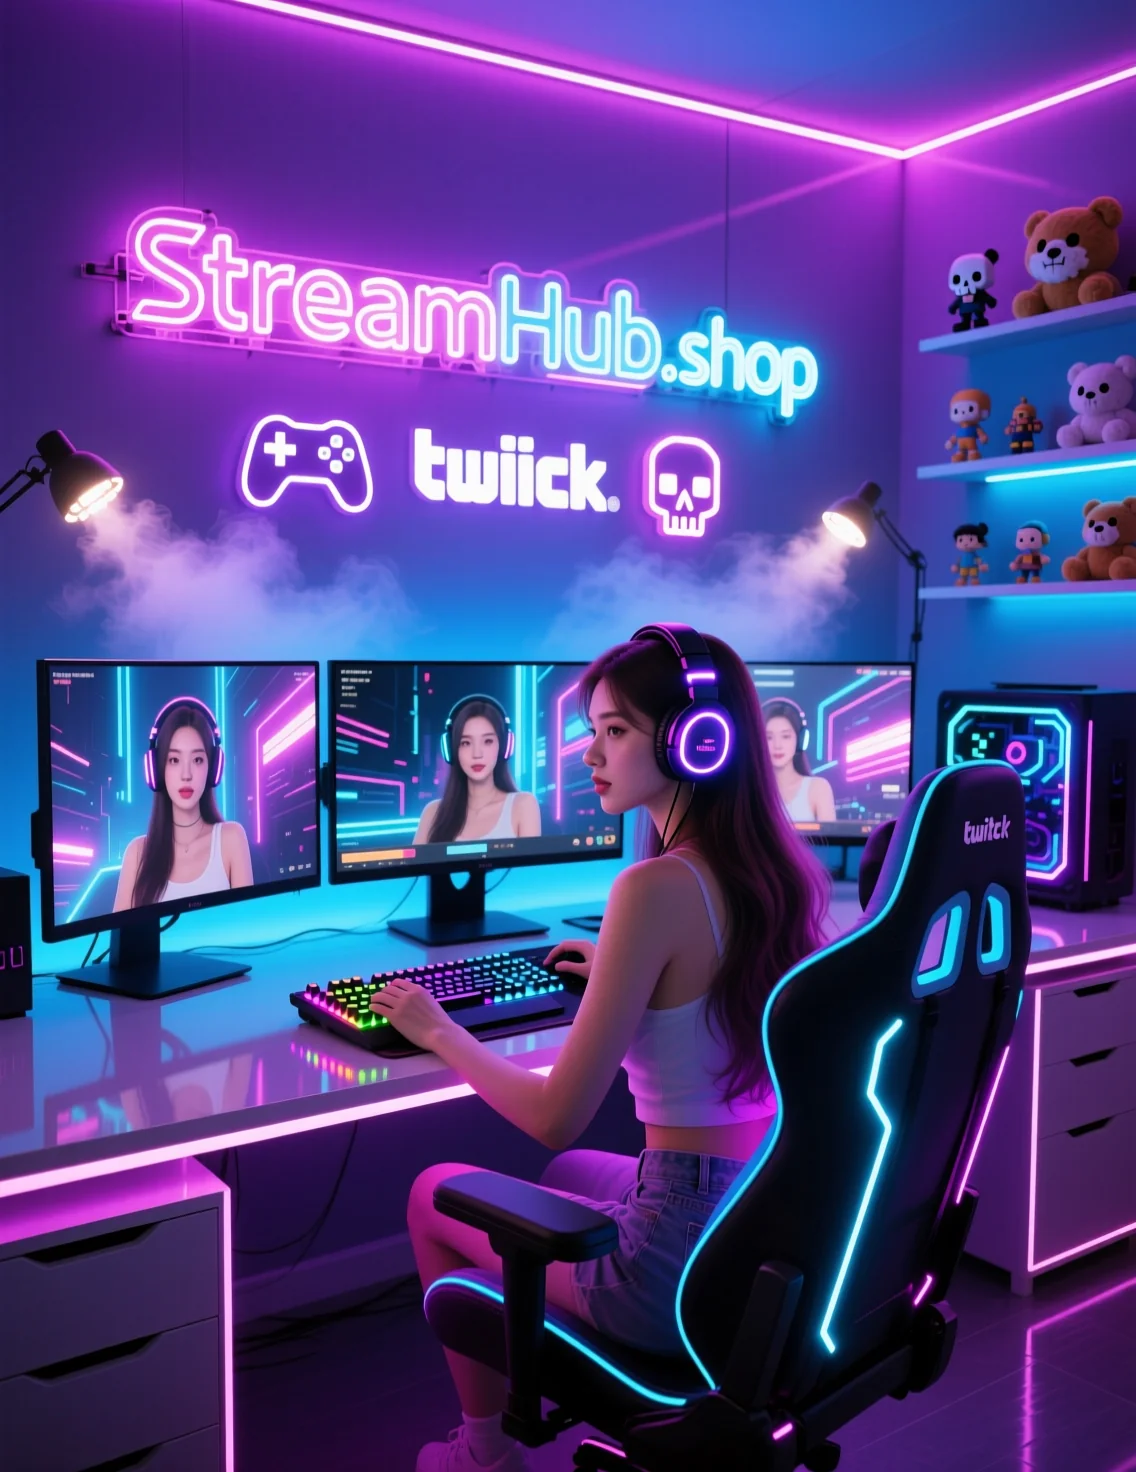
Practical Scenario: The Immersive Gaming Streamer
Imagine a streamer known for deep dives into RPGs, aiming for an immersive, cinematic feel. Their setup might look like this:
- Key Light: A softbox-diffused LED panel, positioned 45 degrees to their left, slightly above eye level, providing natural, flattering illumination.
- Fill Light: A smaller, less intense LED panel on their right, diffused, gently filling shadows.
- Green Screen: A large, wrinkle-free green screen backdrop, evenly lit by two dedicated LED strips on stands, placed 4 feet behind the streamer.
- Rim Light: A small, cool-white LED spotlight placed behind the streamer, creating a subtle halo separating them from the keyed-out game background.
- Atmospheric Accents: RGB light strips strategically placed behind their monitor and along a bookshelf, programmed to emit subtle, low-intensity ambient colors that shift with the game's environment (e.g., warm oranges for a desert scene, cool blues for a snowy mountain). This integrates the streamer into the game's world without being distracting.
Community Pulse: Shared Wisdom
Feedback from the streaming community often highlights specific challenges and clever solutions. When discussing lighting, several themes emerge repeatedly:
- Many streamers echo the sentiment that a good key light setup avoids direct frontal light. As one creator put it, "I personally just dislike ring lights and try to bounce light off of my wall. You literally are shining a light into eyes for an extended period of time." This concern about eye fatigue and harshness is widespread.
- The importance of key light placement is frequently emphasized. A common recommendation is to position "your key light 45 degrees from your face (facing towards the monitor) can take it up to 60 degrees if you must." This specific angle consistently delivers better results than head-on lighting.
- For those using webcams with ring lights, there's a practical tip: "For a webcam use a ring that has a larger diameter - there will be more light from the sides and not so much directly from the front. Be careful about wearing glasses - a problem for lights in webcams." This suggests a workaround for reducing glare and intensity if a ring light is the only option.
Your Advanced Lighting Setup Checklist
- Key Light Placement: Position 45-60 degrees to your dominant side, slightly above eye level. Diffuse it heavily.
- Key Light Quality: Ensure high CRI (90+) for accurate colors.
- Green Screen Illumination: Light the screen evenly, separately from yourself, eliminating shadows and wrinkles.
- Subject-to-Screen Distance: Maintain 3-5 feet of separation to minimize spill.
- Rim Light: Add a backlight to create separation, especially with a green screen.
- Fill Light (Optional): Introduce a softer light opposite your key to balance shadows.
- Atmospheric Lighting: Add subtle RGB or accent lights to your background for mood and brand. Avoid overkill.
- Software Tuning: Calibrate chroma key settings meticulously in your streaming software (spill suppression, similarity, smoothness).
- Test & Observe: Record short test clips. Watch them back on different devices. Ask for honest feedback from trusted viewers.
2026-03-16
What to Review Next: Ongoing Lighting Maintenance
Your lighting setup isn't a "set it and forget it" task. Regular review ensures you maintain that polished look and adapt to changes:
- Environment Changes: Moved your desk? New furniture in the room? Even subtle shifts in natural light from windows can impact your setup. Re-evaluate and adjust.
- Gear Upgrades: Got a new webcam, monitor, or even a new light? Each component can affect the overall balance. Re-test and recalibrate.
- Software Updates: Streaming software (OBS, Streamlabs Desktop) frequently updates chroma key algorithms or exposure controls. Check for new features or adjustments needed after an update.
- Dust & Dirt: Over time, dust can accumulate on diffusers, light panels, and even your webcam lens, subtly degrading light quality or image clarity. A quick clean can make a difference.
- Viewer Feedback: Pay attention to comments. Are viewers mentioning glare, shadows, or color issues? Use their feedback as a guide for refinement.
- Energy Consumption: If you've added many lights, consider their combined power draw, especially in older homes or with heavy PC usage. Look into energy-efficient LED options where possible.