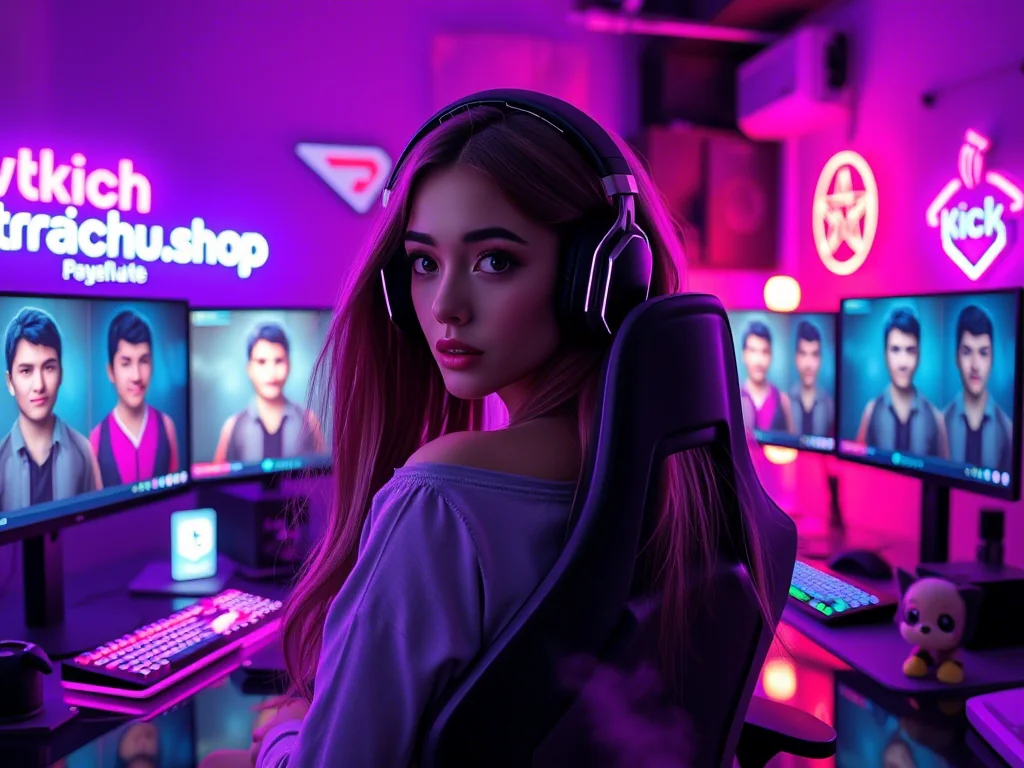
You’ve seen those crystal-clear streams, the ones where the creator looks perfectly lit, vibrant, and engaging. Then you glance at your own setup, perhaps illuminated by a single overhead light or a desk lamp, and wonder how they do it without a studio budget. The good news? Achieving great visuals doesn't require emptying your bank account on high-end lighting gear. It's about smart choices, clever placement, and understanding a few core principles.
This guide isn't about buying the most expensive lights; it's about maximizing impact with minimal investment. We’ll focus on practical, budget-friendly strategies to make you look your best, turning your existing space into a well-lit stage without the hefty price tag.
The Foundations of Budget Brilliance: Light Sources & Control
Before diving into specific gear, let's nail down what light does for your stream and how you can manipulate it without spending a dime. Your goal is to eliminate harsh shadows, reduce glare, and ensure your face is evenly lit, making you look professional and inviting.
- Natural Light: Your Free Key Light. If you have a window, it's your most powerful (and free) light source. Position yourself facing the window, not with it behind you. This provides soft, even illumination. Be mindful of direct sunlight, which can be too harsh; sheer curtains or blinds can diffuse it.
- Key Light: Your Primary Illuminator. This is your main light source, typically hitting your face from the front-side. Its job is to define your features.
- Fill Light: Softening the Shadows. Even with a good key light, one side of your face might be shadowed. A fill light softens these shadows, providing balanced illumination. It should be less intense than your key light.
- Diffusion: The Secret Sauce. Raw light, especially from cheap sources, can be harsh. Diffusion spreads light, making it softer and more flattering. White bedsheets, parchment paper, or even tracing paper can be DIY diffusers for a direct light source.
- Bouncing Light: The Indirect Power Play. Instead of shining a light directly at yourself, aim it at a white wall or ceiling. The bounced light will be much softer and spread out. This is an incredibly effective budget technique.
Smart Gear Choices That Won't Break the Bank
Once you understand the principles, it's time to pick up a few affordable tools. Focus on versatility and the ability to adjust brightness and color temperature.
{ }
}
Small LED Panel Lights
Compact LED panels (often USB-powered or battery-operated) offer excellent value. Look for models that allow you to adjust both brightness and color temperature (warm to cool light). They're versatile, can be mounted on mini tripods, and are relatively gentle on the eyes. Brands like Ulanzi or Neewer often have options under $40-50 for a pair.
Utility Clamp Lights & Smart Bulbs
A simple clamp light (the kind you might find for a garage or workshop) paired with a daylight-balanced LED bulb (5000K-6500K) makes for an incredibly effective key or fill light. The clamp allows you to attach it to shelves, desks, or even a mic stand. For added control, consider a "smart" LED bulb, which allows you to change color and brightness via an app, often for less than a dedicated streaming light.
Ring Lights: Use with Caution and Care
Ring lights are popular for their simplicity and ability to provide a generally even light. However, they aren't a perfect solution for everyone, and the community has shared some important caveats. One streamer noted, "For a webcam use a ring that has a larger diameter - there will be more light from the sides and not so much directly from the front." This wider spread can help reduce the harshness of direct light. Another common issue is reflections in glasses, as pointed out by community members: "Be careful about wearing glasses – a problem for lights in webcams." Beyond the reflections, some creators simply find them uncomfortable for extended periods: "I personally just dislike ring lights and try to bounce light off of my wall. You literally are shining a light into eyes for an extended period of time." If you opt for a ring light, choose one with adjustable brightness and consider a larger diameter or positioning it slightly off-axis to mitigate these common problems.
Affordable Backlighting for Depth
Don't forget your background! A simple USB LED strip behind your monitor, a small desk lamp aimed at a wall, or even a few battery-powered puck lights can add depth and visual interest without needing expensive studio lights. Warm colors (orange, red, purple) tend to look great as background accents.
The Power of Placement and Diffusion: It's Free!
You could have the most expensive lights in the world, but if they're poorly placed, your stream will suffer. Conversely, cheap lights with smart placement can look amazing. This is where you invest your time, not your money.
- Key Light Positioning: The 45-Degree Rule. A well-placed key light can transform your setup more than an expensive one. As one experienced streamer shared, "A good lighting setup is to have your key light 45 degrees from your face (facing towards the monitor) can take it up to 60 degrees if you must." This angle sculpts your face, adding dimension without making you look flat.
- Fill Light Positioning: Opposite and Weaker. Your fill light should generally be on the opposite side of your key light, aimed to gently lift shadows. It should be less intense than your key light. You can achieve this with a dimmer, by moving it further away, or by bouncing it off a wall.
- Height Matters. Position your key and fill lights slightly above eye level and angled down. This creates a natural look, mimicking how light falls from overhead. Lighting from below creates unflattering, spooky shadows.
- DIY Diffusion in Action. For a harsh clamp light, clip a piece of white parchment paper or a thin white cloth in front of it (safely, away from the bulb if it gets hot). For LED panels, a sheet of tracing paper taped over the front can work wonders.
Mini-Scenario: The "Level Up on a Shoestring" Streamer
Meet Leo. His stream currently relies on a single ceiling light and the glow from his monitor, leaving him looking shadowy and a bit washed out. He has a total budget of $60 to improve his lighting.
- Key Light (Free): Leo positions his desk so he faces a large window during daytime streams. This provides excellent, soft key lighting.
- Key Light (Evening/Backup, ~$20): For evening streams, he buys a utility clamp light ($10) and a daylight-balanced 60W equivalent LED bulb ($10). He clamps it to a bookshelf slightly above and 45 degrees to his left, aiming it at a white wall opposite him. The bounced light provides a soft, broad key light.
- Fill Light (~$0): On his right side, he places a large white foam board (he found one for free in his garage) that reflects some of the key light back, acting as a soft fill.
- Background Accent (~$15): He grabs a basic USB LED strip ($15) and sticks it to the back of his monitor, setting it to a subtle blue. This adds depth and separates him from his background.
Result: For under $35, Leo transformed his stream's visual quality. His face is evenly lit, shadows are soft, and his background has a subtle, professional glow. He saved the remaining $25 for a better microphone later.
Community Pulse on Lighting Challenges
Beyond specific gear, discussions in creator communities often revolve around practical, day-to-day lighting issues that even budget setups face:
- Eye Strain: Many creators report discomfort, especially from direct ring lights or overly bright key lights. The consensus often points to dimmable lights and bouncing light off surfaces as key solutions for comfort.
- Flicker on Camera: Some cheaper LED lights can cause a subtle flicker that's invisible to the naked eye but noticeable on camera. This is less common with modern LEDs but worth testing. High refresh rate cameras or adjusting your shutter speed can sometimes mitigate this.
- Color Consistency: Mixing light sources with different color temperatures (e.g., warm room light, cool LED panel) can lead to an unnatural look. Aim for consistency across your key and fill lights, usually in the 5000K-6500K "daylight" range.
- Small Spaces: Creators in cramped rooms struggle with light placement. The advice often boils down to maximizing bounced light, using small, flexible LED panels, and being creative with clamp light placement on shelves or furniture.
- Washed-Out Look: Too much light, or light that's too direct and not diffused, can make you look flat and washed out. This is a common issue that proper diffusion and strategic placement (like the 45-degree key light) help solve.
Your Budget Lighting Setup Checklist
Ready to set up your own cost-effective lighting? Follow these steps:
- Identify Your Key Light.
- Option 1 (Free): Can you face a window? If so, experiment with curtains for diffusion.
- Option 2 (Budget): Use a dimmable LED panel or a clamp light with a daylight LED bulb.
- Position Your Key Light.
- Place it about 45 degrees to one side of your face, slightly above eye level, angled down.
- If using a clamp light, consider aiming it at a white wall for softer, bounced light.
- Introduce a Fill Light.
- Option 1 (Free): Use a white poster board, foam core, or even a white bedsheet off to the opposite side of your key light to reflect light.
- Option 2 (Budget): Use a second, less intense LED panel or a bounced clamp light.
- Position it opposite your key light, slightly lower in intensity.
- Add Diffusion (If Needed).
- If your lights are harsh, tape parchment paper or a thin white cloth over them (safely, ensuring good airflow).
- Consider Background Lighting (Optional).
- A USB LED strip, a small desk lamp aimed at a wall, or smart bulbs in existing fixtures can add character.
- Test and Adjust.
- Record short clips or use your camera's preview. Move lights, adjust brightness, change angles. Pay attention to shadows and reflections.
- Check for glare on glasses, screens, or shiny objects.
What to Review and Re-check Over Time
Your lighting setup isn't a "set it and forget it" situation, especially with budget components or reliance on natural light. Periodically review these aspects:
- Seasonal Changes: Natural light varies dramatically with seasons, weather, and time of day. Re-evaluate your window light's effectiveness and adjust artificial lights as needed.
- New Gear or Room Layout: Any time you change your camera, monitor, or room arrangement, your lighting will be affected. Always re-test.
- Bulb Life & Performance: Cheaper LED bulbs can sometimes lose brightness or shift color temperature over time. If your lighting starts to look off, consider replacing older bulbs.
- Viewer Feedback: Pay attention to comments about your stream's visual quality. Are you too dark? Too bright? Are shadows distracting?
- Personal Comfort: If you're experiencing eye strain or discomfort, adjust your lights. Dimmable options and bouncing light are your best friends here. Your comfort translates to better, longer streams.
2026-03-15