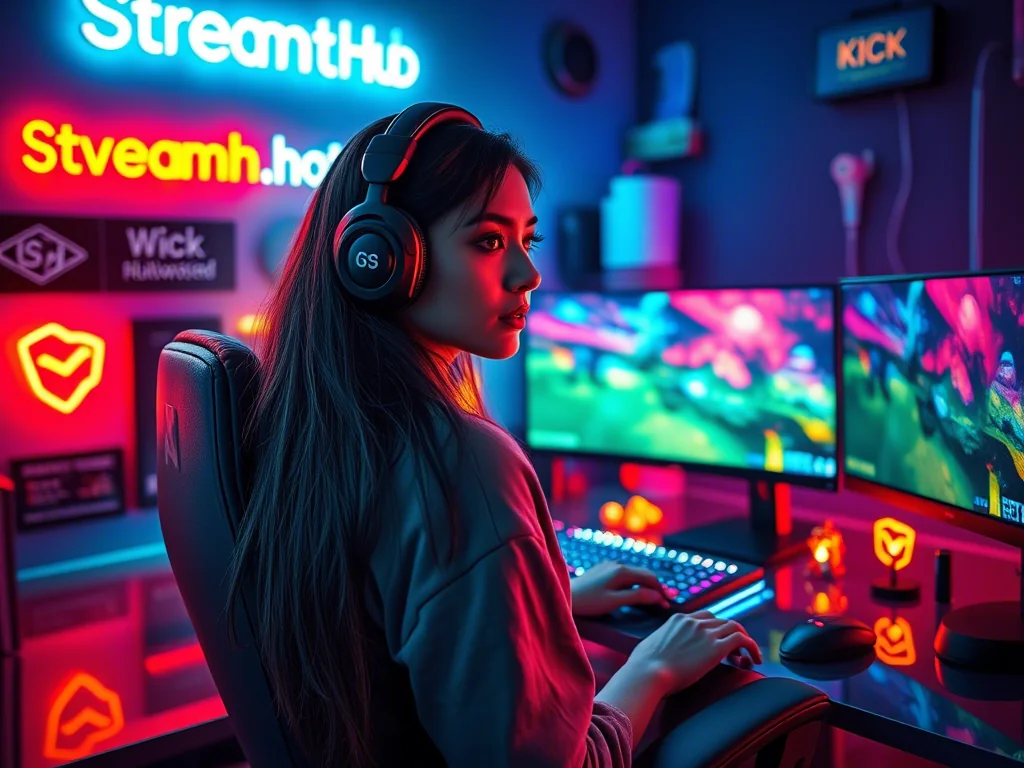
You’ve got your mic dialed in, your webcam is crisp, and your overlay looks sharp. But then you hit 'Go Live' and see it: harsh shadows, a washed-out face, or that flat, uninspired look that screams "amateur." Sound familiar?
The truth is, many streamers overlook one of the most impactful elements for a professional presentation: lighting. Specifically, a well-executed 3-point lighting setup can elevate your on-camera presence from good enough to genuinely polished, adding depth, definition, and a welcoming glow that grabs attention and holds it.
This guide isn't about buying the most expensive gear; it's about understanding the foundational principles of how light shapes your image, so you can apply them effectively, regardless of your budget or current setup.
Understanding the "Why": Beyond Flatness and Shadows
Before we dive into the 'how,' let's clarify the 'why.' A single light source, like a basic ring light or a desk lamp pointed at your face, often leads to two main problems:
- Flatness: Without varying light intensities and angles, your face loses its natural contours, appearing two-dimensional.
- Harsh Shadows: A single, direct light can create deep, unflattering shadows under your chin, nose, and eyes, which can be distracting and make you look tired or unapproachable.
3-point lighting is a technique used across photography, film, and broadcasting to create a balanced, flattering, and dimensional look. It uses three distinct lights working in harmony to illuminate your subject (you!) without creating extreme shadows or a flat image. It’s about sculpting with light, not just illuminating.
{ }
}
The Three Pillars: Key, Fill, and Backlight
Each of the three lights in this setup has a specific job. Understanding these roles is crucial for effective placement.
-
The Key Light: Your Main Illuminator
This is your primary, strongest light source. It's responsible for illuminating the main side of your face and defining your features. Think of it as the sun in your personal lighting ecosystem.
- Placement: Position your key light to one side of your camera, typically 30-45 degrees off-axis from your face, and slightly above eye level, angled down. This creates natural-looking highlights and shadows that give your face shape. One streamer notes, "A good lighting setup is to have your key light 45 degrees from your face (facing towards the monitor) can take it up to 60 degrees if you must." Experiment to find the most flattering angle for you.
- Intensity: This should be the brightest light. Use a softbox or diffuser to soften its output and prevent harsh shadows.
-
The Fill Light: Softening the Edges
The fill light's job is to reduce the harsh shadows created by the key light. It's a softer, less intense light that "fills in" those darker areas, reducing contrast and making your image more balanced and pleasing.
- Placement: Position your fill light on the opposite side of your camera from the key light. It should also be off-axis, but generally less extreme than the key light (e.g., 20-30 degrees). It can be at or slightly below eye level.
- Intensity: The fill light should be noticeably dimmer than your key light. Its purpose isn't to create new shadows, but to gently lift existing ones. Often, a small LED panel or even a bounced light from a wall works well here.
-
The Backlight (Hair Light/Rim Light): Adding Depth
Also known as a hair light or rim light, the backlight is positioned behind you, out of frame. Its purpose is to create a subtle glow or outline around your head and shoulders, separating you from your background and adding a sense of depth and dimension to your shot.
- Placement: Position your backlight behind and above you, angled down towards the back of your head/shoulders. It should be directly opposite the key light, or somewhere between 90-180 degrees from your key light relative to your position.
- Intensity: This light should be less intense than your key light, but bright enough to create a noticeable rim effect without blowing out your hair or shoulders.
Putting It into Practice: A Starter Setup Scenario
Let's imagine you're "Maya," a new variety streamer with a compact desk setup and a modest budget. She wants to look more professional without cluttering her space or breaking the bank.
-
Maya's Gear:
- Key Light: A single 10-inch LED ring light (often demonized, but still a versatile starter light when not used as a direct, sole source) on a desk stand, positioned to her left. She uses its built-in diffuser.
- Fill Light: A small, inexpensive LED panel (like a phone video light) or even a bright, dimmable desk lamp with a white lampshade, placed to her right and slightly further away than the key.
- Backlight: An LED strip light she already owns, taped to the wall behind her chair, angled to shine on the back of her head and shoulders.
-
Maya's Setup Process:
- Key Light First: Maya places the ring light about 2 feet to her left, slightly above her eye line, angled towards her face. She adjusts its brightness to comfortably illuminate her main features.
- Adding the Fill: She positions the LED panel on her right, about 3 feet away. She then dims it significantly, just enough to soften the shadows on the right side of her face created by the key light, without making her look flat.
- Defining with Backlight: She turns on the LED strip behind her, adjusting its angle until she sees a subtle halo around her hair and shoulders, separating her from her gaming posters on the wall.
- Final Tweaks: She checks her webcam feed, adjusting the intensity of each light until the shadows are soft, her face is evenly lit, and she has that professional "pop" against her background.
Community Pulse: Ring Lights and Reflections
While ring lights are popular due to their affordability and ease of use, they frequently spark debate within streaming communities. The core concern often revolves around their placement and effect:
- Direct Eye Strain: Many streamers echo the sentiment, "I personally just dislike ring lights... You literally are shining a light into eyes for an extended period of time." This discomfort can be real, leading to eye fatigue during longer streams.
- The 'Donut' Catchlight and Glasses Glare: Another common point of feedback is the distinct circular reflection ("donut") a ring light creates in the eyes, which some find unnatural. For those wearing glasses, this becomes an even bigger issue, with reflections often obscuring the eyes entirely. One streamer warned, "Be careful about wearing glasses - a problem for lights in webcams."
This is where 3-point lighting really shines. By using a key light that is off-axis, you eliminate the direct, head-on glare and the unnatural catchlights. While a ring light can be repurposed as a soft, diffused key light (as in Maya's scenario) or even a fill light, it's generally not recommended as the *sole* light source, especially if you wear glasses or find direct light uncomfortable.
Your Lighting Checklist for a Balanced Look
Use this quick checklist to set up or troubleshoot your 3-point lighting:
- Key Light Check:
- Is it 30-45 degrees to one side of your camera?
- Is it slightly above eye level, angled down?
- Is it the brightest light, with a diffuser for softness?
- Does it create appealing highlights and shadows?
- Fill Light Check:
- Is it on the opposite side of the camera from your key light?
- Is it less intense than your key light?
- Does it soften the shadows created by the key light without making your face flat?
- Is it positioned to avoid creating new harsh shadows?
- Backlight Check:
- Is it behind you, out of frame, and angled towards your head/shoulders?
- Does it create a subtle rim of light separating you from the background?
- Is it less intense than your key light, but noticeable?
- Overall Balance Check:
- Look at your webcam feed: Is there a good balance between light and shadow?
- Are you free of harsh glare or distracting reflections (especially if wearing glasses)?
- Does your face look dimensional, not flat?
- Does your background have adequate separation, or is it blending in with you?
Maintaining Your Glow: What to Review Over Time
Your lighting setup isn't a "set it and forget it" task. Small changes in your environment or gear can subtly impact your look. Make it a habit to periodically review these aspects:
- Environmental Changes: Did you get new curtains? Is it a different time of year with more or less natural light entering your room? Your lighting setup might need slight adjustments to compensate for varying ambient light. What looks great at night might be over- or under-exposed during the day.
- Gear Upgrades: A new webcam with a different sensor or lens can change how light is captured. Likewise, upgrading a monitor or adding a new peripheral that casts its own light might require recalibrating your key, fill, and backlights.
- Background Updates: Changed your background décor? Added new posters or removed old ones? The way your backlight interacts with the background, or how your background reflects/absorbs light, can shift.
- White Balance: Ensure your webcam's white balance is correctly set for your lighting. Mixed light temperatures (e.g., warm key light, cool room light) can create an unnatural color cast. Most good lighting panels allow for color temperature adjustments (often measured in Kelvin) to help you match or correct.
- Cleanliness: Dust can accumulate on diffusers and light panels, slightly reducing their output and potentially altering light quality. A quick, gentle wipe can maintain optimal performance.
2026-03-07