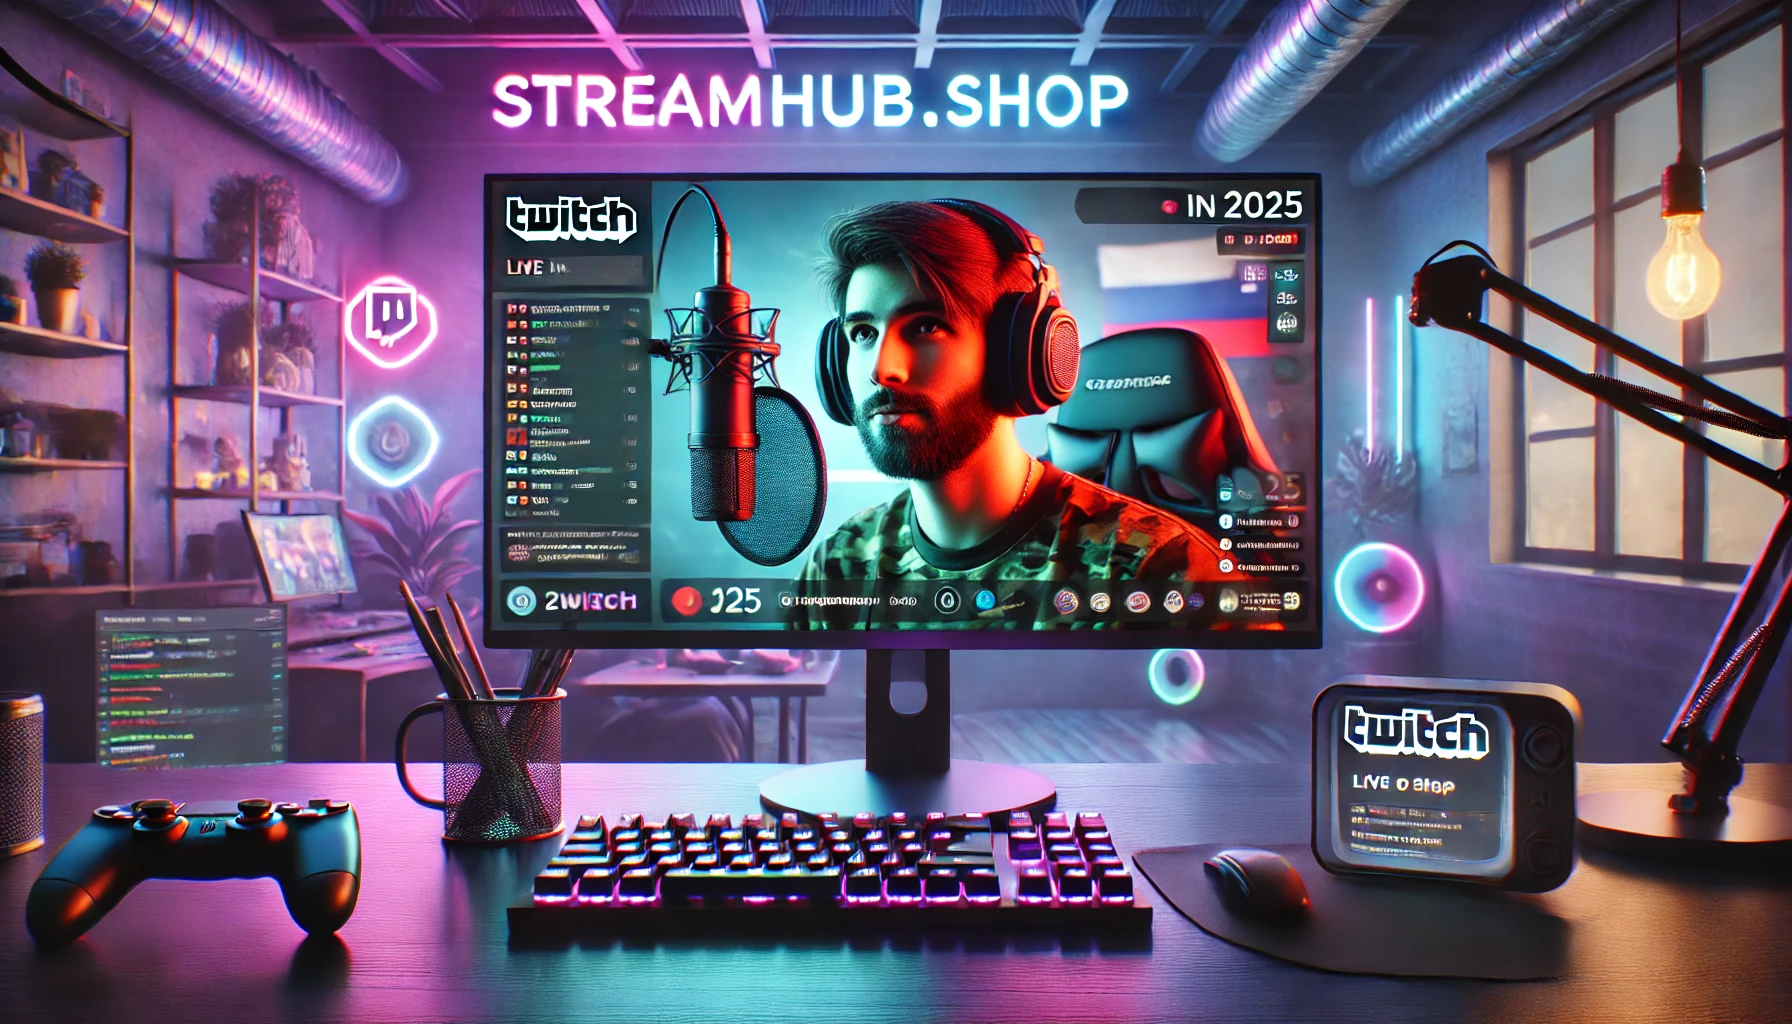
You’ve seen those streams – the ones where the creator looks like they’re stepping straight out of a YouTube interview or a high-budget commercial, not just sitting in their home office. That soft, blurry background (bokeh), the crisp detail, the vibrant yet natural colors, and the way they seem to glow even in moderate lighting. You know it’s not a standard webcam, and you’re right. This isn’t just about having a high-resolution image; it’s about achieving a visually rich, "cinematic" quality that elevates your entire stream's production value.
If you're eyeing a DSLR or mirrorless camera, you’re looking to make a significant leap beyond what even the best webcams can offer. But it's not simply plugging in a new device; it's about understanding a new ecosystem of gear, settings, and considerations. This guide cuts through the noise, focusing on the practical steps and decisions you'll make to truly unlock that sought-after cinematic look for your live content.
The "Cinematic" Edge: Why DSLRs & Mirrorless Matter for Streamers
When streamers talk about "cinematic quality," what do they actually mean in the context of a live broadcast? It boils down to a few key visual elements that dedicated cameras handle far better than typical webcams:
- Shallow Depth of Field (Bokeh): This is perhaps the most defining characteristic. A wide aperture lens on a larger sensor camera can beautifully blur the background, making you pop from your environment. This isn't just aesthetically pleasing; it helps focus viewer attention squarely on you, minimizing distractions from your background.
- Superior Low-Light Performance: DSLRs and mirrorless cameras, with their larger sensors, can gather significantly more light. This means a cleaner image with less digital noise (graininess) even in dimmer environments, allowing for more creative lighting setups without compromising clarity.
- Color Fidelity and Dynamic Range: These cameras capture a wider range of colors and light-to-dark tones, resulting in a more natural, lifelike, and vibrant image. This translates to more accurate skin tones and richer overall visuals.
- Lens Versatility: The ability to swap lenses opens up a world of creative possibilities – from super-wide shots to tight close-ups, and crucially, lenses with very wide apertures (low f-numbers) for maximum bokeh.
While webcams are convenient, their fixed lenses and tiny sensors simply can't achieve this level of visual sophistication. Moving to a dedicated camera is about investing in image quality that tells your viewers you care about presentation, making your stream feel more polished and professional.
Building Your High-Quality Stream Setup: The Core Components
It’s more than just the camera; it’s a system. Here's what you'll need to bridge your DSLR or mirrorless camera to your streaming software:
- The Camera Body:
- Clean HDMI Out: This is non-negotiable. Your camera must be able to output a clean, uncompressed video feed through its HDMI port, without any on-screen overlays (like battery life, settings, or focus boxes). Always check camera specs or reviews for "clean HDMI out" or "video output without UI."
- No Auto-Shutdown: Many cameras are designed to save battery by shutting down after a period of inactivity. For streaming, you need a camera that can disable this feature or has a "webcam mode" to stay active indefinitely.
- Good Low-Light Performance: Look for cameras with larger sensors (APS-C or Full-Frame) and a good reputation for handling higher ISOs with minimal noise.
- Autofocus Reliability: While manual focus is an option, a solid, continuous autofocus system (especially eye-tracking or face-tracking) can be a lifesaver for dynamic streamers.
- The Lens: This is where much of the "cinematic" magic happens.
- Fast Primes: Lenses with a wide maximum aperture (e.g., f/1.2, f/1.4, f/1.8, f/2.0) are excellent for shallow depth of field. A 30mm to 50mm equivalent focal length is a common choice for head-and-shoulders shots.
- Zoom Lenses: While less "fast," a good zoom lens (e.g., 24-70mm f/2.8) offers flexibility if you change your setup or need different framing for various content types.
- Capture Card: This is the crucial intermediary. Your camera's HDMI output goes into the capture card, which then connects to your streaming PC (usually via USB 3.0 or PCIe).
- External vs. Internal: External USB capture cards offer portability and ease of setup. Internal PCIe cards often provide lower latency and higher bandwidth, ideal for dedicated streaming PCs.
- Resolution & Frame Rate: Ensure it supports the resolution and frame rate you intend to stream at (e.g., 1080p60).
- Constant Power Supply (Dummy Battery): Your camera's standard battery will die quickly. A dummy battery (an adapter shaped like your camera's battery that plugs into a wall outlet) provides uninterrupted power.
- Mounting Solution: A sturdy tripod, desk clamp, or magic arm is essential to position your camera precisely and keep it stable.
- USB Cable: Some cameras can function as a webcam directly via USB, but this often sacrifices quality or features compared to an HDMI + capture card setup. Check your camera's specific "webcam utility" if available.
Pre-Purchase Checklist for Your DSLR/Mirrorless Streaming Setup:
- Does the camera have "clean HDMI out" verified by reviews or specs?
- Can the camera disable auto-shutdown, or does it have a dedicated streaming/webcam mode?
- Is a dummy battery power solution available for this model?
- Have I selected a lens appropriate for my desired look (e.g., fast prime for bokeh)?
- Is my chosen capture card compatible with my PC and supports my desired resolution/frame rate?
- Do I have a stable mounting solution for my camera?
- What are the typical overheating reports for this specific camera model during extended video use? (Crucial for streaming!)
Mastering Your Camera Settings for Live Content
Once connected, you'll need to dial in your camera settings to maximize that cinematic appeal. This isn't a "set it and forget it" process; it requires understanding how each setting impacts your image:
- Aperture (f-stop): This is your primary control for depth of field. A lower f-number (e.g., f/1.8, f/2.8) means a wider aperture, more light, and a blurrier background. Experiment to find the sweet spot where you're sharp but the background is pleasantly soft.
- Shutter Speed: For video, the general rule is to set your shutter speed to double your frame rate (e.g., 1/60th for 30fps, 1/120th for 60fps) for natural motion blur. However, for a stationary streaming setup, you might adjust this slightly to prevent flicker from artificial lights, especially if you're battling fluorescent hum.
- ISO: This controls your camera's sensitivity to light. Keep it as low as possible (e.g., ISO 100-400) to minimize digital noise. Only increase it if absolutely necessary, and only after optimizing your lighting.
- White Balance: Set this manually to a Kelvin temperature that matches your lighting (e.g., 3200K for warm indoor lights, 5600K for daylight). Auto white balance can shift during a stream, leading to distracting color changes.
- Picture Profile/Color Science: Many cameras offer "flat" or "neutral" picture profiles. These reduce contrast and saturation, preserving more detail in highlights and shadows. While designed for post-production grading, they can be a great starting point for streaming, allowing you to apply subtle color correction or LUTs directly in OBS/Streamlabs for a consistent, professional look. Alternatively, some cameras have very pleasing "standard" profiles that require less tweaking.
- Focus Mode: For a static shot, manual focus is often the most reliable way to ensure you're always sharp. However, if you move around, a continuous autofocus (AF-C) with face or eye tracking can keep you in focus automatically. Test extensively!
- Lighting: Your camera can only capture the light it's given. Even the best camera will look mediocre with poor lighting. Invest in good key, fill, and backlighting to shape your image, reduce shadows, and help your camera perform at its best.
Real-World Scenario: PixelPioneer's Dedicated Gaming & Chat Setup
Let's imagine PixelPioneer, a variety streamer who splits their time between high-energy gaming and relaxed "Just Chatting" segments. They've been using a premium webcam but feel their visual quality is holding them back from a truly professional presentation. PixelPioneer wants that smooth bokeh and crisp image they see from larger creators.
Their Setup Choice:
- Camera: A mid-range mirrorless camera known for its strong video capabilities and clean HDMI out, perhaps a Sony A6400 or a Canon M50 Mark II. These offer excellent image quality in a relatively compact form factor.
- Lens: A fast prime lens, specifically a Sigma 30mm f/1.4 (for an APS-C sensor). This focal length provides a natural perspective, similar to a 45mm on full-frame, perfect for a head-and-shoulders shot from a comfortable distance. The f/1.4 aperture delivers stunning background blur.
- Capture Card: An Elgato Cam Link 4K. It's external, reliable, and supports 4K pass-through (though PixelPioneer streams at 1080p60, it offers headroom).
- Power: A dummy battery for their chosen camera model, connected to a wall outlet.
- Mounting: A sturdy desk-mounted boom arm, allowing flexible positioning around their monitor without taking up desk space.
PixelPioneer's Workflow:
- They position their camera slightly above their monitor, angled down for a flattering perspective.
- The Sigma 30mm f/1.4 lens is set to f/1.8 for a good balance of sharp subject and creamy bokeh.
- Shutter speed is locked at 1/60th to match their 30fps or 60fps stream and minimize flicker from their LED panel lights.
- ISO is manually set to 200, kept low thanks to their two key lights and a subtle hair light.
- White balance is manually set to 5200K, matching their LED lights for consistent color.
- Autofocus is set to continuous eye-tracking. They've tested it extensively and know it reliably keeps them sharp even if they lean back slightly.
- In OBS Studio, the Cam Link 4K is added as a Video Capture Device. PixelPioneer applies a subtle LUT (Look Up Table) to their camera source, giving their footage a slightly warmer, more cinematic color grade, and a touch of sharpening.
The result is a stream where PixelPioneer looks incredibly professional, their face is perfectly sharp, and their background is softly diffused, making them the undeniable focal point of their content, whether they're discussing game strategy or engaging with chat.
Community Pulse: The Realities Beyond the Hype
While the "cinematic look" is highly desirable, the creator community frequently discusses the practical hurdles of implementing DSLR/mirrorless setups. Common threads across forums and social media often highlight:
- The Cost Barrier: Many creators acknowledge that the initial investment for a camera body, a good lens, a capture card, and accessories can be substantial, often exceeding the cost of a premium webcam by several factors. The consensus is that it's a commitment, not a casual upgrade.
- Complexity vs. Convenience: There's a shared sentiment that moving from a plug-and-play webcam to a dedicated camera setup involves a steeper learning curve. Creators often express frustration with managing multiple cables, understanding camera settings, and troubleshooting connection issues. The trade-off is often seen as "more work for better results."
- Overheating Concerns: A recurring pain point, especially with certain camera models, is overheating during extended streaming sessions. Cameras designed primarily for short video clips or photography can struggle with continuous video output, leading to automatic shutdowns. Many streamers research specific camera models for their "streaming endurance" before buying.
- Finding "Clean HDMI": Before purchase, streamers often share stories of painstakingly verifying if a camera model truly provides a clean HDMI output, as not all models do, and some require specific firmware updates or menu diving to enable it.
- The "Is It Worth It?" Debate: For smaller or newer streamers, there's a constant internal debate about whether the visual upgrade justifies the cost and complexity, especially if their content relies more on personality or gameplay than high-end production value. Experienced creators often advise waiting until stream growth can justify the investment.
Keeping Your Cinematic Stream Sharp: A Maintenance Checklist
Your journey to cinematic quality isn't a one-time setup. Regular checks and maintenance ensure your camera continues to perform at its best.
- Firmware Updates: Check your camera manufacturer's website periodically for new firmware. Updates can improve performance, add features, fix bugs, and sometimes even enhance video output stability or introduce webcam utilities.
- Lens Cleaning: Dust and smudges on your lens can degrade image quality. Use a soft brush, a microfiber cloth, and lens cleaning solution specifically designed for camera optics. Never use household cleaners or abrasive materials.
- Sensor Cleaning (When Necessary): If you see persistent spots on your image that aren't on the lens, it might be dust on your camera's sensor. For minor dust, some cameras have an automatic sensor cleaning function. For more stubborn spots, consider a professional cleaning or a DIY kit if you're comfortable.
- Cable Management & Connection Checks: Over time, cables can get jostled. Periodically check all connections (HDMI, USB, power) for snugness. A loose cable is a common cause of dropped signals or intermittent issues.
- Lighting Review: Your lighting environment might change (new windows, furniture, time of day). Re-evaluate your lighting setup regularly to ensure it still flatters you and helps your camera perform optimally. Adjust lights or camera settings (like white balance or ISO) as needed.
- Autofocus Calibration/Test: If you rely on autofocus, occasionally test its performance. If it seems less reliable, check for any obstructions, ensure good lighting, and confirm your camera's autofocus settings are still appropriate for your setup.
- Experiment with Picture Profiles/LUTs: As you grow, you might want to subtly change your stream's aesthetic. Revisit your camera's picture profiles or experiment with new LUTs in OBS/Streamlabs to refresh your look without a new camera. Streamers often find great tools and guides on sites like streamhub.shop to help with these visual tweaks.
2026-03-07